Skip to content

Posts from The griffin is immortal.

No ratings yet — be the first to rate!
In reply to Sergik_I
User Avatar
Auto-translated
Sergik_I
I can't seem to get past the second demon city in the second mission. I reach the crossroads, move forward a bit, and then I'm blocked. If I use Markal to go through the gate after winning in the dungeon, I immediately lose. What am I missing? Please advise...
Visit the flag near the first demon city.
Dishonestly yours, Liza
In reply to Florkingold
Auto-translated
Florkingold
Visit the flag near the first demon town.

Thank you.
In reply to Florkingold
Auto-translated
Hello everyone. In the second mission, how do I get the red key? The keymaster is not available. I've already killed the yellow one, but I still don't have the red key.
In reply to Азим Бурханов
User Avatar
Auto-translated
Azim Burkhanov
Hello everyone. In the second mission, how do I get the red key? The keymaster is not available. I've already killed the yellow one, but I still don't have the red key.
There's a quest from the vampires to bring 100 crystals.
Dishonestly yours, Liza
In reply to Florkingold
Auto-translated
Florkingold
There's a quest from the vampires to bring 100 crystals.


But where are these vampires? I've already cleared everything I could. Even after killing the yellow one, I reached the garrison where I was given a loss.
In reply to Азим Бурханов
User Avatar
Auto-translated
Azim Burkhanov


Where are these vampires? I've already cleared everything I could. Even after killing the yellow one, I reached the garrison where I was given a loss.
Near the red tent, all the keyholders are located on Markel's territory.
Dishonestly yours, Liza
In reply to Florkingold
Auto-translated
Florkingold
Near the red tent, all the keyholders are located in the territory of Markel.

I approach these vampires, and nothing happens. Is there a condition that needs to be met for the script to trigger? Maybe you need to have 100 crystals at once. Because I've approached them several times. Not only can't I "click" on them, but they also don't react. By the way, I also have another quest pending. "Suppressing the Rebellion," will it be completed later? Because I thought this quest would be completed after destroying the blue one.
User Avatar
Auto-translated
The map turned out well.
The pros:
1. The plot is simple but still interesting.
2. The mod for dwellings of levels 4-7 is a good idea; it would be great if this mod and other mapmakers used it more often.
The cons (perhaps many players won't care, so these aren't really cons):
1. The player colors don't match the races (Necromancers should have turquoise, Dark Elves should have purple, etc.).
2. The water isn't configured so that the repainted ground underneath isn't visible.
3. For some reason, the Angel Altar in mission 3 glitched out; the icon showing which player owns it spins, but the building itself isn't there. This is probably related to the fact that in mission 4, the Observatory with the Angel Altar model is located where Fiona's tomb should be.
4. Tasks like "bring 100 crystals to the vampires" should be displayed as secondary tasks, as other players have already mentioned.
In reply to GodRick
Auto-translated
GodRick
The game turned out well.
The pros:
1. The plot is simple, but still interesting.
2. The mod for dwellings of levels 4-7 is a good addition; it would be great if it were used more often, along with other building mods.
The cons (perhaps many players won't care about these, so they're not really cons):
1. The player colors don't match the races (Necromancers should have turquoise, Dark Elves should have purple, etc.).
2. The water isn't configured so that the repainted ground underneath isn't visible.
3. For some reason, the Angel Altar bugged out in mission 3; the icon showing ownership spins, but the building itself isn't there. This is probably related to the fact that in mission 4, the Observatory, with the Angel Altar model, is located where Fiona's tomb should be.
4. Quests like "bring 100 crystals to the vampires" should be displayed as secondary quests, as other players have mentioned before.


Hello. Can I ask you a question? How did you get the quest from the vampires? Did you just approach them? Because I'm approaching them as much as possible, but there's no reaction.
In reply to Азим Бурханов
User Avatar
Auto-translated
Azim Burkhanov


Hello. May I ask you a question? How did you get the quest from the vampires? Did you just approach them? Because I'm approaching them as much as possible, but there's no reaction.
Hello, I just approached the Vampires and a message appeared.
Auto-translated
Greetings) I'll start in my usual style, praising and criticizing this campaign while only having 2 missions under my belt. More precisely, I initially played them before they were assembled into a campaign — as standalone maps — but those are production costs)

Mission - 1 - Mayor

In short: getting acquainted with the level cap of 5, plus a couple of quests, one of which doesn't work

It's nice that since it became a campaign, you can choose a starting bonus — a small thing but pleasant (someone might wonder what's up; it's normal, I just used to play maps with a flag on the next map that raises your level)

From the start we don't really have any objectives besides "Markal must survive"

The map is gated by progression and completing tasks, which looks good and makes sense overall


The tactics are simple: from the start we take the zombies that join us, then grab the mine guarded by peasants

At the crossroads there's a dialogue box, like "there's undead here, what are you doing?" And we need to scare them, and it's made clear that not with a bunch of undead but with an artifact... Which we'll find later...

Overall, wherever possible we push through — on the first week I went for the zealots to get the zombies — a so-so trade-off, but it works

Then we gradually advance; behind the air elementals in the bottom-left corner there's an artifact — "Flesh Tunic" — that's exactly the artifact that will let us scare the peasants, whom Markal ultimately tells he'll turn into skeletons...

Behind the peasant huts there's a border guard, and again a dialogue ensues: "I'm Fiona's advisor, let me pass." "No way, go sort things out with the priest"... Okay then

What I didn't understand was the quest in the hut with vampires asking for a sword that simply isn't anywhere on the map. Is that intended? I think not — that shouldn't be the case...
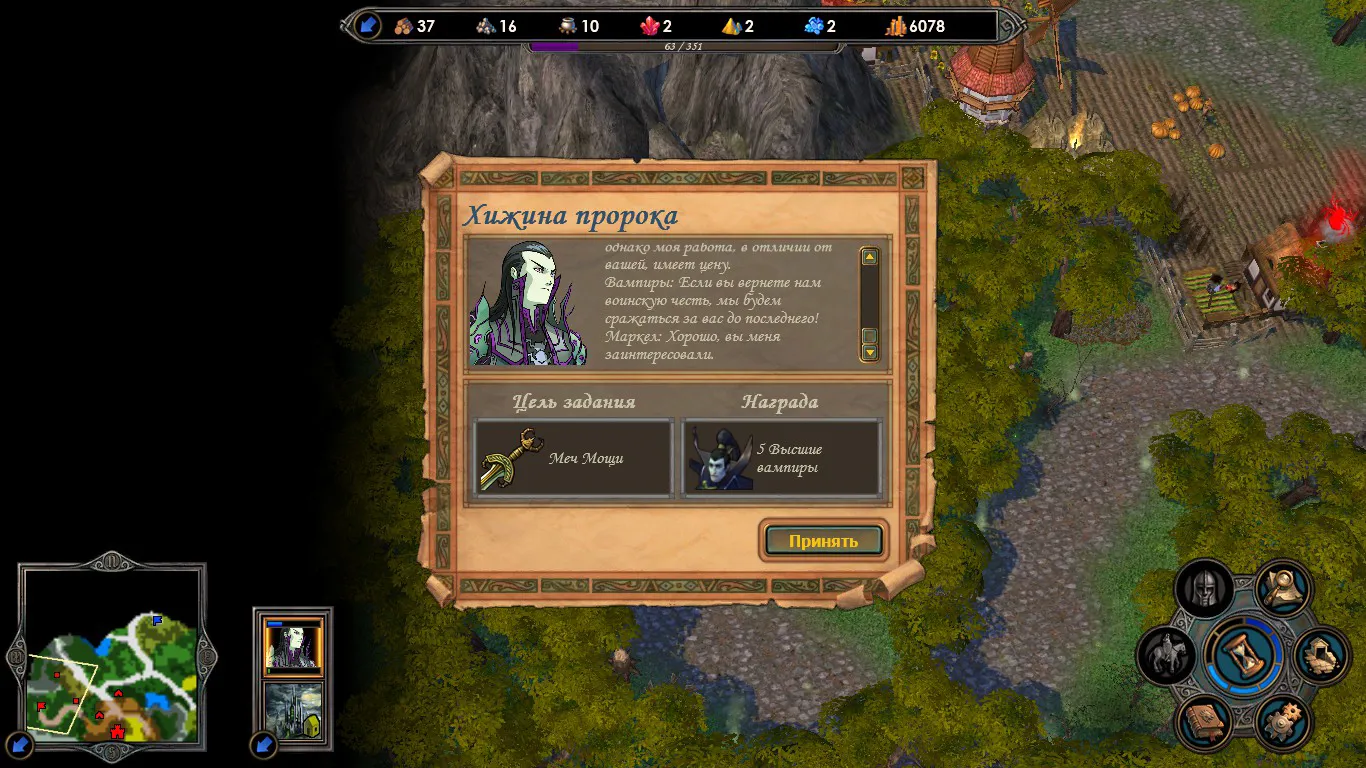

Anyway, we go to the local priest Yolanda, who won't give us the key willingly, and we know how to deal with such fellows)
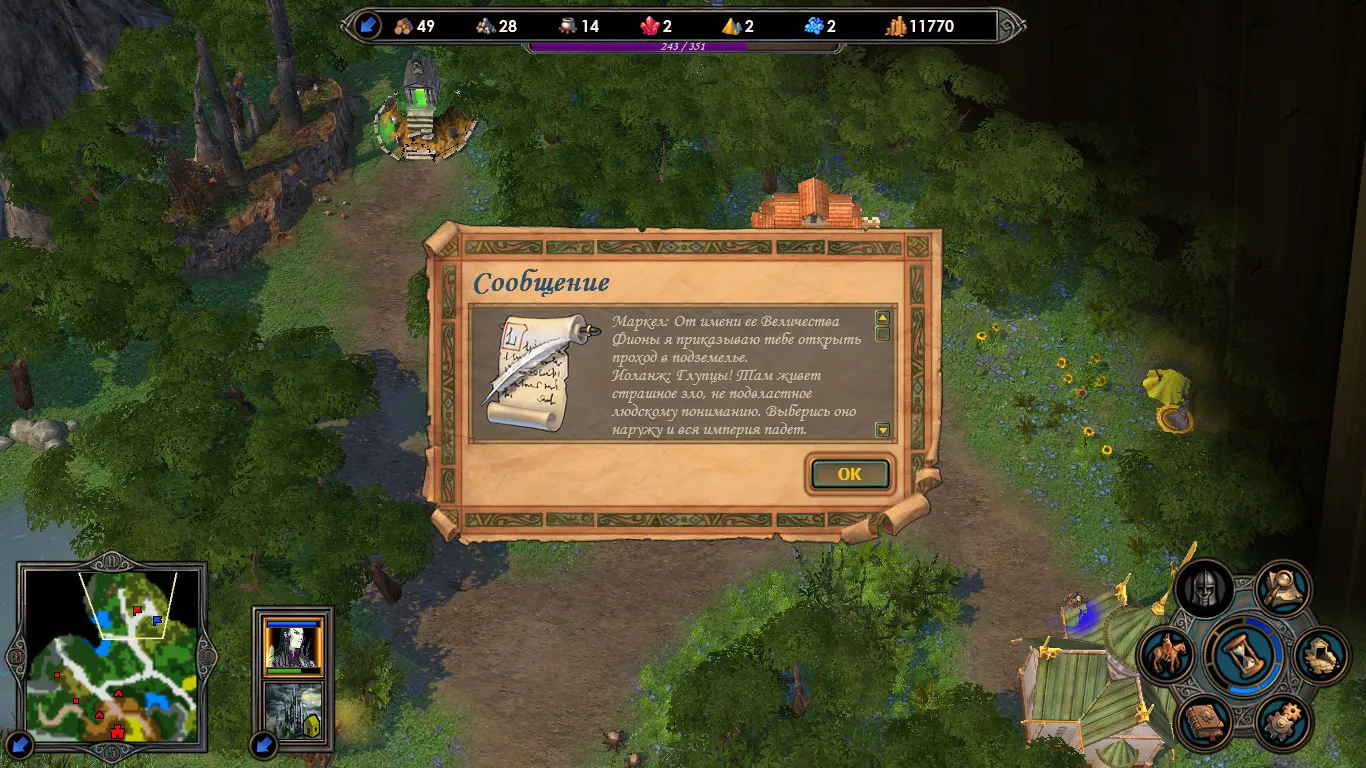


After we get the key from the guardian, we can proceed further and enter the underground. On the way we pick up a Necropolis that lets us build it in the castle too.
Upon entering the underground, another dialogue box hints that it's better to go right first, then visit the demon...
On the right side there are also dwellings of our town; after capturing them we simultaneously unlock building them in the castle...

Then we go to the demon — one of those useless fights (since the level cap for this mission is maxed), but it exists — this is breaking through Pit Lords near the fort on the hill

Then along the path we head to the castle and wipe it out)

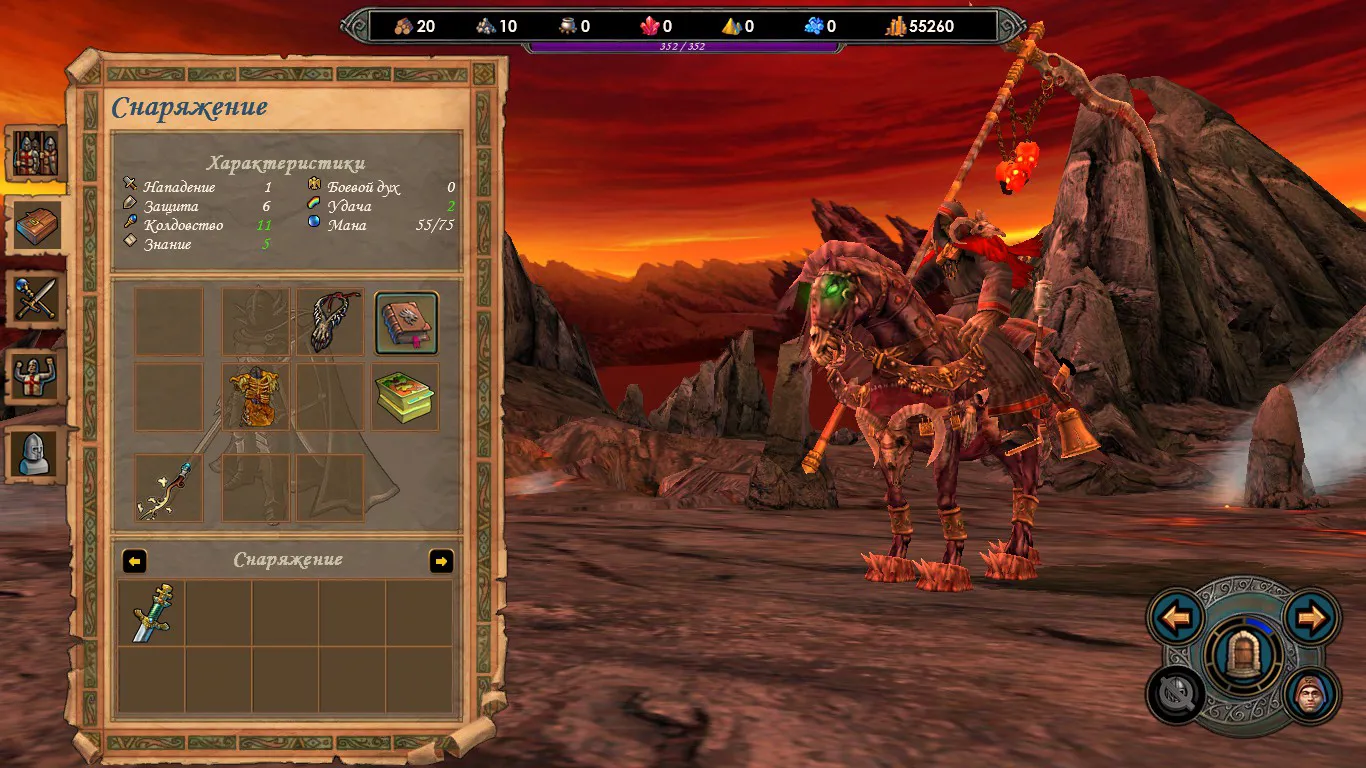
So in the end Markal turned out like this...
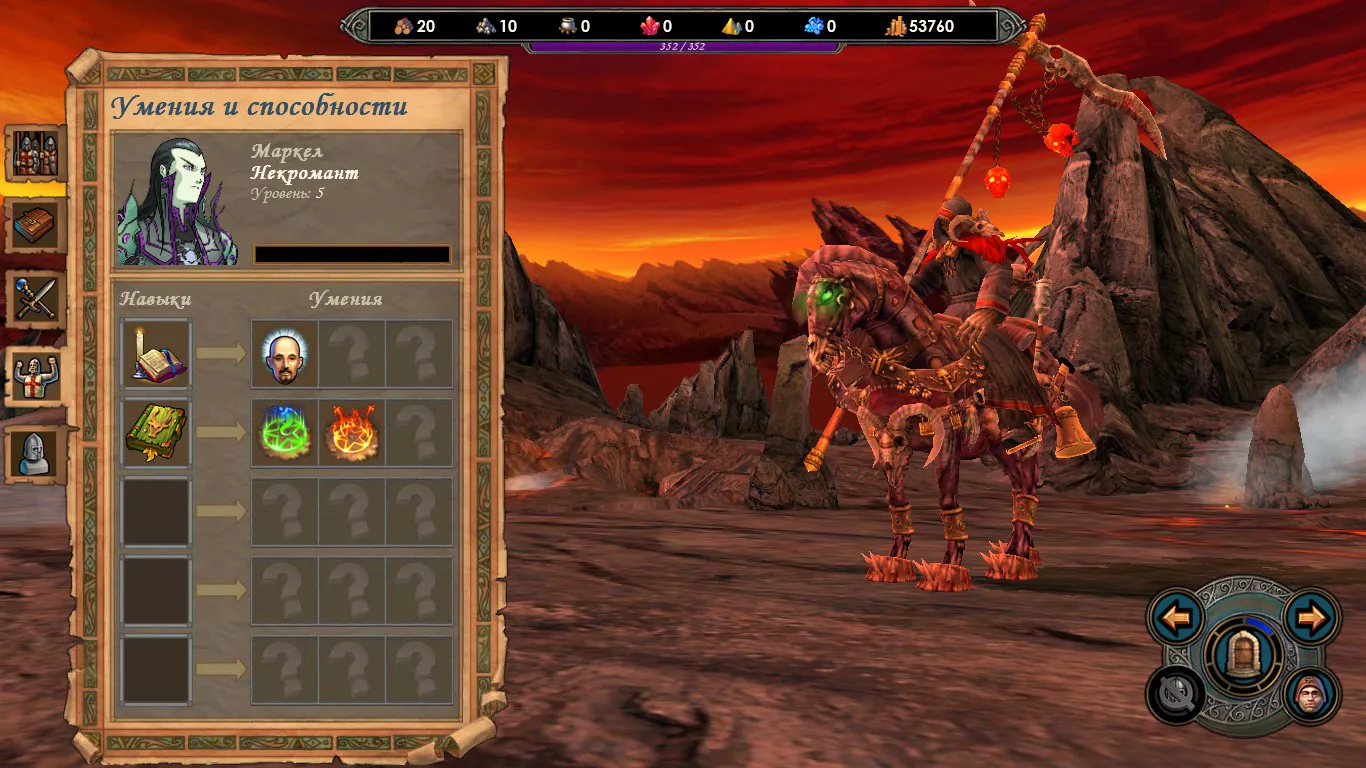

Let me sum up the first mission: IT IS COMPLETABLE — that's a plus... Because when I played the standalone map, after wiping out the demons a quest appeared about meeting an old acquaintance or something, but there was no one on the map, and that was sad. But at that moment I just skipped it and played the second map... The progression feels ideal as groundwork for the second mission (and how annoying it was when it was a standalone map — you had to catch her, and the stat boosts you collected didn't carry over)

The broken vampire quest... And it's unclear why there's a portal behind which griffins guard a cloak for BD (yes, very useful for a necromancer)

Moving on to Mission 2 - Regent

If the first mission is chill and relaxed, here you'll have to sweat a bit...

Let me briefly return to the standalone map — funny enough, as Fiona you could build an undead castle and play with it)) oh well

In this mission Fiona appears, who sent a message to Markal asking him to come help her, because she stayed in the capital while enemies besieged her from all sides...

And here I should split the mission into two conditional parts: playing as Markal, playing as Fiona...
Let me start with the part as Markal


In short, compared to Fiona, everything is fairly straightforward for us until one point, which I'll address closer to the end...

Markal starts with 1 upgraded Vampire Lord, which helps quite nicely early on with kiting various zombies, and thanks to Fire Warriors and the mark, we clean almost the entire starting area without issues (except for Liches and Death Knights guarding the amulet)

As we progress across the map, we receive various small quests from our own units guarding keymasters of different colors, which Fiona will need later...
On the first week I dove into horses (to spend dark energy, and extra Spectres won't hurt either)

The first encounter is the red keymaster and vampires...
- Their task is 100 crystals. The first time I wondered if anything would respawn there, but thankfully we're told there's a mine, and safely after breaking through mummies, there lies a single pile of crystals worth exactly 100 pieces. And yes, it's worth noting that until we complete the quest, we won't be able to construct buildings of that tier in the city — that needs to be kept in mind... Although I focused more on the human castle than the undead one, whatever...

Then, to boost our Markal faster, we can go left — there's an abandoned mine guarded by a swarm of Golems. Basically, we wipe them out, gain a ton of experience, and happily return along the path to the other keymasters.

The keymaster guarded by Liches wants a "scroll" with the Suffering spell according to the text, but in reality it's the Temple of Magic Touch, which is not on our territory but on Fiona's, guarded by Archangels. After killing them, Fiona regrets doing that — well, nothing to do, if it must be done, it must be done)

The next keymaster — Wights, who serve their duty and themselves no longer know why they give us a task: there are souls they haven't taken, and eventually they describe who we need to put to rest. If you're too lazy to read carefully, the locations are shown below
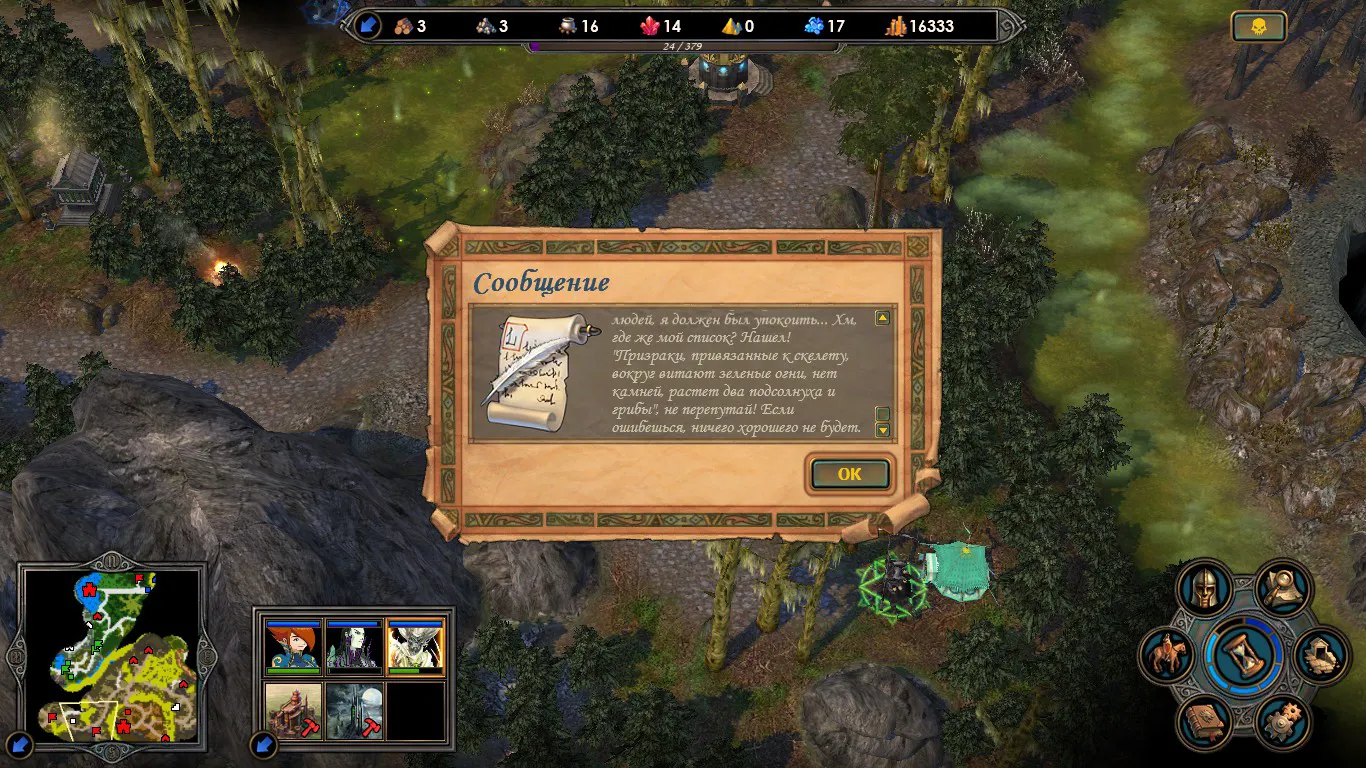
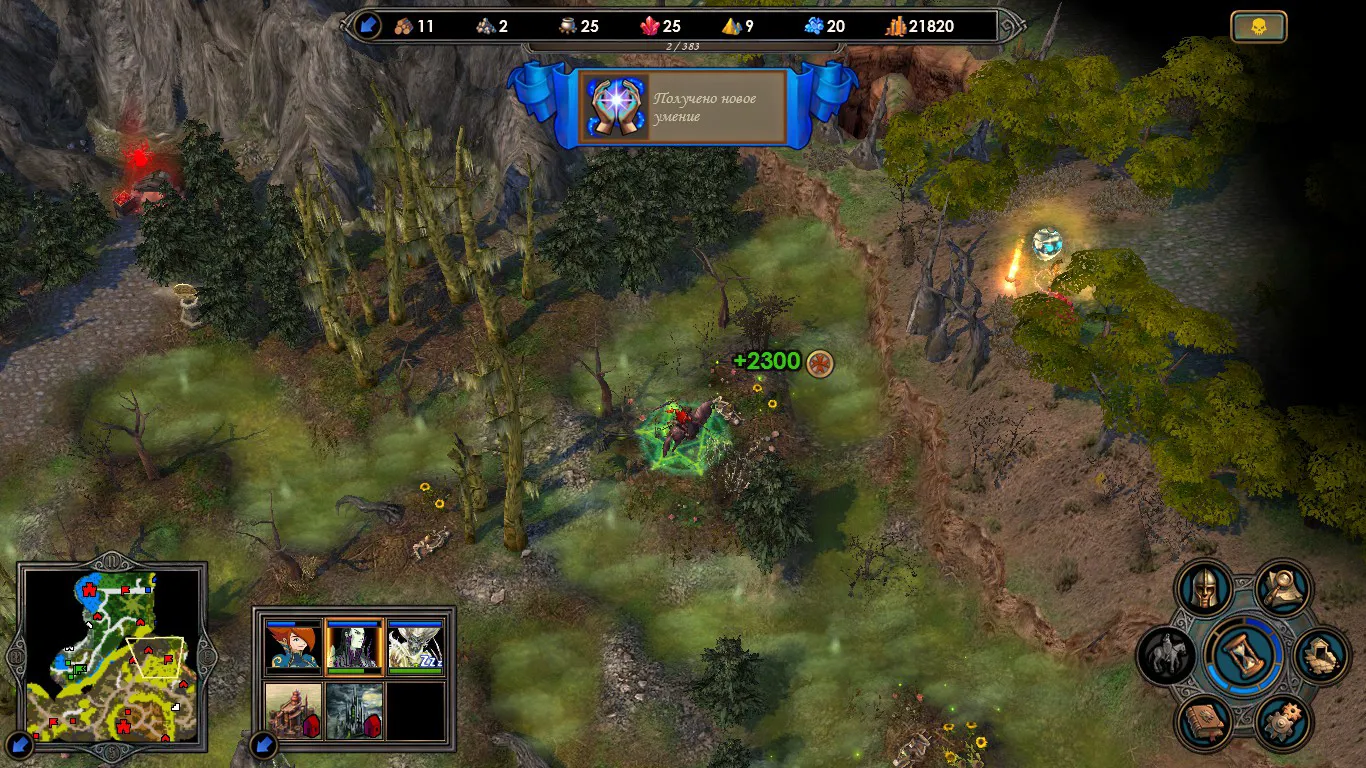
The next keymaster — guarded by Bone Dragons — there it's trivially simple: just kill them and that's it)

The last keymaster (purple) — here the fun begins, because taking the key itself isn't a problem; the problem is that when approaching the tent, a dialogue triggers with Aidan, who's an imba Dragon Knight and all that. So rushing there unprepared is absolutely not recommended... Because the guy there is loaded to 100%

And here there are two developments: either we can take the key and provoke him to chase us (that's how it worked in the map; not sure it still works now, but anyway). If we came with a weak army, sensing his superiority, he'll drive us until we sit in the castle, and as soon as we step out, he runs at us — which is strangest of all... That way we can both take the key and avoid fighting him...

But maybe in the campaign this doesn't work, so I didn't try reinventing the wheel and just gathered a bigger army and wiped him out feet-first without much effort, though honestly I never understood the mechanic of how to fight him legitimately, so I exploited a gap — I'll try to explain in more detail...

The thing is, a few points before the tent with the key, we approach, take the key, and if you simply walk closer to Aidan without clicking his icon, he starts running away along the path to help Fiona (by the script, I assume, to show Fiona how important we are to her). And even with Windstrider Boots, no matter what I did without leaving the road, he always escapes past the garrison and results in defeat....

So I simply attack him when I reach the tent and have enough movement points — the battle starts, even though Aidan is running somewhere. I'm no expert, but I believe it shouldn't work that way at all
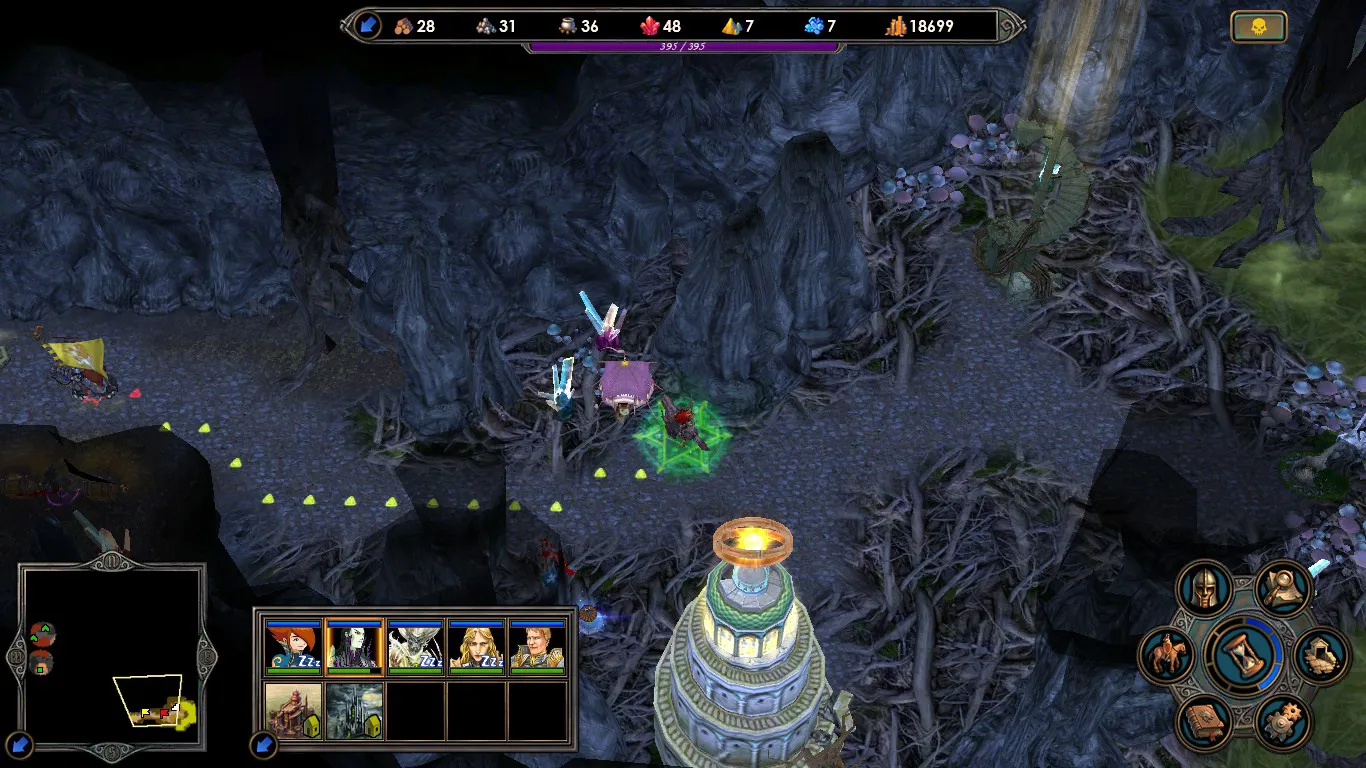

Well, on that cheerful note, after defeating him, all that remains is to run around grabbing a couple of stat boosts, and our song is sung — Markal has nothing left to do.
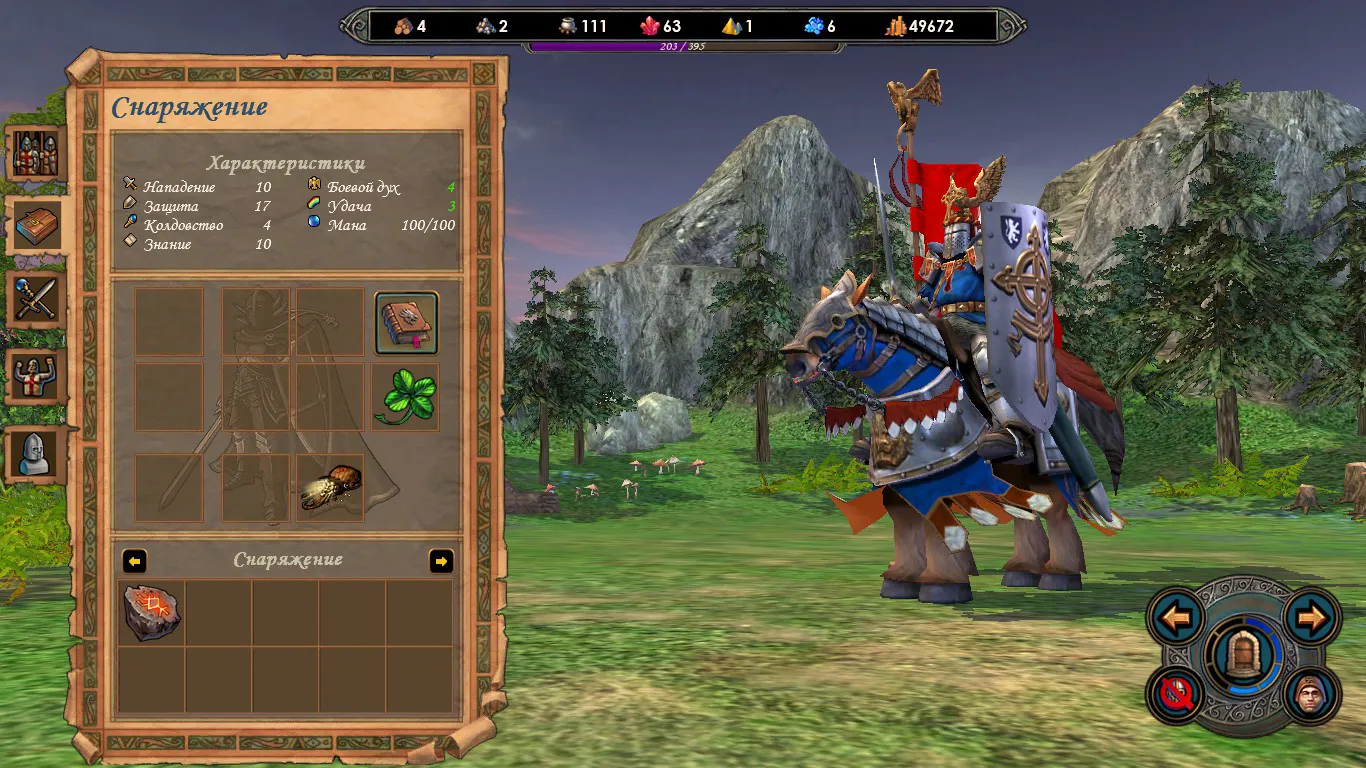
Let me show what he looked like before the battle with Aidan
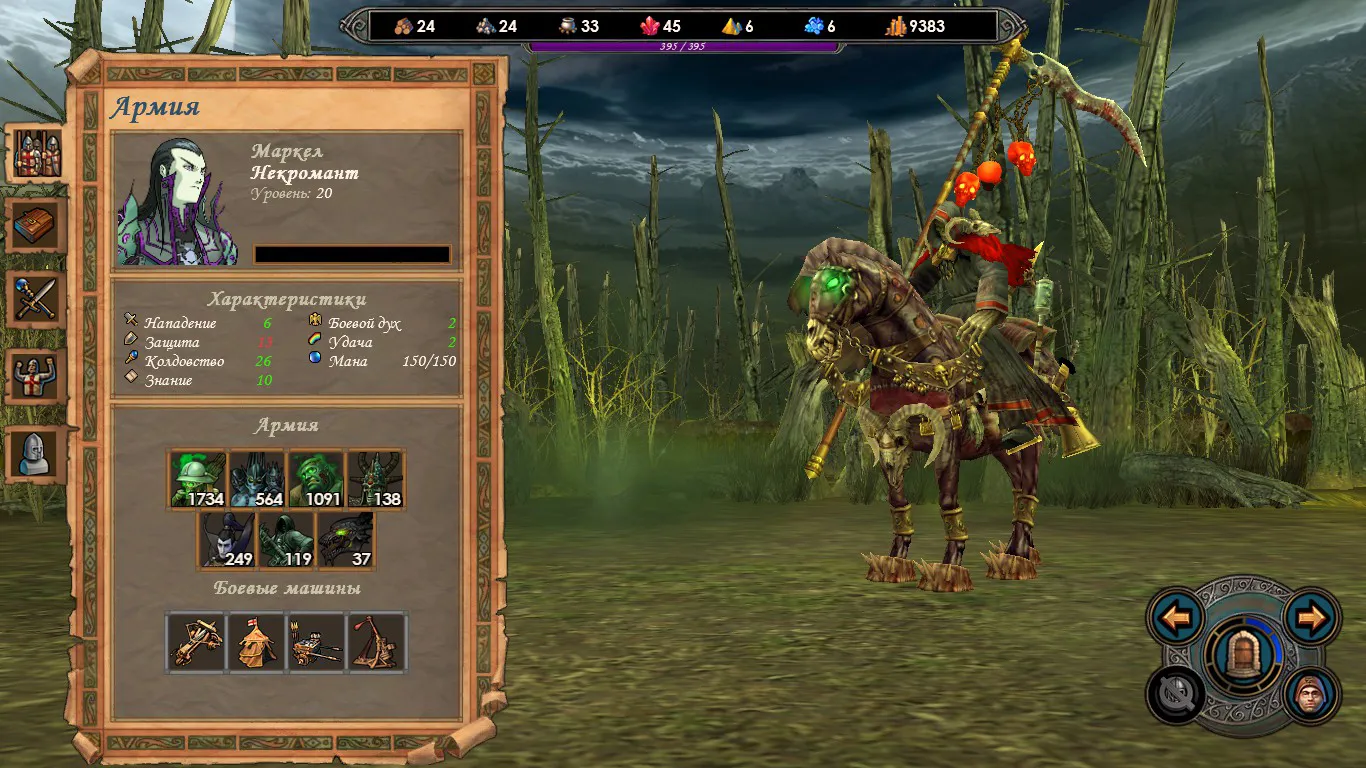
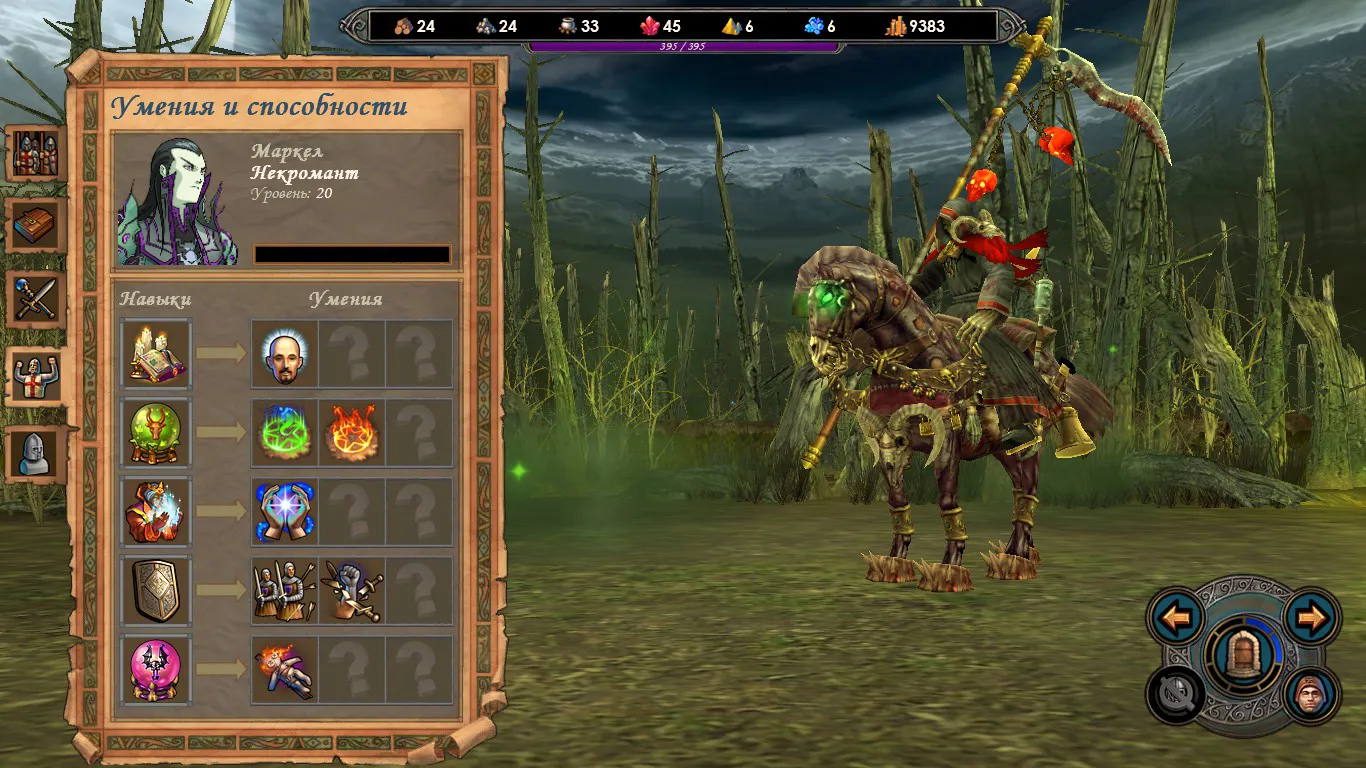
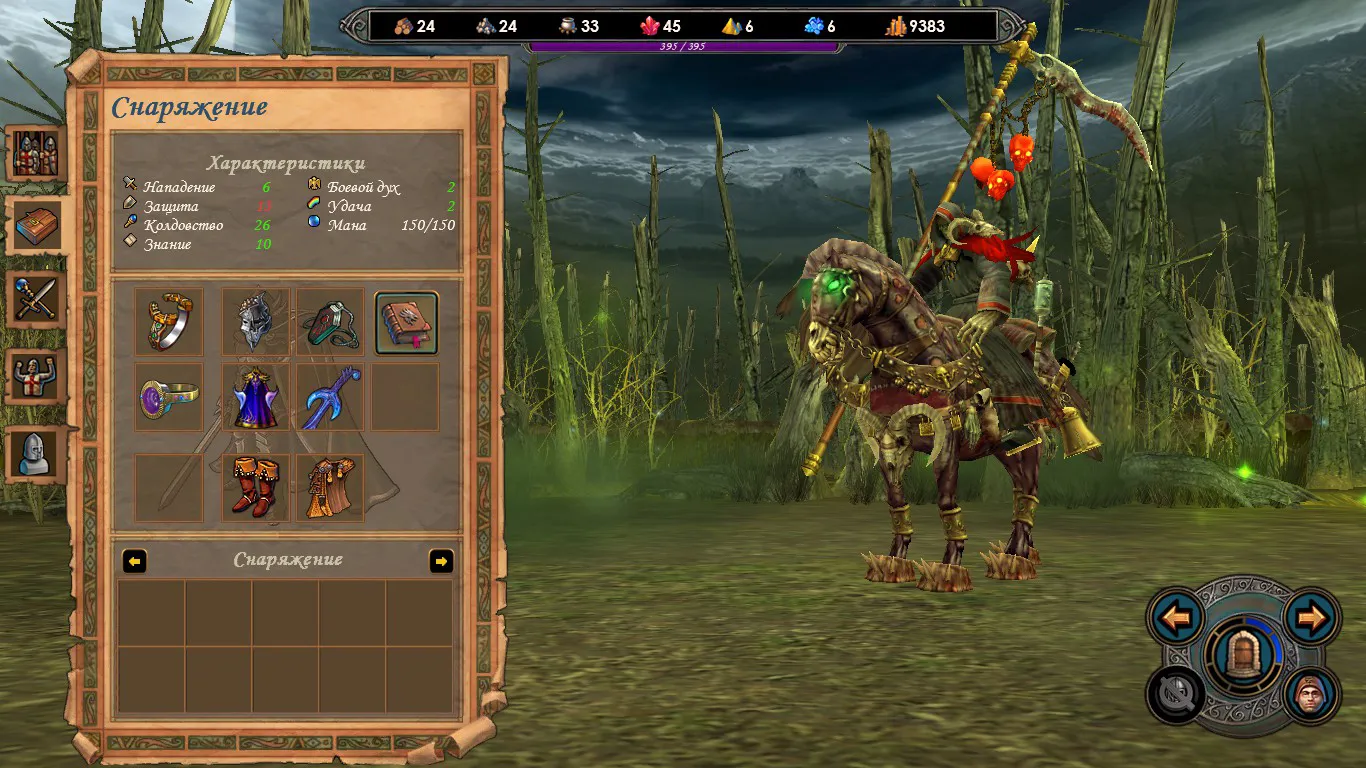
Summary of this part: Keep in mind that within the mission our upgrades are limited, so from Necromancy you shouldn't take upgrades for Vampires and Wights, because they won't be needed at all (it happened that two stacks of upgraded vampires, one being the starter, ended up guarding the wood mine near the castle from foes)

What slightly burned me was that in the Mage Guild — sure, it's capped at level four — but why is Chaos there? Probably to make the game harder. But in fact, three mass casts were enough, and Aidan fell. Now moving on to the part as Fiona


Part as Fiona


Again, a brief analogy with the pure map: cool that you can choose a starting bonus — my choice fell on Marksmen, because everything else isn't that necessary, and overall it gives a small boost...
In two words: the difficulty spreads across two fronts, and with only one hero it's rather hard to manage, plus economically it's tough to grow two castles that love ORE and WOOD. Still, if you find loopholes, it's possible — just not fast)

Unlike Markal, Fiona starts at level 1. I had a couple of options in mind for how to play, but in the end I chose the machinist, because there are breakthroughs but no buildings, and no human cockroaches (until the rebels are wiped out) at all, so everything falls on Fiona's fragile shoulders (with Irina's specialty). Unlike Markal, we start with 5 Griffins + Marksmen, and that's already impressive...

From the start, I took the blacksmith, bought all machines, and immediately headed down to capture the peasant huts and the archer tower. Despite the shooters there, thanks to having Griffins and machines, we manage two flights per round and cause havoc (without machines such a trick wouldn't work, because they'd keep retaliating and we couldn't leave combat without losses)

After the first week, we get a message that demons are advancing, but they don't start raiding right away and give us some space to level our character...

Near the mill we get a mini-quest: supposedly it needs repairing, but not with an ordinary hammer — with a dwarven smithing hammer guarded by Seraphims (yeah, already running)

And here begins the cat-and-mouse game: you need to move around, not stray far from the castle, and meanwhile grind as much as possible...
The whole difficulty is that you're squeezed from two sides.
Fiona's son Nicholas went with Dougal for a walk in the woods, but once we break through Isabel's Knights, a dialogue occurs saying "Fiona fraternizes with necromancers, tut-tut, you must be overthrown," and we realize Dougal and Nicholas weren't walking in the woods — they've been kidnapped.

All would be fine, but the garrison leading to the castle is initially unreachable for us — well, for now. Meanwhile, we try to grind as much as possible; if something can't be broken through, we sit at home, see a straggler, and if we're stronger, we take them out. As strange as it sounds, sometimes weeks helped by reducing initiative for dark factions, plus the flag and luck under the castle — somehow we managed to level up...

Later, when we become somewhat stronger, the bot for some reason doesn't even fight anymore — it just runs away, even though it could easily take out plenty... Oh well, there were many battles with demons while they ran around

so I'll just attach one of them resembling a battle)

Then, once we're strong enough to break through the garrison, we take out the enemy castle to our right. A pity we burn it down — it clearly wouldn't have been superfluous))
And then depending on the situation: if possible, we rush to the prison to rescue the kid; if not, we fend off demons while not forgetting to train at least the archers, since I didn't have a trainer yet...

After taking out the castle, human heroes started appearing in the tavern — Maeve showed up. I thought, not bad, and since Fiona is already level 20, we slowly level her instead, because we'll need her to send Fiona off toward the demons...

As fate would have it, the garrison before the prison was cleared by Maeve. Quite a specific breakthrough, but it was worth it — more than worth it)

After entering the prison, we get Dougal (who's supposed to guard the Claw but is level 1, so what use is he..)
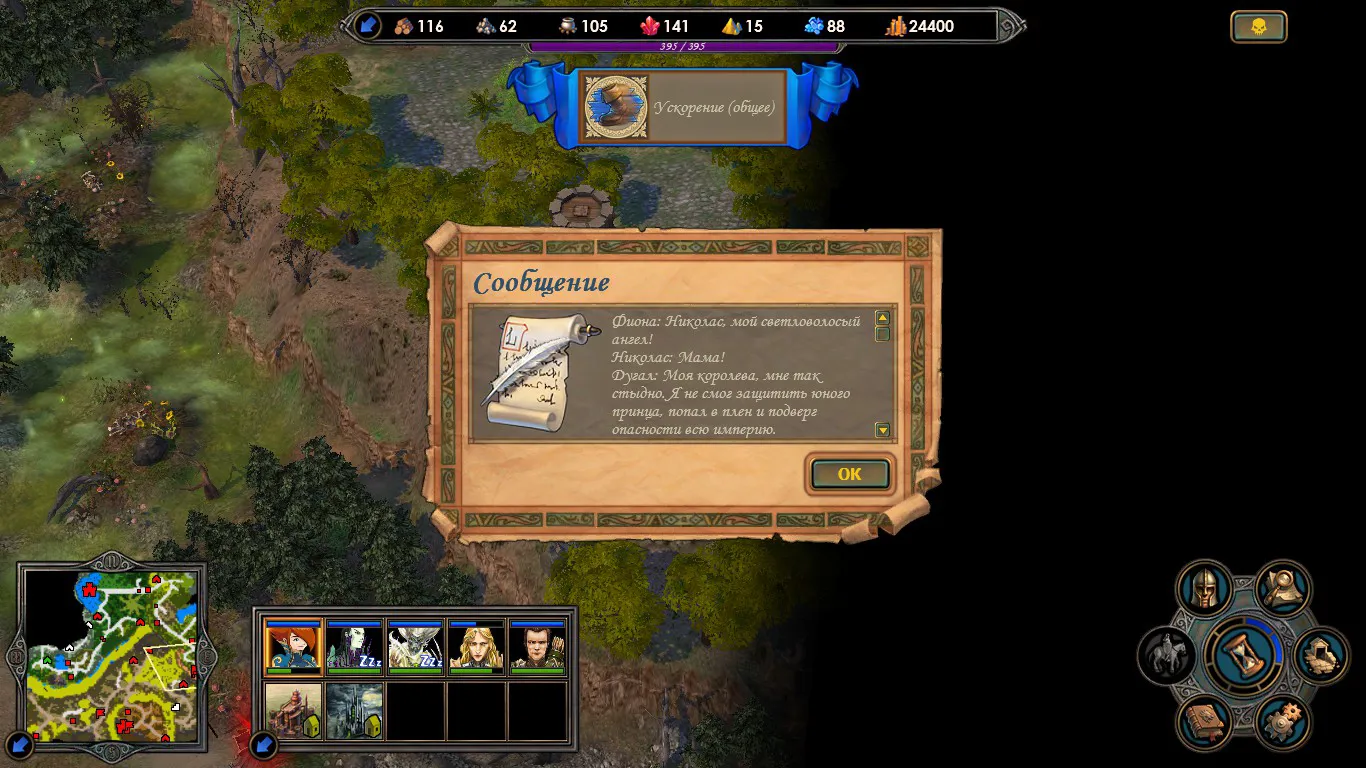

Who needs him when I raised such a defender)
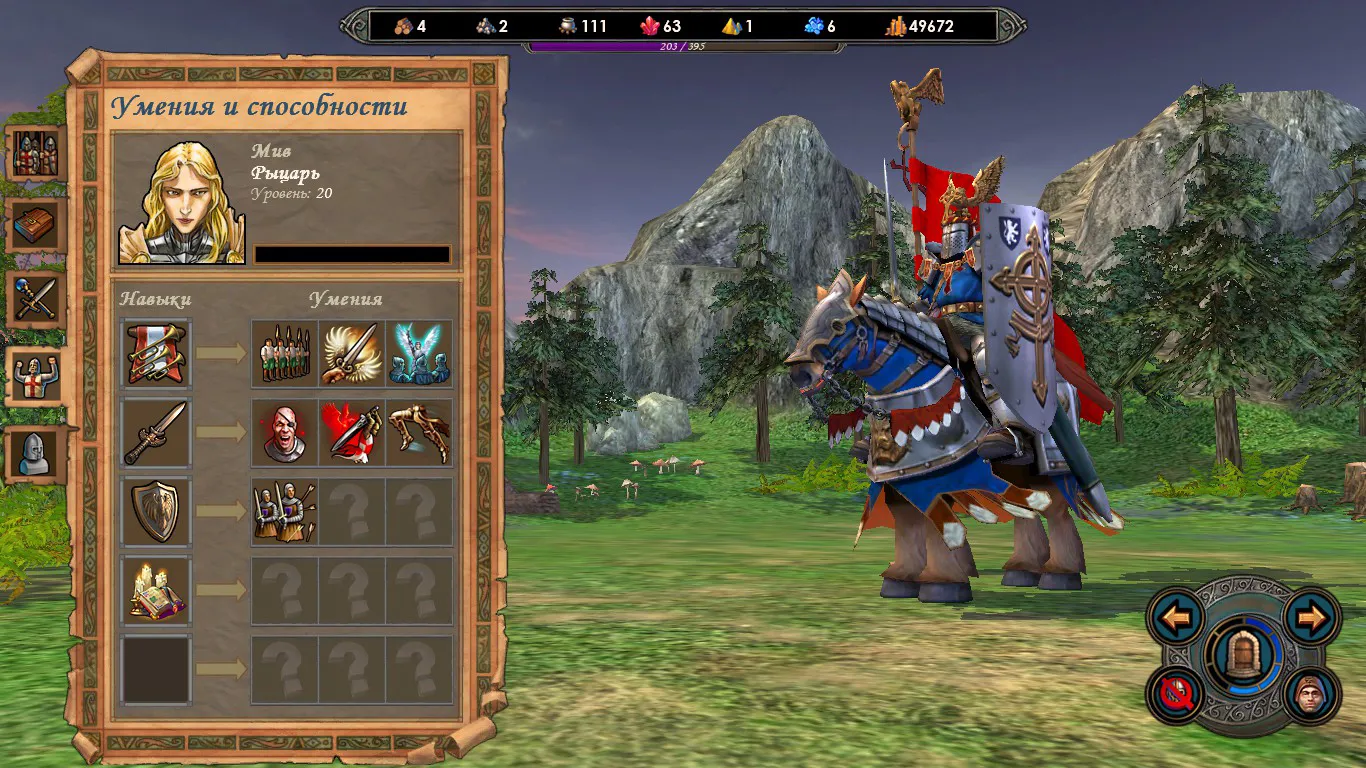

Later I gave Dougal some army to finish off the remnants of the unkilled and made him a true trainer)
He sat in the castle training, I gave Maeve roughly 2–3 weeks' worth of growth and placed her at the portal so they wouldn't push through, while Fiona walks past the keymasters closer to the last one, waiting for Markal to gather himself so we can take the final key and take out Aidan... Along the way we observe various dialogues...
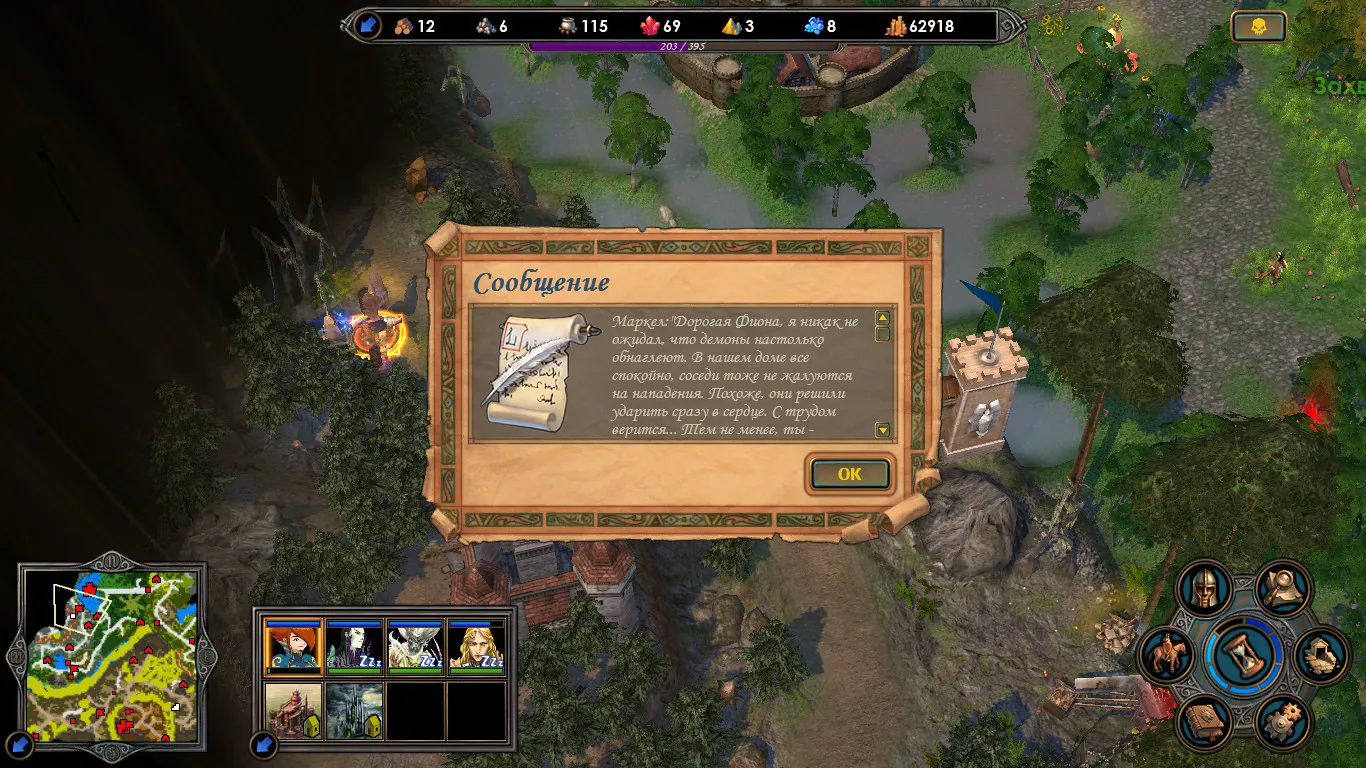
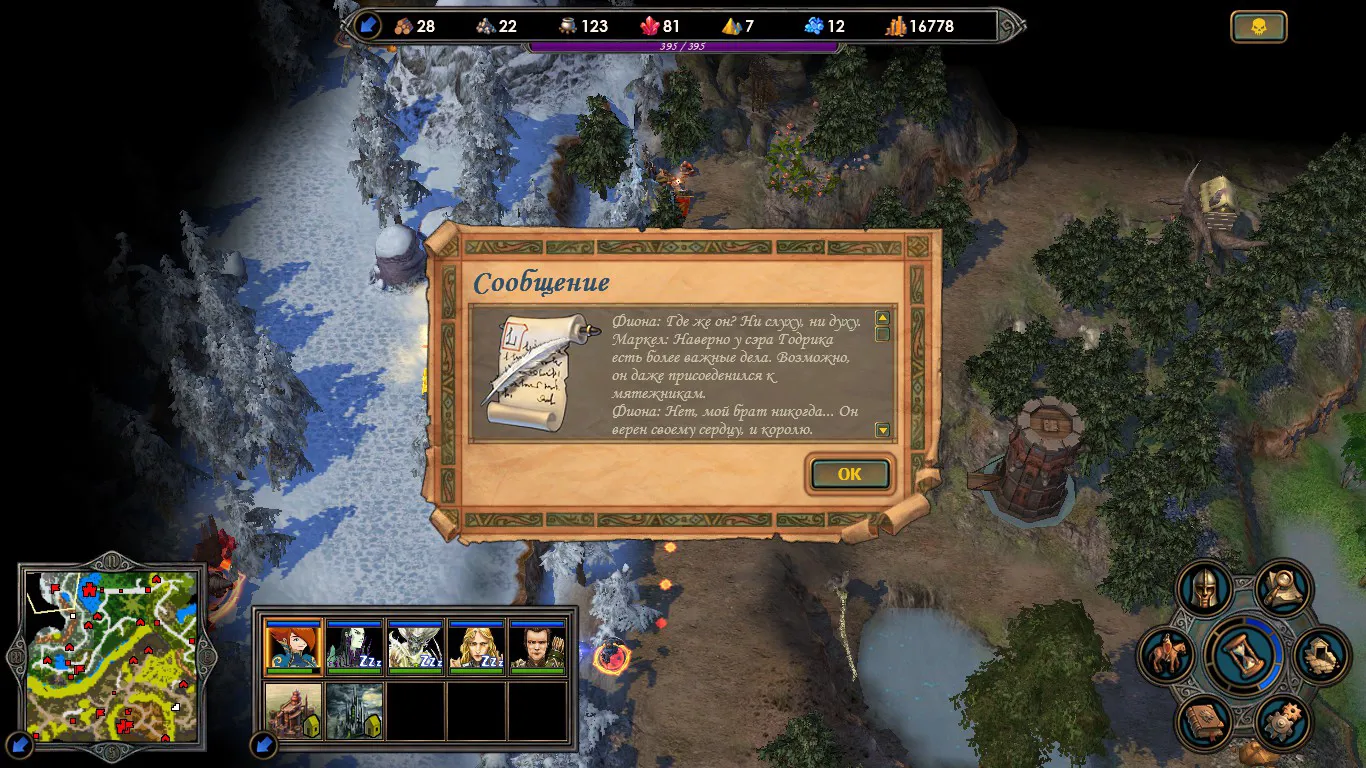
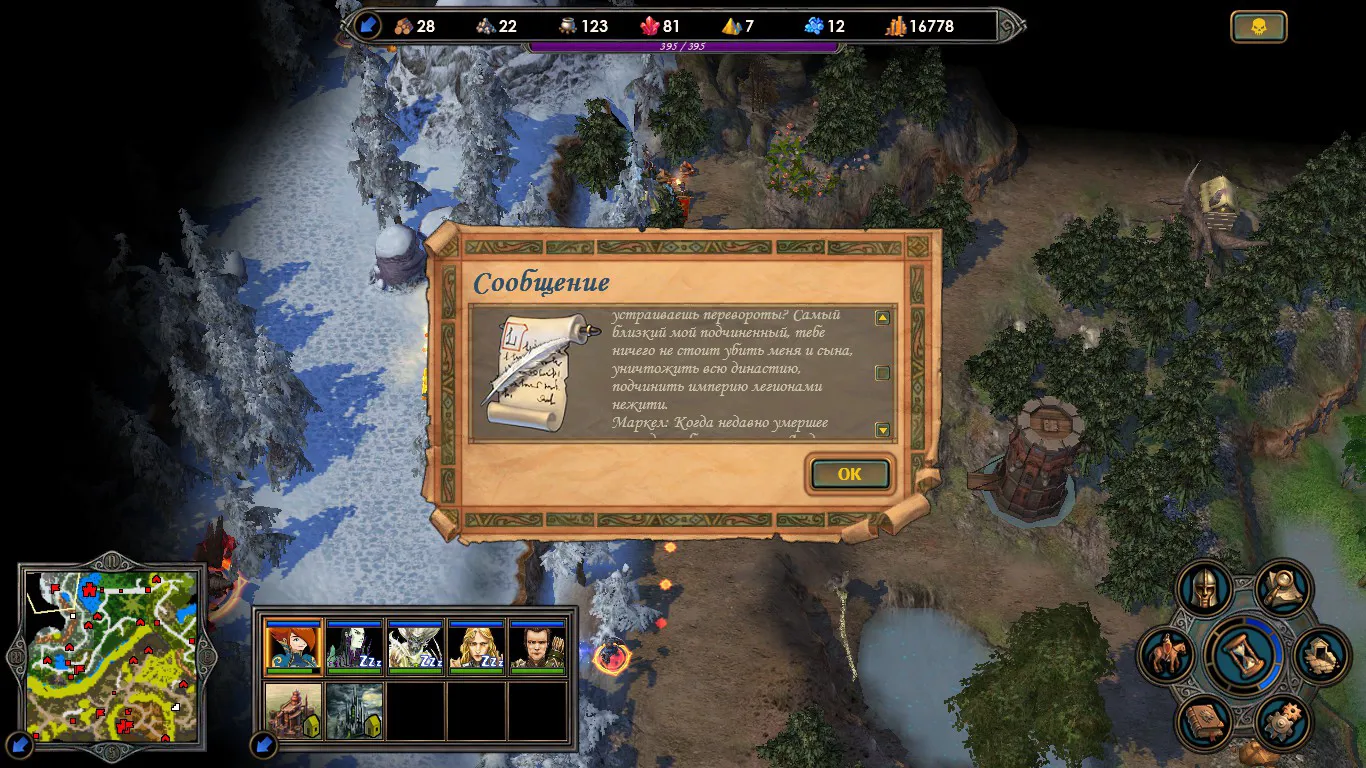
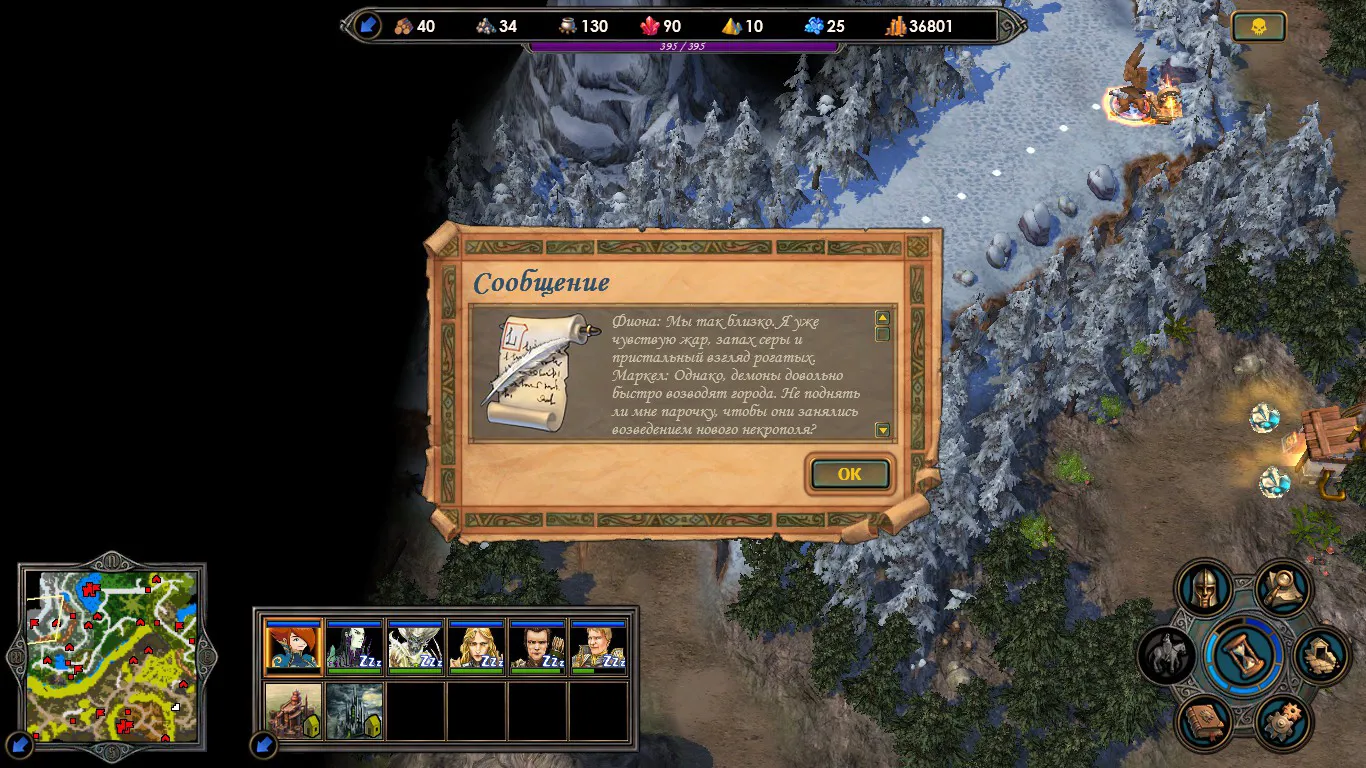
Once in the dungeon, we collect stat boosts and go wipe out the castles

Battle — first castle

Battle — second castle

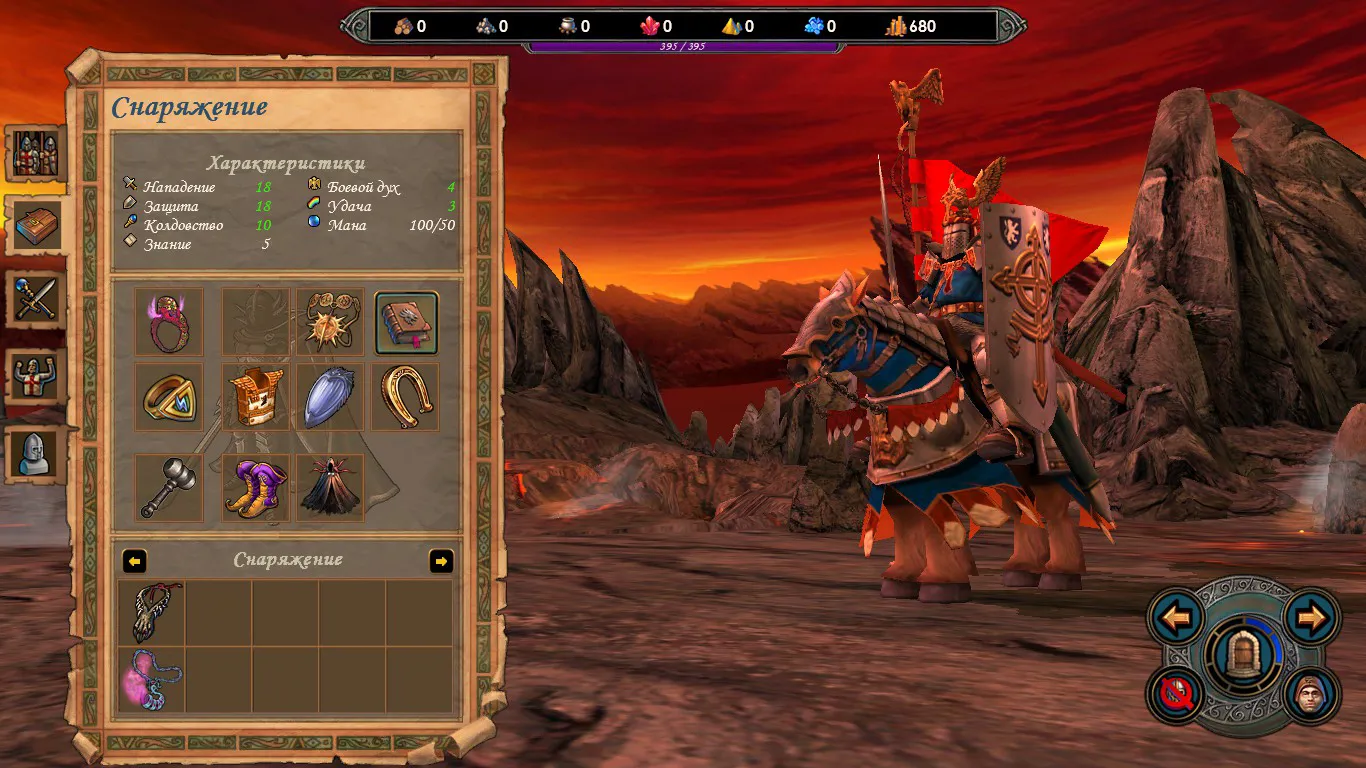
Let me show what Fiona turned out like)
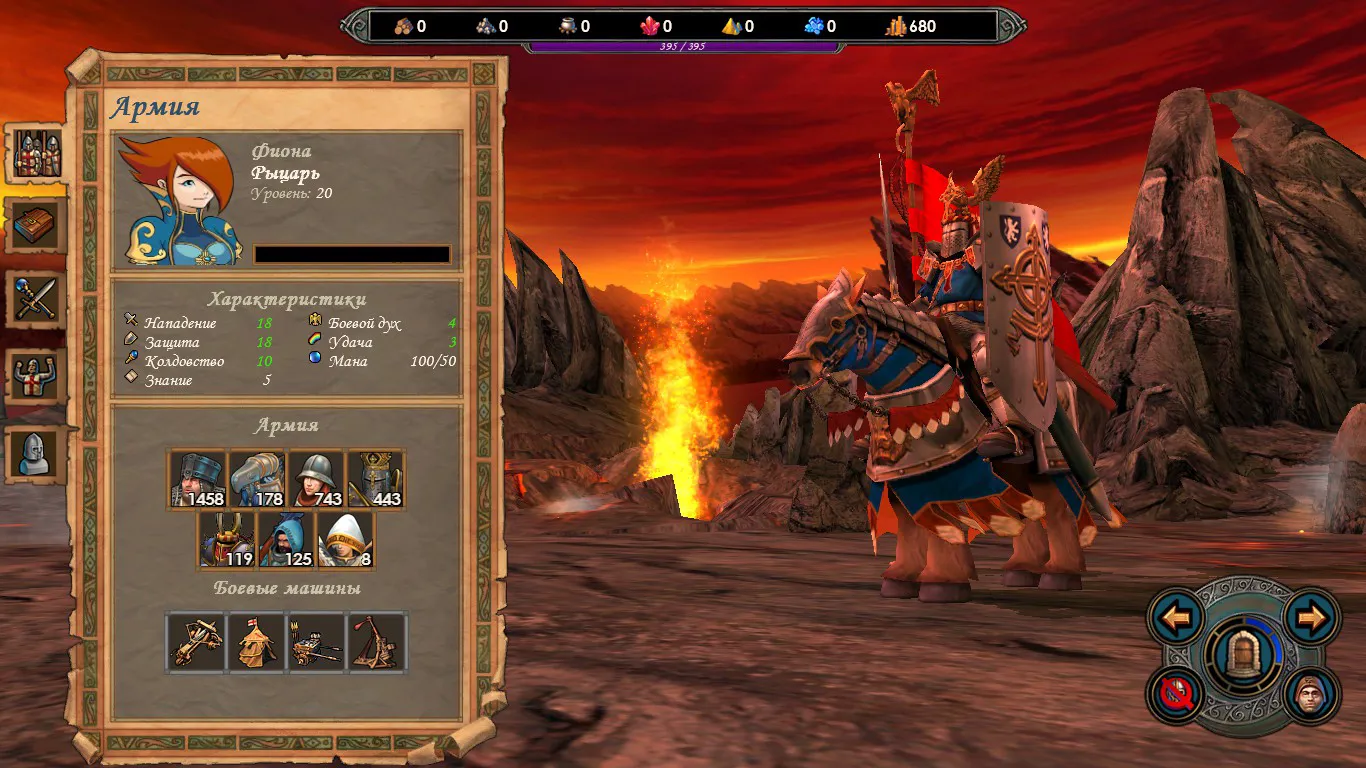


Despite no stat-boost artifacts, there were horses and evasion, and that was more than enough)

Overall on the mission: I liked it — a pretty tough economic resource crunch at the start, thank goodness there's at least a trading post; torn from two sides, but everything's cool and great)  Though when I played the standalone map it was even harsher — Vitya would show up almost on day 4–5, and what to do with him was anyone's guess, plus the demons had unreal growth with tons of Pit Lords. Here thankfully that's absent, and everything is completable) Overall, I'm satisfied with the campaign so far, and the general impression will come once I finish all missions)

In reply to Flame_Haze
Auto-translated
Let me continue my little story
MISSION 3 - WAR


According to the lore, our allies are plotting against us, and instead of waiting for them to attack us, we'll strike first — good thing we have such a wonderful ally as Markal)

In short, at this stage both mission 3 and mission 4 pose no threat whatsoever, but there are certain nuances I'd like to talk about.

Our initial objectives are simple: capture two elven towns, Wainshil and Silina — according to this campaign's legend, it was in the first town that a conspiracy against the Empire's queen took place...
Overall, the tasks are clear and rather trivial, but there are a couple of conditions that somewhat stall the process, namely, not allowing the capture of Kogot (Claw) and Mifograd. There's a small peculiarity here, because for the elves (probably not by accident) there's one annoying hero, Ossir with a Marauder, and right near Kogot there's a shore where the elves conveniently flee to. But in the case of ordinary rank-and-file heroes, there are no problems, since from the previous mission Fiona has Town Portal, so we easily cast TP, and when the offenders board their ship again, we catch up with them)

The creature building mod really caught on, and looks great overall on the map (maybe because I haven't played similar maps before, but nevertheless, it deserves mentioning)


From the start, when we hit the fairies, they curse us and deprive us of luck (-2 I think). Overall not critical, but thankfully we're offered a way to solve this problem through a simple quest chain given by fairy rings — bring some clover, then something else. Seems like nothing special, but it exists, and that's good)


There's also an interesting mini-quest for "creature selection" (let's call it that) — upon capturing the "Celestial Altar" and capturing the "Manor," dialogues pop up stating the conditions. I don't remember exactly, but the gist is: if you want Angels in your army, you need to sacrifice Vampires in the sacrificial pit; if you want Vampires, you need to sacrifice Angels. Naturally, I chose the second option, since I had enough of having sub-par vampires in my army during mission 2, so let's go with Vampires — especially since in the end I never even used the Angels...

Overall, the tactics are simple: clear the zone, defend the towns


For Fiona, the tactics are simple: take Archers and Griffins, vacuum-clean the zone, TP home when needed)

For Markal, just Vampires, and level up as well)

Oh yes, we have an elf ally, Anwen, although it's kind of strange that she's our ally in killing her own kin... Well, whatever. Anyway, most of the time after she runs around and clears her zone, she just stands near a small lake close to Silina. I didn't understand what was going on until she started moving, but more on that later...


After running around my zone, it's time to move toward the enemies, because that Ossir has been getting on my nerves — now attacking one castle, then another, then summoning a ship in the swamp near Mifograd)))


Fiona, surprisingly, turned out to be more active in this mission, so she was the one who moved on Silina — I believe with Crossbowmen, Royal Griffins, and a few Inquisitors. And we successfully take down this castle...

Then it's almost done, but after seeing Anwen's activity, I got curious about what's happening. Markal was nearby, and since I don't have Eagle Eye and Anwen is an ally, I can approach and see what she's up to...


Well, I thought I'd observe what happens if I let her capture the city, and then we get messages that Fiona is "not herself anymore," saying "deal with your own problems yourself," and immediately she becomes an enemy and starts recruiting troops, etc., etc. I figured, nope, I don't like this turn of events. We load up, take the castle, and likewise Anwen becomes an enemy....
Well, we don't get upset, because eventually she attacks us herself, and you can see Markal there with a fairly weak army — well, a couple of attempts, and we take her down. Probably the hardest battle in this scenario)

And then, just walk around and do whatever you want. Essentially, all that's left is to escort Fiona and send her to the mage lands to Cyrus. And Fiona will ask Markal to bring flowers to her father's grave...
The passage blocking access to the Elf castle gets unlocked — though honestly, I didn't wait for that moment and simply used a ship, and Markal captured the castle before the passage opened


I collect all the stat boosters and will show what heroes came out in the end. Too bad Fiona won't be useful anymore, but just for the record, worth showing them)


Let's sum up: good mission, pleasant to play with already-leveled heroes. Ossir tickled our nerves a bit with his raids into Mifograd or Kogot, but nothing more. The only thing I don't understand is whether Frenzy and Puppet Master are blocked at all levels, or am I just unlucky that in mission 2 the level 4 undead guild had CHAOS, while here neither human nor undead castles had it?.. Let's move on to mission 4 and the finale of this campaign)


MISSION 4 - FAREWELL

According to the lore, Fiona's visit to Cyrus ended with her death, and young Prince Nicholas and his regent Godric banish us from the Empire. But as a farewell, Markal must do what he must do — namely, resurrect Fiona)

Right off the bat, let me ask ahead:
Is it normal that humans freely enter the underground? (since if I understood correctly, they shouldn't be able to)
And is it okay that Godric comes into the underground, Markal kills him, and the mission doesn't fail? (again, if I misunderstood, please clarify, author)
And where were those "Holy Sandals"? (I searched everywhere and couldn't find them, had to add them via cheat)

We start near Kogot and need to run into the underground. On the surface there are a couple of battles and some undead which we successfully take under command. Upon entering the underground, we're told the story of three rulers of these lands. Though honestly, I didn't head into the underground right away — I got a bit greedy and skipped a week to gather more skeletons from clearing the underground guards...


After capturing the castle, we see there's practically nothing in it, but not far from the castle there's an "Abandoned Castle" dwelling of Wraiths, and they tell us they can help convert the Dungeon castle into a Necropolis, but for that they need a Summoning Magic tome, which is held by Kythra...


And as they say, everything comes to those who wait — the very next day Kythra appears in sight with a High Danger label. I thought, oh, this is interesting.
Though actually, nothing special — just a lack of meat, and a couple of Liches solve the problem. The main thing is to fight in a way that prevents her from fleeing, because they love doing that, especially since she has the tome we need..
The battle with Kythra will be here, and after that I immediately give the tome to the Wraiths, who in turn convert the Dungeon castle into a Necropolis.

Moving further through the underground, we encounter another Dungeon castle, which we simply capture. However, they won't let us convert it. Oh well, lizards will serve as fodder for Vampires, and an artifact shop definitely won't hurt)
After some time, Iranna shows up with a fairly strong army, and here, as they say, you need to think. But still difficult — yet I overcame Iranna, though certainly not on the first try)


Also in the underground, Lethos wanted something from me, but there was nothing worth looking at there. And it came as a surprise when Lord Godric deliberately went straight for Markal, even though earlier I received a message that humans cannot enter here...


I figure, alright, let's scrap with the old man, and see what happens. And voilà — after defeating him, the mission isn't lost. Great, let's keep playing. Although, speaking ahead, he's probably the most harmless person among those on the surface...

Next, we go to claim the last Dungeon castle in these lands, and along the way we come across a dragon graveyard that gives a mini-quest — they too can convert a town into a Necropolis, but they need a Dark Magic tome, which I believe Iranna had (had I known at that moment that neither the guilds nor the mage towers would give me Puppet Master or Frenzy, I probably wouldn't have handed it over) (although, on the second attempt of fighting the mage tower, they FINALLY gave me Berserk)
I gave it to them, and another town became undead. Too bad it needs rebuilding from zero — it would've been cool if it kept the same level as when I captured it. Oh well.

Then I think it's time to head back to the surface... But then I see that the humans are quite juiced up, and oddly enough, the biggest problem turned out to be Vittorio... Although (I assume) the author's intention was for me to hide from them rather than try to wipe them out, I still decided to kill them all... Though I really had to work hard for that))
Worth showing the armies from the failed attempts... Though later, Maeve transferred her army to Vito..., which made my task even harder overall


And their stats are pretty impressive, considering they're on Offense and Defense, while I'm only on Defense. Plus, Vampire Lords in this context turned out to be garbage...
Alright, challenge accepted. Need to regroup a bit, buy a couple of artifacts from the shops, and then head to defend Kogot from the overpowered humans))( and yes, defending Kogot specifically — for some reason I can capture it, and that's where I met Vito)


And here, as they say, enough attempts already — but still, it can be overcome, satisfying my inner challenge. From the useful spells, only Berserk was available; unfortunately no Puppet Master, although that guy does have Dispel...

After this battle, nothing particularly difficult remained — smashed the remnants of their armies, captured everything. Then I went to complete the final quest (as I thought): the cemetery area is clearly visible, there are two keymasters there, keys from them — one near Kogot, the other near the castle at the bottom of the map...
Approaching the cemetery, we see a dialogue


However, after passing through the keymasters, I wasn't allowed any further. From the text context, it became clear that the Saint's Sandals are needed. Only where to find them — I scoured the entire map and never figured out where they are. So there was nothing left but to add them via cheats  "@GiveArtefact("Straker",68), giving them to Orson, since I wasn't sure that Markal is Markal (though judging by the specialty, it's Zoltan). After this manipulation, I managed to proceed further and see the final talk boxes... And we pull Fiona out of the observatory))


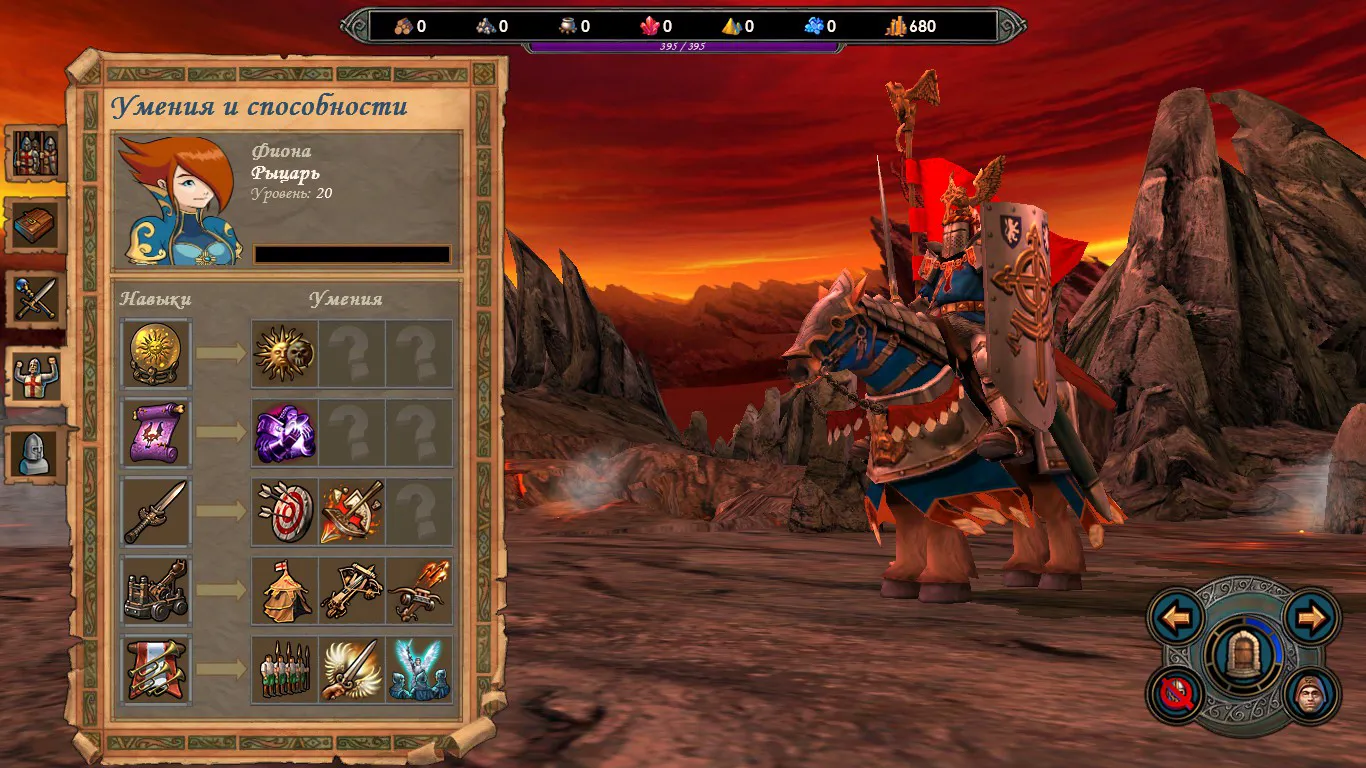
Just for the record, I'll also show what the army could have looked like at this stage if I had carried it all along) and how Markal turned out by the end of the campaign)


Let's summarize the mission and the campaign as a whole...
Regarding the mission: I liked it — interesting, tough battles, despite seeming that the MC is strong and nothing can surprise him... Most likely, on the surface I wasn't supposed to fight but rather run from Sanctuary to Sanctuary. Still unclear where to get those sandals though...

Regarding the campaign as a whole: without going into details, I'd give it a solid 4. Personally, I missed cutscenes — at least at the start and end of missions. Could've added at least one Mentor in mission 3 or 4, since it would've been nice to make some strong troops in mission 4. Visually, the maps are great, I liked them. Difficulty-wise, mission 2 is the hardest. Disappointed by the Aidan bug, but nevertheless, you can trick the system and emerge victorious. Character icons are cool, I like that stuff. Too bad Markal doesn't have the Undead Recruitment specialty, but I guess it would've been too OP if it worked like in the original. Overall, I'm satisfied with the well-spent time and the work — I'd gladly play something else by this author) Something like that)

User Avatar
Auto-translated
So, I'm very happy that people are playing my campaign, and that only the boxes work in the second mission. Regarding the quest in the first mission, the peasants hid the Sword of Power in the haystacks (near the hut); it's a quest that tests your attention to detail. As for the second mission, according to the plot, Markel notices Aidan, who is on his way to help Fiona, and decides to eliminate him. I was creating a script for a hero moving from point A to point B for the first time; in the third mission, I was also learning how this script works, what gods are involved, and so on. As for the demons, well... typical AI – they run around, sometimes missing resources, sometimes getting stuck in a corner. What can you do with computers?
Dishonestly yours, Liza
User Avatar
Auto-translated
Florkingold
Campaign maps:

Town Governor

Regent

War

Farewell

Description: The campaign begins in 951 A.D., when Markel receives a city as a gift from Fiona. Becoming her advisor, he protects and guards the queen while simultaneously destroying everything she holds dear. For those who enjoy the storyline, each faction's tavern contains three rumors per mission, describing the current situation.
Notes:
It includes a mod by another user; you can install it using this link. The mod adds unique dwellings for creatures of levels 4-7 to the game. /topic/9247/ - thread about the mod on ХВ
Author – JonnyP
Thanks to BlueHavenHero and Andrei21 for making this campaign happen. The Heroes community is the friendliest and most understanding)
In the third mission, there was an issue where Fiona had to survive while leaving the map; both tasks could not be completed at the same time. In the last mission, there is a script that triggers a loss if Godric is attacked; it only works in version 3.1.
It’s nice to see myself mentioned in the acknowledgments, but essentially, I didn’t do anything)

Мои карты:
Падший рыцарь
Сердце Хаоса

Мои моды:
Визуальные:
Изменение внешнего вида героев-некромантов
Существа-жители и кое-что по мелочи в городах Ордена Порядка, Некрополиса и Инферно

NCF-существа:
Странствующие рыцари
Наемники

Auto-translated
I can’t seem to complete the second mission; there are no resources, all the units are weak, and I can’t develop the cities without resources. I just run back and forth, and it’s not interesting at all. I played for a month, building only skeletons and peasants, and then I quit.

Statistics

Welcome our newest member: Emil