Hello everyone.
Please tell me what I need to do with the archangels in the first scenario of "New Threat"?
After their conversation, I received the quest "Pass the Angel Post," but it simply says that I need to fulfill one of the conditions for passing. However, no one tells me what those conditions are (and there was no pop-up text or anything similar).What do I need to do?)
P.S. I suspect that I need to dig up the Ash Tear, but I'm not sure.
Posts from Awakening of Evil
Added after 1 hour 54 minutes
It's still not entirely clear. If you need as many as 75 gems, that's a problem. Because after searching the entire available map, I found about 10, and there are a couple more piles lying around. But there's no market to exchange them.
Well, maybe fewer, but definitely about the gems. Later on, the devils will ask for something like crystals.
If all else fails (I vaguely remember), you can just kill them.
Help, what should I do with the scout in the first mission?
Greetings, I want to share my walkthrough of this campaign (so far only the first mission, due to its impressive size). I've heard about this author (though not sure) something like "Master's campaigns, but I won't play them" (a remix in my opinion). For now, briefly about the first mission — despite some nuances, I liked it completely. The map is huge with tons of locations, everything is beautiful and well-crafted, some things are cleverly hidden, plenty of places for leveling, a massive number of artifacts too. In short, there's room to stretch out, and I won't lie — I managed to beat it in 12-13 months of game time. Seems like a long time, but hey, that's how it went. Let me go through it all in order...
I'll divide it into conditional stages: Start (where we need to get to the surface), the surface itself (side quests, avoiding scouts, etc.), the second part of the surface (we dig up the grail and head underground), and then the underground...
Our antagonist is Sigrif, and according to the map's lore, some Dungeon lords have returned to their old ways and want to destroy Igg-Shail with the support of the horned ones, naturally. We, as a super solo hero, want to pass through elven lands and deal with these traitors (maybe not exactly one-to-one, but that's the main gist of the first mission)
Mission 1 - A New Threat (Start)
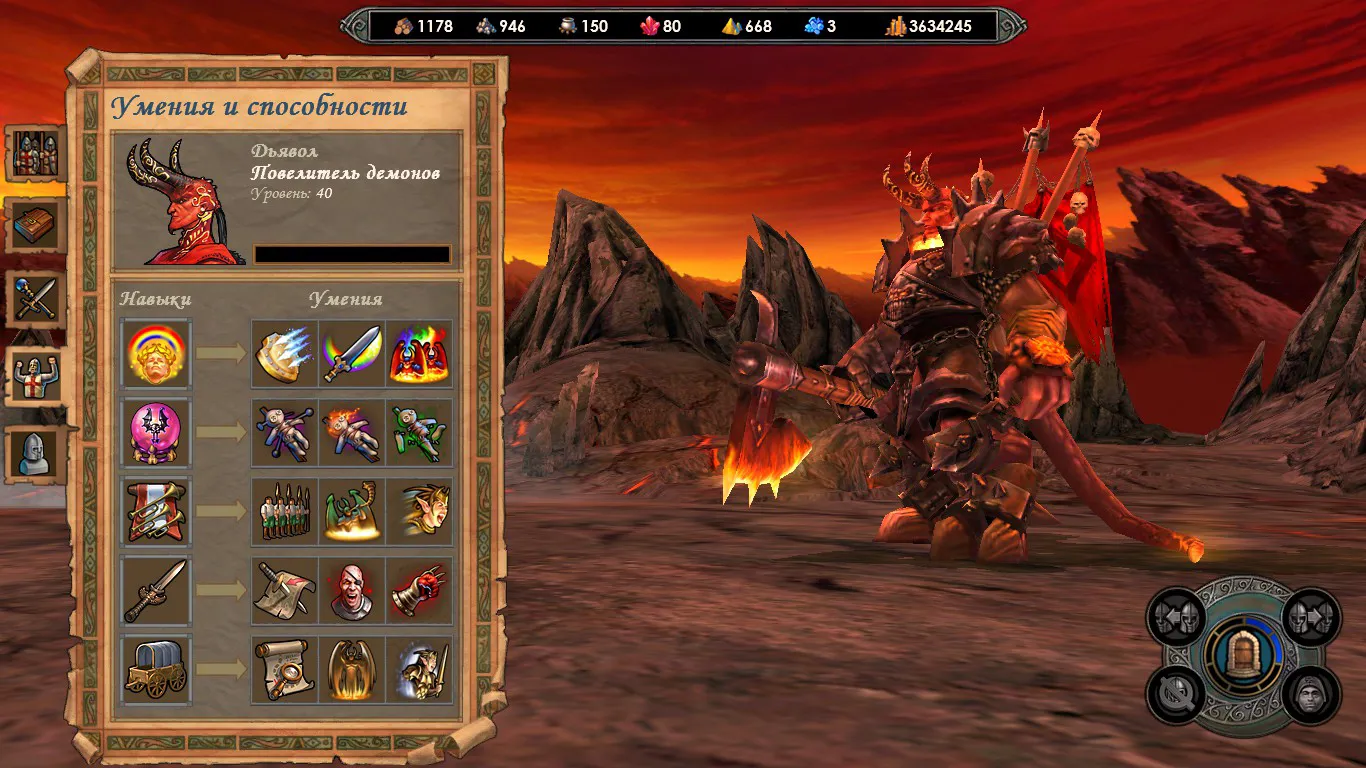
Our protagonist starts his journey from the dungeon — a specialist in initiative + dragon summoning (the secondary skill seemed like garbage at first, but after understanding how it works overall, or rather where the extra dragons come from, it's quite decent). Let's say he's Raelag on max settings. Our task is to get to the surface. The location itself is fairly small, but you'll need to hustle here. I took the starting bonus with furoks, I think. After looking at the stacks and running around a bit, I realized the first fight is kiting a zombie stack with furoks to level up faster. While we're weak, my plan was that we need fire warriors, can't do without them, seeing the strength of neutrals. And as strange as it sounds, I didn't have to wait long — got summoning with fire warriors on the first try, and even at the start I picked up an Elemental Waistband (what luck!). There's just one catch though — with Knowledge 1 you can't summon many elementals. I wasn't very lucky, and most stats fell into Attack (until about level 11 I think)
There's a cool magic school, let's call it that, where they can give us one of the magic schools of our choice (or improve existing ones). I chose Summoning to get Expert Summoning for fire warriors as early as possible...
Also along the way closer to the exit there are 12 buttons (I think) — stepping on them you can either lose something or gain something. Nothing complicated — grab a piece of paper, write down each button, and follow the optimal route...
Before leaving the underground, there's a witch hut guarded by a stack of undead dragons. It's worth taking it, because in my understanding, without Logistics on the surface there's nothing to do. Then we head out to the surface where the interesting part begins.
Stage 2 - Surface
And a bit of frustration when you seem to already have a high level but your protagonist doesn't look like a Warlock...
In the prophet's hut we get the first side quest, which seems simple enough — capture all peasant huts on the map and I'll reward you. But don't be fooled — almost every hut owner needs something from you, and for the hut to change to your color you need to do something (find my wood, pay the treasury, kill zombies, kill wolves, burn a village, bring an artifact, etc.)
All would be fine, but after some time the first scout appears (don't remember exactly when, but nevertheless), and here a gameplay feature gets added. Though at first we don't really understand what it's about — a scout is a scout. However, we mustn't engage him in battle, and even if we do, he has strong armies that will wipe the floor with us (although later you can accumulate power and take out the scout, but that will only stroke your ego while the mission fails..)
At first glance it seemed quite difficult — you need to do stuff and run away from them (and later there will be two of them). But thankfully there are safe zones that they (the scouts) don't enter, and they don't just stand near the zone waiting for you either. The first one is the Sanctuary...
You need to sit there for about 3 days to have room to maneuver, then continue doing your business....
We also visit a second prophet who says we need to clear all ruined human cities cursed by the undead, saying he'll thank us
Damn, it looks beautiful...
There are also minor side quests we encounter along the way. One of them is freeing assassins from encirclement; there's a similar one with furoks (the spots where they're being beaten are highlighted). We simply defeat the attackers, the saved stacks join us, and their tier building gets constructed (War Academy/Blood Arena)
Below is just a screenshot of the moment when I didn't understand why the hell I had such a level but so few summoned drakes
And actually nothing seems too hard until you gather enough mass so that breakthroughs aren't questionable, but at some point a second scout appears. Leveling mostly stayed the same until the end of the mission.
And here a problem arose — I honestly thought for quite a long time about how to complete the red keymaster quest. They won't give us the key until we bring the Necromancer set. Doesn't sound too complicated, but there's no safe zone there, and we simply can't manage to clear that area without falling into the elves' clutches. I tried this way and that, until it finally dawned on me that doing it with Sigrif is practically impossible. And nobody said it had to be him — so it could easily be done with a cockroach, Sinitar for example.
Hopelessness....
And jumping ahead, I should say that opening the red guardian isn't necessary — more precisely, I advise against opening it, because then 2 elves will enter that zone and you'll have to flee from them there. Actually, you can enter from the top-left corner, where the sands are, and where we save the furoks there's a passage. If we go there with Sigrif, the furthest they roam is the sand, and they don't go further. But if you open the guardian, they'll roam everywhere.
About SAFE ZONES — any farm field behind a fence, bots don't go there. Also, standing on green markers, like those before ruined castles or before graves — oh right, that's another side quest where we need to go to the cemetery and to complete it, stand on the marker and fight an undead stack...
About Sinitar — after thinking long, it hit me that Sigrif should keep running where they don't chase him, while Sinitar clears the zone. To do this, I leveled him in the Town Hall with elemental gear — Axe + armor (to strengthen elemental chains) + Evercold Icicle (until you find him something better)
And here's our boy going pish-pish ololo — tough, but he fights off four artifacts, and we can calmly deliver them and get the key. But again, I repeat — I don't recommend opening it for you)
The funniest thing is that any hero can turn in all these side quests, and since the elves show interest mostly only toward the protagonist, that plays into our hands (they aggro on cockroaches only if Sigrif isn't present, or if they're not in a safe zone, or if you deliberately expose yourself — but if Sigrif and a cockroach are standing together, the first target they run at is Sigrif)
Further along the way we'll meet Archangels and Crystal Dragons who ask for resources for passage. I didn't have any, but without much thought, I wiped the floor with them without much difficulty...
A few battles that I think deserve attention:
vs GnomeStack
vs 750 crystal dragons
vs ElfStack
Phoenixes for passage to the underground entrance
vs Phoenixes (for mentor)
One more thing someone might find useful — one of the peasant huts asks to find their ore. We see a cart but no bandits themselves. Here an alt will help — among the trees a stack of brutes will light up, or here are these very "bandits"
Now let me tell you straight about something I don't understand why it is, but it is. If you find any tome of magic, don't rush to rejoice — as far as I understood, they only contain levels 1-3 spells, maybe even nothing at all... (since I couldn't cast spells properly, I can't judge adequately). But the fact remains that TOMES OF MAGIC are USELESS specifically here. Yes, if you suddenly need a specific spell, you'll only find it separately by clearing mage towers — there they give you scrolls and wands (Resurrection, Blind, Vampirism, Implosion, Stopping Cold, Frenzy, Heavenly Shield, etc.). Maybe it's a map feature, but damn, why the heck...?
As we complete additional quests, we get hints about the Grail's location and parts of the map are revealed. Advice: if you want to read the hint, either screenshot it or quickly skip the map fragment reveal, because while you're looking at it, the message with the hint becomes unreadable (besides that, we get an army and various goodies). Not to spoil too much, I won't say the exact spot where the Grail is. Let's just say — when a couple fragments remain, you'll understand where it is, but you won't be able to approach it... At first I thought it was some kind of bug, but no — it's a feature that adds even more spice to this map...
Funny when we approach this zone and go to the prophet — he says "you must have spent quite a lot of resources to get here?" I'm thinking to myself, yeah, a whole lot of "0"s, but whatever — his quest is to capture all mines in the vicinity, there are three of them, and you can return for the reward. And if resources are truly tight, you can feed a hero for a small amount of resources. That's amusing, of course, but I think I'd rather keep mine
Also on the way to the center there will be a refugee camp (which again gives a side quest to capture all dwellings and gives a hint that it's one of 12). No problems with that either — if you did everything else, there won't be issues...
Then we arrive at the center, but don't rush to the prophet's hut. Instead, head straight to the tavern (or thieves' den) — there, for a certain fee, they'll reveal the last fragment of the riddle map, and you'll know for sure where the Tear of Asha is. Also, while Sigrif is here, either pay the phoenixes or take them out (I took them out — battle log above)
Let's summarize this stage: everything is cool and great, lots of quests, everything is well-designed overall. The only slightly annoying thing is having to frequently upgrade units when your army slots are full and there's a stack of the wrong upgrade grade. Overall it's not a problem when you have cockroaches with logistics, but it does happen — even the bonus army given from side quests isn't always suited to us, so stay alert. Tomes of magic are useless, and it seemed like we handled it — soon we'll enter the underground and everything will be fine. Well, not quite — moving on...
Stage 3 - For the Grail and into the Underground
As I said earlier, don't rush to take the hut because we need to prepare. Jumping ahead — he's the key keeper, but for him to give us the key, we must prove our strength by bringing him the Tear of Asha. We already know where it is, know we can't reach it, but after watching the cutscene, we'll be allowed to stand on that spot and dig it up... According to lore, Faidaen sends Ossir and Anwen (new scouts) — though one of them will be roaming (with an army fit for a god), and the other will be waiting right behind the guardian (and that's the exception when we're allowed to beat a green one)
And before activating this script, I recommend preparing and doing it like I did. What do I mean?
Overall, we have 4 heroes — anyone can approach the hut, so I left a cockroach there, and the other 3 closer to the tear. My order is simple — make a chain to get the protagonist with the Grail as close as possible to the path to the center.
Everything happens on day 7:
- one cockroach at the hut activates the script
- another is already almost at the excavation site of the tear — after activation, we're allowed to move to the needed position
- protagonist + cockroach stand at the stable to take it the next day
Skip a day, put the cockroach on the excavation, another cockroach in a chain so that the day after excavation he passes the tear to him, and place Sigrif within movement range of the second cockroach who will pass the tear. Ideally, Sigrif goes through several portals and ends up on the grass zone, where we need to stand in a specific spot so Ossir can't reach us.
- then grab the flag and haul ass back at full speed
Ideally we stand here so he literally can't reach us by 1 tile — a couple of save loads and it works (all cockroaches have expert logistics with pathfinding)
Then thanks to stables we even pull slightly ahead of him, then along the way we reach the center, can pick up the Grail with a cockroach and turn in the quest, getting the key. But don't forget to upgrade dragons from Black to Red, because the League stack before the underground entrance — you'll see for yourself what it looks like and compare with yours to avoid losing unnecessary units.
At this stage with such an army there were no problems with Anwen whatsoever, so I won't dwell on it much
Sigrif vs Anwen
We enter the underground, see a cutscene, and move to the next stage...
Stage 4 - Entering the Underground + Scenario Finale
According to lore, we made it and must take everyone out. But our friend in stockings calls daddy Raelag through a portal and tells him about our deeds. To prevent information leakage, we need to eliminate Ossir, who's about to report to the capital about our adventures. Long story short — bring in Raelag
As they say, an autobattle is an autobattle))
Nothing terrible actually — a couple of buffs and it's in the bag (I think I managed slightly better with my build)
Raelag vs Ossir
Here too there are a couple of nuances: Ossir stops moving from the moment Sigrif enters the underground, and starts moving from the moment Raelag exits the underground. So before exiting the underground, skip a turn to have full movement points, do it on day 6-7 to reach the stable next week along the way, and head toward Ossir. No problems here — the only downside is that after this there's nothing to do, and unfortunately only Sigrif can go into the underground...(
And finally the finale — the underground. Here, in my opinion, there are no problems. Our task is to take out everyone — there are several castles and heroes. Honestly, judging by army strength, only Lethos seems strong, but if you meet them in the field, the enemy has no chance. If enemies are in a castle, you'll need to fuss a bit, but not too much...
The main build is as follows — the only thing is when I found the last piece of the Dragon set, I abused dragon growth and sometimes took Scroll of Vampirism
And finally I saw the specialty working properly with summoning extra dragons
Namely that it's a percentage of the base ones)
In the underground itself we collect 1 dragon artifact to enable abusing the set, and here we have 4 League towns and one demon town. None of them caused particular problems — methodically clear everyone and finish the mission
By the end of the mission my army looked like this
And a few battles I simply saved
Sigrif vs Sorgal
Sigrif vs Deleb
Sigrif vs Lethos
They're actually quite strong, but at this stage with such a protagonist there are no problems anymore. Overall, everything depends only on you and how many losses you're willing to take))
Let me sum up the mission overall: I really enjoyed it. Despite seeming like there's too much of everything and everything takes too long, damn, it doesn't cause aversion — on the contrary, it's a challenge to complete everything, and you want to keep playing. From the downsides I noticed — I don't know about others, but I had fairly frequent crashes, and that was somewhat annoying. Not during actual gameplay, but during save/load phases — yes, I had to do that often, and sometimes it burned when you fail, load, and the game just crashes. Happened about 10 times I think, maybe more. Not that it's a big issue, but it was irritating...
Another downside — one of the League towns in the underground has no name label. Not critical, but it exists...
On that note, moving on. Depending on mission length, it'll be either one post per mission or one post per two missions)
Greetings, ladies and gentlemen. Well, I FINALLY managed to beat mission #2 - "The Outcast's Path" and I want to share my vision of completing this scenario. In short, two feelings were fighting inside me: damn, this is BRILLIANT, and damn, I'm so SICK of it... Let's go through everything in order...
Lore-wise: our protagonist's actions, while effective, actually yielded little results — humans and elves united in an alliance against Ig-Shail, and Sigrif, despite all our efforts, is exiled to the lands of outcasts, where supposedly there's no way out, and we'll be stuck there until the end of our days...
At the start, we're greeted by a nice cutscene, and as a farewell gift, our bro Sinitar (who, oddly enough, really did play a significant role for me in the previous mission) gives us the Boots of the Swift Journey. Right off the bat regarding starting bonuses — feel free to skip the green boots, since you'll find them later anyway, so just ignore them...
From the start, we're offered two paths. One that's supposedly easier, and one that's supposedly harder (though it turned out to be exactly the opposite)
Let me start with the option that seemed easier (at least at the time)
From the start, there are a few small fights, a mini-quest to increase your army from the prophet's hut — if we bring him some clover, which happens to be right on the path before him. Oh yeah, I forgot to mention: right from the start, we're asked to choose between the simple version of the game and the hard one. I chose the tougher one, so I can't tell you how it plays on normal — probably fewer stacks guarding various loot, but who knows, maybe someone who played the easy version can chime in
Well, whatever, we don't look for easy ways...
And further on, we can either go through the portal (which lets us get to the surface immediately — I did that the first time and regretted it, eventually finding it easier to restart) or take the outcast's path and go through the labyrinth
There's nothing particularly difficult there — just beating up 4 stacks of pigs (Minotaur upgrade). Just in case, here's the battle
vs 4 stacks of Minotaurs
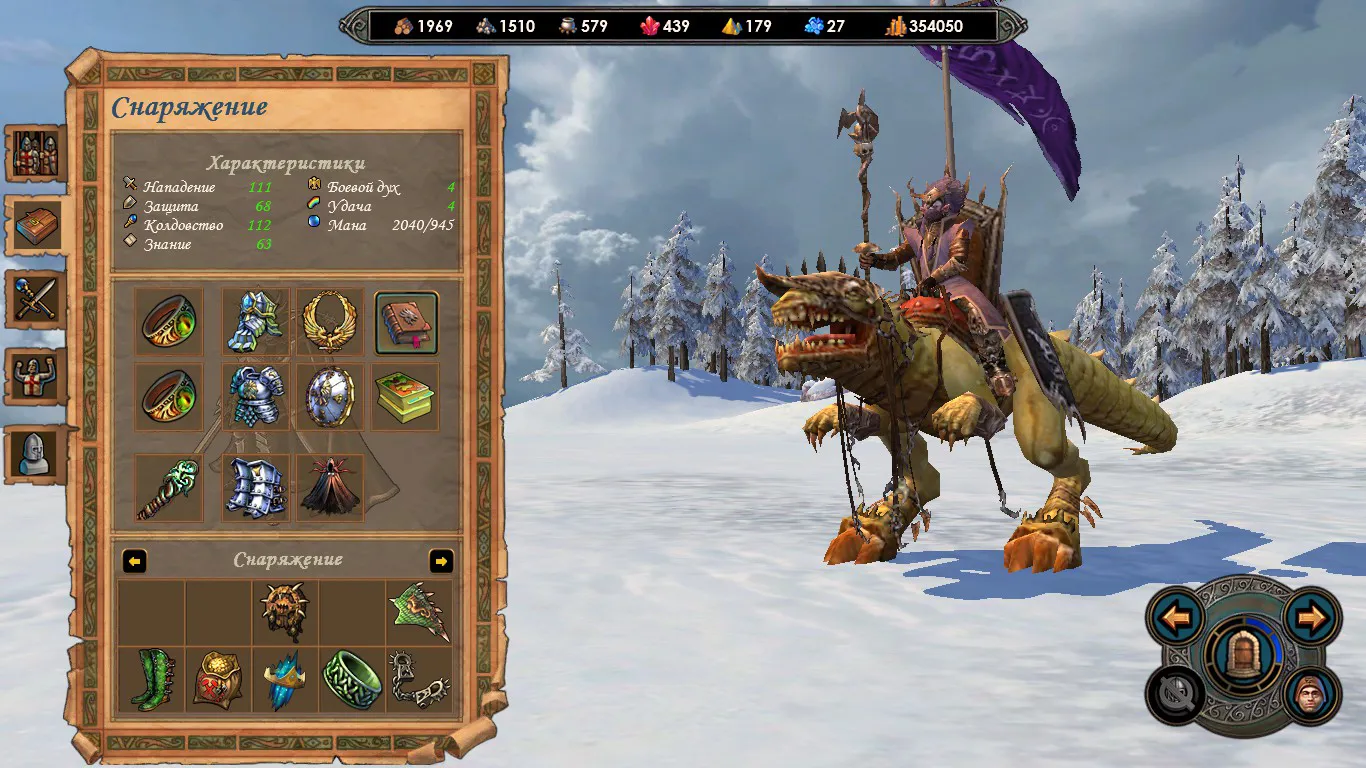
And after that, our hero gets heavily downgraded, turning our imba into this. And on top of that, stats like a level 1 hero...
But at least it leads straight to the surface exit, bypassing the labyrinth. And it would seem — hey, that's great, right? Our main goal is to get out of here ASAP, not wander through labyrinths. Well, I paused there and decided to quickly check what happens if I choose the other path
Turns out, as it seemed to me at the moment, it was even worse... namely, same stats, but they took away even more levels
Looking at that, I thought — nah, this is nonsense, they made him even dumber. Better reload where I am near the exit and explore the labyrinth — why did the author bother making it if you can just skip it? Gotta explore it...
THE UNDERGROUND LABYRINTH
Actually, it's very well done, as much as possible in a turn-based strategy. If it seems too easy (it's actually not hard), you can skip the minimap and then have fun wandering around blind. What I liked is that, roughly speaking, we clear it in one day — specifically, movement in the labyrinth is unlimited (well, you will stop when running full distance, but whatever). And here's immediate advice: before getting "zeroed," save up as much mana as possible, because stat-wise we'll be a level 1 hero. Sure, over time we'll gain something back, but conserve it for now. This can later be abused with "Dark Ritual" — when you've spent all your mana and have some amount of knowledge, and although wells exist, they can only be used once, whereas here you can use the ritual as much as you want
Continuing — why my choice was wrong, but nevertheless... I don't know if it's a bug or a feature, but if we explore the labyrinth from the exit rather than the other way around, the level-ups we collect don't give us stats right away somehow. Why am I saying this? In the end, my Sigrif came out at about level 28 with very low stats, and I realized there was nothing for us on the surface, especially since there'd be an obstacle there that would annoy us quite a bit early on...
And if you skip the labyrinth, you'll miss a pretty interesting site quest — "Chronicles of Dominance," a story about some Dominion. Won't spoil further; let's just say an old acquaintance will meet us and conditionally help us with this matter.
Anyway, underground there are, I think, 4 such places where you need to find the lore pieces, and honestly, it's useful to remember the info because it'll come in handy.
And the underground itself ends up looking like this...
And here's the hero I ended up with when I explored the entire labyrinth from the exit. At that point, I wasn't losing hope and kept moving forward...
Agreed, a very, very powerful guy, almost level 30....(
Moving on to the next part — the surface, and this is something else... MILLIONS AND BILLIONS OF QUESTS — which are cool, but the running around got a bit tiring. I tried to complete everything, but to keep it simple, I only failed a couple. Maybe someone who played can help:
1. Where the alchemist (adept) in the human city needed three ingredients — two of them are obvious (meadery, winery), but WHERE ARE THOSE DAISIES? (southwest of the castle) — searched and searched, clicked and clicked, couldn't find them...
2. Stealing the ARTIFACT from the centaur sentinel — also couldn't figure out how to do it. Maybe because my brain was already fried. No matter how you approach, he always goes "oh you scoundrel" etc...
3. Finding "Sita" (I think) — some thief who stole a cool artifact
4. Joining the thieves' guild (probably if I had stolen the artifact from the centaur and found this "Sita," the quest would have completed.)
That's jumping ahead though. For now, let's continue from the moment we reach the surface
The surface, briefly lore-wise: nobody knows the lands of outcasts or how to escape from here. Humans, Elves, and Orcs continue to fight over this patch of land.
In a nutshell, there's a VERY COOL (almost bug-free) system here where we build reputation in each city to progress further in the story. But why work for anyone when we could just leave immediately and finish the mission? That would be simpler if it were possible...
On my first attempt, I basically found the exit right away and met our old acquaintance Dawson (the monk from the previous mission, who is anything but a monk — but that's not for this mission), who kindly explains what's what and what to do...
In short, there's a portal that will lead us out of these lands, BUT — the portal requires 4 stones (can't remember the name). Simply put, we need 4 stones, one from each faction:
- From Humans
- From Orcs
- From Elves
- From Demons (easiest to obtain in my opinion)
To get them, we need to achieve high standing with one of the sides to access their final quest. You can't be friends with everyone, since some tasks inevitably conflict with another race, forcing us to choose where to earn reputation points — with these guys or those...
Let me show a few battles from the first attempt, and what Sigrif looked like the first time...
stack Harbingers/Banshees
undead stack
And a battle where there's nothing difficult except it takes SOOOO long (like most battles up to a certain point)
kiting 200000 peasants/conscripts/landlords
Everything would be fine, all fun and games, until a certain point — when Deleb comes out and we absolutely cannot break her down with this kind of hero. Honestly, I tried many different options. There are safe zones where she won't follow you, and you can farm her a bit (if you capture the gold mine in the center with the humans' help), but at that moment none of it helped me, and I realized I needed to go a different route — namely, doing the labyrinth from the START instead of the END
A minor note: the perk = secret reward (or however it's called) in the character tree isn't worth taking because it won't give us the bonus a second time — I already had it from the previous mission. On that cheerful note, I skipped it and started over via the other path...
Without beating around the bush, let me show the protagonist you get if you take the outcast's path (from the beginning of the labyrinth)
Now THIS looks like a proper boss-slaying daddy, much nicer and more playable, if you will)
for the green key
200k peasants ver2
Now for the most interesting part — the gameplay on the surface with the more playable version of the protagonist
Long story short, I went the Human+Elf route. If I understood correctly, it's nearly impossible to max reputation with all three, but with two it's totally feasible.
Jumping ahead based on feel — reputation built fastest with the elves, then humans, then orcs.
The first town where I settled in more deeply was the human one...
Along the way I completed a couple of quests just sitting on the map — namely, taking the gold mine from the orcs, and completing the Sphinx's riddles. I'll try to go in order as much as possible...
Yeah, there are actually plenty of small quests where we simply choose one side or another while traveling the map
Most such locations have a leader you can talk to, and he'll tell his story and what he wants from you. Either way, if you have a quest involving these objects and haven't talked to them before — meeting them fresh — after the dialogue you'll be offered to attack or not; the choice is yours...
After entering the heroes' town, we walk around picking up quests everywhere they're given (and they're not given everywhere — to get more advanced quests you need higher reputation, but they'll tell us that when we approach the building)
With the humans I picked up:
Quest from the meadery owner — "go check things out, what's going on, haven't you tried my honey?"
- The meadery is close to the castle; approaching it we see trappers burning it. Nothing complicated overall — just wipe them out, then water elementals spawn, and after killing them the fire goes out and the quest completes. Just need to return to turn it in and get the reward (mostly reputation)
Right nearby, the Adept (Alchemist) has a quest to poison weapons that will slay orcs outright (which I didn't do) — the easiest-to-find ingredient I found, but the daisies, no...
Also a quest from the monk — "we ran out of booze, go to the winery and bring some"
- Again, nothing complicated — just head to the winery east-center. They'll tell us they only have so many barrels; the rest were stolen by bandits. Those bandits are Hunters located not far from the portal (the one we ultimately need to enter). We take the barrels back and deliver them to the client
Quest from the quartermaster
- "We're low on provisions, could you gather some crates and bring them to me." Also simple — if you look closely, near the farms there are crates that don't highlight as targets, but when approached they disappear and we get a corresponding message. Collect them all and deliver
Don't remember whose quest it was — "a peasant owes money, get it back"
- That peasant is near the winery, with different options: a) kill the elementals near the elf city, pay off more than my debt, keep the rest; b) or jump the guards (orcs) and be done with it (I think I did both)
Arena (every town has one)
- Since the human one was first, it was relatively tough, but oh well, I'll come back later
Ore quest
- Don't remember where I got it, but I remember needing to give the guy 200 ore. Nothing hard, but lots of running
Weapon delivery
- As far as I remember, pick up weapon crates in the elf city and bring them to the humans
Alright, grabbed all that stuff, completed the meadery quest, then went to do the Sphinx quest since in my opinion it's a must-have for effectively fighting Deleb. To reach it, you need to break through a portal — I might insert the wrong replay now (either the breakthrough to the Sphinx or to the demon fortress + other battles I didn't mention but saved)
vs Hunters (I think at the druids' request)
1200 Assassins (for the gold mine, not sure though)
When reaching the Sphinx, he says "I won't help you just like that — destroy the demon fortress, then we'll talk." We're like "okay, with great pleasure" (one of the easiest battles probably)
demon fortress
And here we get the first sphere (needed to activate the portal)
Taking advantage of Deleb being dumb and wondering whether to take the mine or not, we maximize muscle growth. Anyway, what about the Sphinx — without beating around the bush, I'll attach all the answers below...
And after answering all the questions, we get a hefty boost — exp, stats, doubled army, and most importantly (in my opinion) reducing suffering — we get the Tome of Darkness, which spawns near the destroyed demon fortress. By that point we're already fairly beefy, and Deleb doesn't target us yet, so we go grab the tome. It's good on its own (though strangely there's no skill chain — probably a map feature). Whatever. Then I realize we don't really need Chaos here — why not embrace Darkness, since the opportunity exists...
Don't remember the exact timing in my playthrough (earlier or later), but near the human city there are two trees giving +level, and I really wanted to crack them open — which I did
vs 500 Phoenixes (for the tree closer to the meadery)
vs 800 Elf Dragons (for the tree north near the peasant dwellings)
Some periodic battles before meeting Deleb:
- After the meadery, I headed down the western side, so to speak. There was a mage stack I couldn't defeat yet, but artifacts that would eventually form the Empathy set — really wanted them, but not yet available...
vs 10k Griffins
vs dwarf stack
Came back to the arena and managed to beat Irina, but Dougal still wouldn't fall
Sigrif vs Irina
50k softie dwarves
vs 5k Ents
Let me pause on this battle a bit — it's not hard, but again quite lengthy, especially since I didn't have Darkness yet (had the tome but no magic).
I wiped them out and moved on, and then — ambush! And I'm out of mana(( and didn't save after the battle. Spit on it, decided I'll redo it another time...
Battles closer to the Mentor (although I think the Mentor was guarded by 10k griffins, but whatever)
vs 2k Devils (for the Staff of the Netherworld)
vs mage stack (for the Empathy set)
And after these battles, I finally face Deleb
- A word on tactics: honestly, the first fights mattered; later you could just ignore her... Through Hunters + Pendant of Frozen Embrace + armor for spellpower. All so that on the first turn, an empowered Ring of Cold could take out the ballista — since that's one of Deleb's main assets, wiping out ~100 Hunters on turn one. Berserking her stacks is NOT recommended — the bot isn't stupid and casts Vampirism almost immediately (sometimes instantly), and goodbye berserk. Take out the ballista, then Arcane Armor + Vampirism on the Hunters and grind the enemies down. Can also summon Phen (got Phen and the shield from the mage tower — or however it's properly called, you get it)
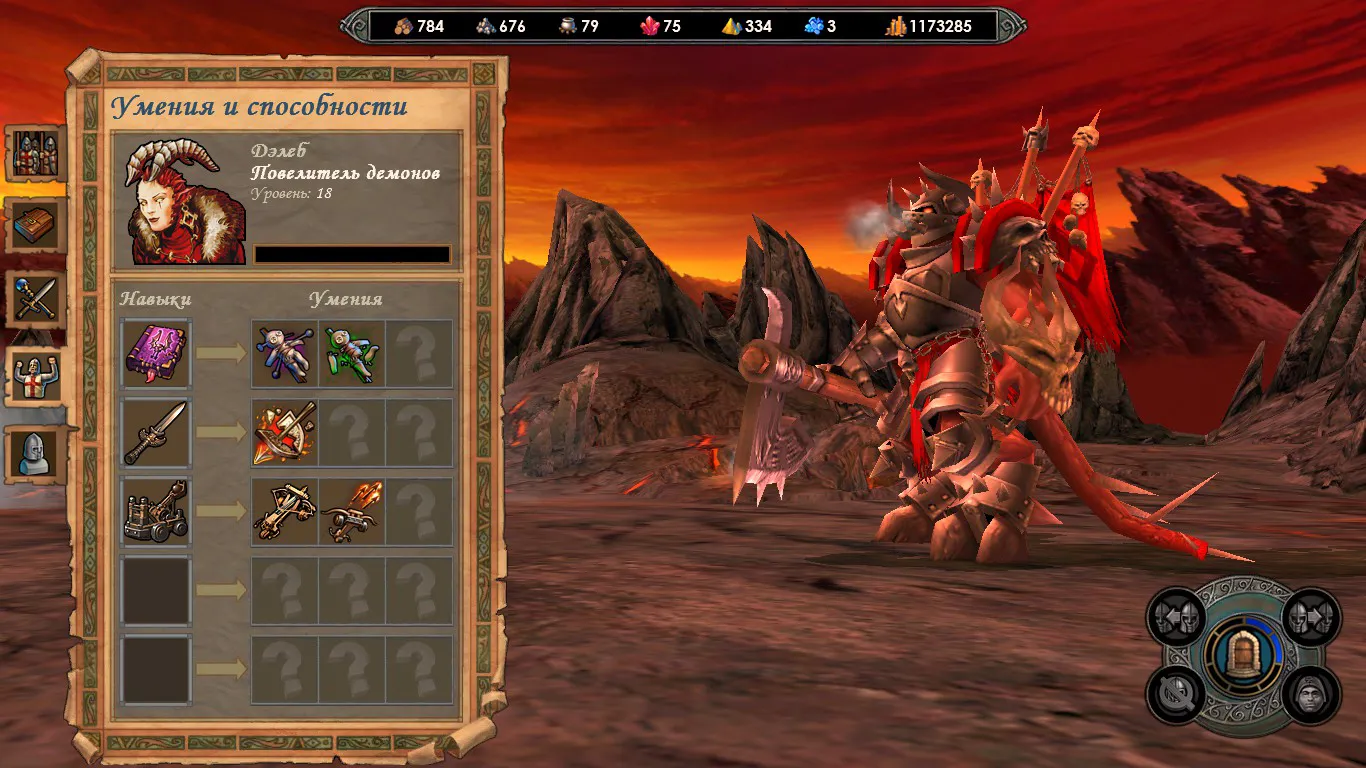
A serious lady indeed. But to avoid dwelling on her any longer, let me dump all the fights with her that raised any questions, so we never have to revisit this. Looking ahead, I'll say this: if we don't deal with her, she maniacally marches toward our castle (yes, there will be one later). Since I didn't have Town Portal yet (guild not upgraded), and even later when I did, having captured one human town but being far away, I couldn't make it back in time — thus losing 50-60 dragons, though I wasn't using them anyway.
vs Deleb 1
vs Deleb 2
vs Deleb 3
After the first battle with Deleb, I reached the Mentor and it became clear that Chaos wasn't really needed here, so we respec into Darkness, and so on, piece by piece
Spoiling ahead: leveled to 35 running with the Robe of Enlightenment, then took those two trees I cracked earlier, and from then on ran with half the Sar-Issa set (ring + robe)
Next, after the Mentor, there's an option to go to the bottom-left corner (I think there's a dwarf there who gives 200 ore), there are dwarves and castle ruins, then heading right we meet druids who give a quest to capture mines. Further along the path there's a Dragon Utopia, across from which is a portal containing a Naga city...
Oh, we'll have meat growth — HURRAY! Though resources are quite limited, but as they say, slowly but surely we expand it...
At this stage I'll have fewer precise details and will describe approximately how it went...
A battle that caught the eye and gave stats
vs 500 Colossi/Titans
Then returned to the human city to punch Dougal in the face, whom I previously couldn't beat without losses
vs Dougal
By then we have enough reputation, and they give us the human city + Elana, with nothing recruited in the castle. So we buy up Conscripts, and presto — almost no money problems...
We also approach the leader, and he gives a quest to wipe out the orc army standing before the city. Nothing hard at this stage — auto-battle handled it easily
Next, we can take the Order of Paladins quest — initially they don't trust us much, but our argument that Sigrif has done plenty for humanity settles it
- His task: find the Tears of Asha and locate paladins on the map — I think there are 5 stacks, fighting someone. Watch carefully; after defeating whoever they were fighting, a fragment of the map reveals. There are 5 total (I think). Find the tear, hand it over — he's delighted, grants combat stats and raises reputation
If I'm not mistaken, by this point we already have enough reputation to go to the leader, and we could storm the orcs — but more on that later...
Next, I approach the elven city. Honestly, I didn't remember their quests since I unknowingly completed most of them without even taking them.
Naturally, at this stage when our hero is a real big boss, the arena was trivial
vs Wyngaal
Though their main guy refused to talk to me until I cleared all arenas — human, elf, and orc.
Anyway, I should mention another quite interesting quest chain — the Temples of Ancient Evil (pyramids, 4 of them, holding parts of the Sar-Issa set)
- The quest itself is simple enough; the only thing I didn't bother with was collecting all keys first, and only then visiting the pyramids
Can't fail to mention one imba building, in my opinion)) Yes yes, the one that increases troop growth by up to 15 percent depending on the League town's level... Thanks for that, truly imba))
Another interesting battle — or rather, long one — is for the Cloak of Death's Shadow
5k Mummies, 2k Knights
So, the last city I visited was the orc city. Plenty of quests there too, though I didn't study it in detail...
Right at the entrance there's a fence with prisoners; you can take a quest to watch the prisoners
- Here there are a couple options: either rat out the one asking for help, or free him
Before reaching the orcs, we picked up a quest on the map to find a human spy in the orc city. And it's kinda cringe watching Sigrif tell everyone "I'm from Axel..." etc. Let me stop right there — the human spy is Daughter-of-the-Sky, who also gives quests. Through the chain, you can free the prisoners by luring them out of the castle under the pretext of hunting, then slaughtering them like fools
Portal repair
- I think it's just bringing a certain amount of resources
Arena (no problem)
Sigrif-Hagesh
Sigrif - Kigan
Steal the artifact
- Didn't understand how to do it and gave up
Arrows for the centaur
- Got them from the elves at the machine recruitment building
Deliver weapon crates for squads
Cleanse the cemetery of evil spirits
- Need the Ring of the Unrepentant for this; it can be taken from a crypt not far from the portal (the one we need to exit through eventually)
Hunting guild
- Bring bear, griffin, and wolf hides (somewhat hidden but findable)
Get boat blueprints for the logistician
- Actually a whole chain: go to the shipyard in the elf city — he's not there; ask the elf leader — he says his friend, the head of the human arena, might know where he is; go to him, he tells us the location, we find him, rescue him, and receive the blueprint in return.
Quests with artifact merchants
- They'll ask you to check what happened to the shop west of the castle. We saw it earlier, but nobody was there. After receiving the quest, go there again, return to report the situation to the client. He suspects it's his competitor — we don't think twice and kill him
Also, Urok asks us to explore the ruins in the bottom-left corner of the map for an artifact. We go there, kill an undead stack, get a feather cloak, return — and in the end he says "I don't need it, keep it"
Centaur riddle quest to squeeze money and a golden horseshoe out of him
And at this point I figured it was time to wrap up and move toward the finale...
So to speak, you can still take more quests, get an additional orc hero, then Krag + castle, then Gashak + castle — it all boils down to kill, kill, etc. There's variety, but I'm summarizing broadly...
With the elves you can take a quest to destroy orc camps — there are two on the map (with buildings), etc., etc. It tired me out a bit, so I went to the humans, took the final quest, went to the elves, secured their help. Though a bug popped up: "yes, we'll help," but step one tile away and it offers to destroy the orc camps again (impossible now since movement is restricted)
Then a beautiful scene plays — in front of the orc castle appear all those we helped (we don't need them at all, but Elana gathered everyone)
Entering the city, we auto-battle this
Wipe out everyone inside without issue
Sigrif vs Tilsek
And obtaining the final portal piece, we head to it...
There we meet Ylaya, who tells us that Igg-Shail has fallen and everything is terrible (how she ended up here is a good question)
Also, if instead of charging in sword-first you backtrack a bit, you can learn the final fragment of the "Ring of Supreme Power" story
Eventually we move toward the exit — there's a demon fortress that falls to auto-battle, and the gate to Hell guarded by 8k Devils, which we likewise won't even feel
because by the end of the game Sigrif looks like this...
So, let's sum up: Did I enjoy the second scenario of this campaign? Honestly, very much so. But despite all the positives, it's exhausting. Even just limiting Deleb so I'd slap her 3-4 times and done — sometimes I wanted to delete her with cheats rather than chase her around. But those are trifles. A huge number of quests — which can't help but please, and on the other hand, can't help but exhaust. And naturally, the scourge of it all is that in mission 3 they turn us into an AMOEBA again — except now we don't have the option to boost ourselves the easy way. And that's genuinely annoying. I'll probably take a break from the campaign altogether... Yeah, obviously you don't have to play on Hero difficulty, but damn — once you start on Hero, you want to finish on Hero. Running around for a couple days, I realized… it's hard. Well, that's mission 3
And maybe before tackling it, I should try completing what I missed in this one, just for completion's sake — or maybe someone can tell me where to do what I couldn't find. Overall, very cool — incredible challenge in my opinion, teetering between awesome and insane. Good or bad — to each their own. Well, someday I WILL beat it))
p.s. Minor bug, but still: even if Sigrif dies, the mission doesn't fail...)) (hope I don't get banned for this many posts))
p.p.s. After resting for a while, I want to correct a few things about mission 2 (addendum)
- Found that thief's corpse — turns out it was near the sphinx, and all I had to do was right-click the skeleton to see it was the very corpse
- Then returning to the thieves' guild, they said to catch the elusive one (forgot his name). The gimmick is he respawns in a different place every day, and to catch him you need the Shackles of the Last Man, which we get from that guy's corpse. I caught him near the peasant huts — the key is catching him within one turn, otherwise he bolts the next turn..
- Then following the guild chain, visit the Dragon Utopia — nothing hard
- Return and pay them money upfront — all good at that point — and afterwards they grant a stat bonus to the army and some items I believe
Regarding quest chains — in this case for the humans — no matter how hard I tried, my reputation ended at 96 (including the final quest). Although I still don't understand why they wouldn't let me into the treasury with a ton of rating. My only guess is that I never got to the orcs and didn't steal the gold — I lacked rep and couldn't farm more. But if I had been farming orc reputation, how would I have achieved such high numbers elsewhere...? Ah well, that's definitely it for this mission — onward to mission 3.
Greetings, ladies and gentlemen, I've finally made it here to properly tackle mission number 3, and in short, I'll say that despite a rather difficult start (personally for me), and naturally it's a bummer that our MC is again a level 1 scrub, while the starting stacks are quite strong — well, nothing to it, we grit our teeth at first, then take it easy, and squeeze the maximum out of it. Well, let's go through it all in order....
Mission 3 — In the Depths of Shio
According to the lore of this mission: After Sigrif and Ilaya escaped from the outcast lands, we end up in the center of Ashan, or to put it simply, in hell, and our main task is to get out of here and stay alive. Based on the intro cutscene, Ilaya and I split up to find a way out. And that's where our gameplay begins.
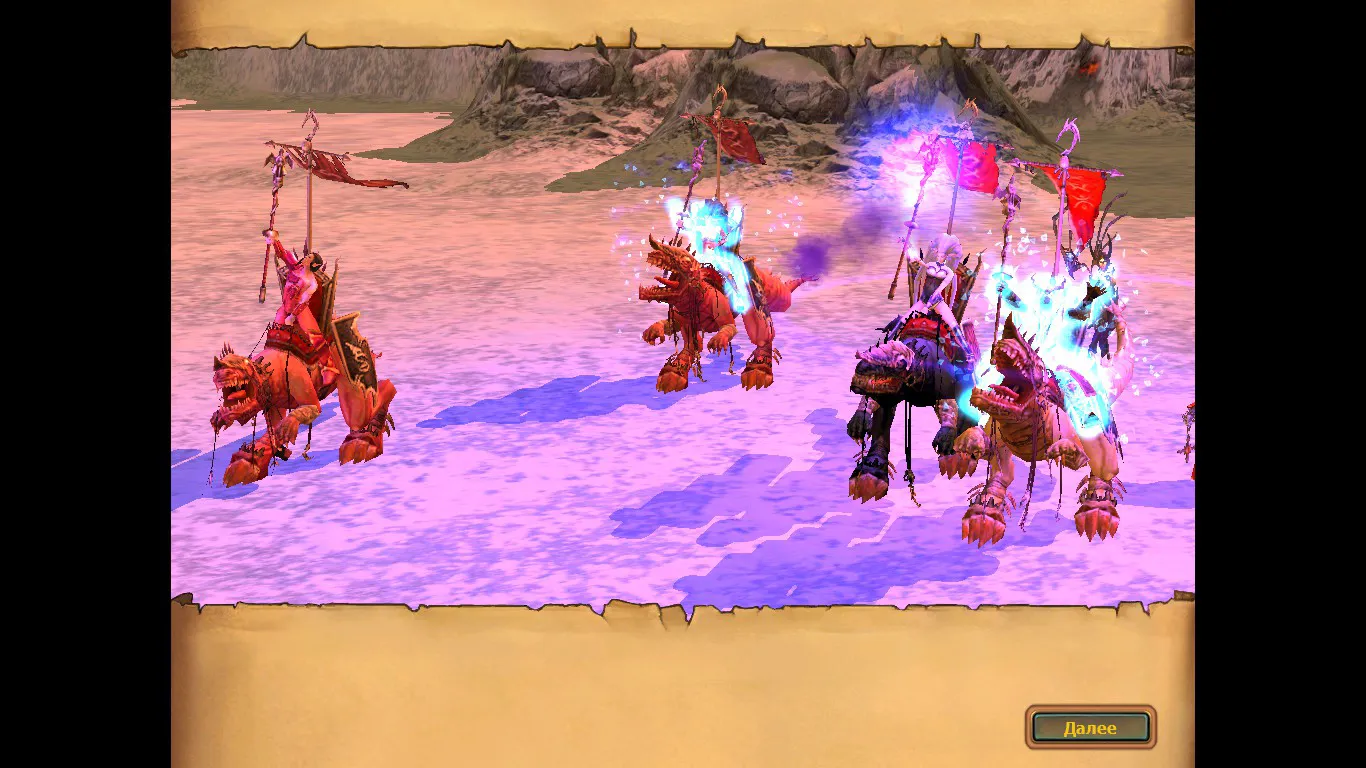
And naturally, our MC, after going through the portal, turns into level 1 ((probably in all 5 missions of this campaign we're in for pain and suffering to fully feel the power, but oh well, just thinking out loud. From the start, we're given a decent army, though right after the red boots, we run into a stack of Pit Fiends (and depending on luck, they may or may not have the Pit Lord upgrade) — naturally, as much as I'd like to play beautifully and with zero losses with a level 1 hero, that doesn't really work out, and we have to go for a trade-off
Start vs Pit Lords
- Yes, I understand this battle is far from ideal, maybe it could be done better, but after several tries, I settled on this one and figured, screw it, we need to play rather than try to come out dry from the water
To hell with these Pit Lords, but we move on across the bridge, and from the Gates, 3 stacks of Archdemons come out at "Many", and here, like it or not, it's another trade-off. I didn't save replays of those fights, I'll only show how I managed, for these battles, a lucky level-up in my understanding (let's just say I didn't stress too much, and the leveling tactic from previous missions worked for me, so I leveled the same way here)
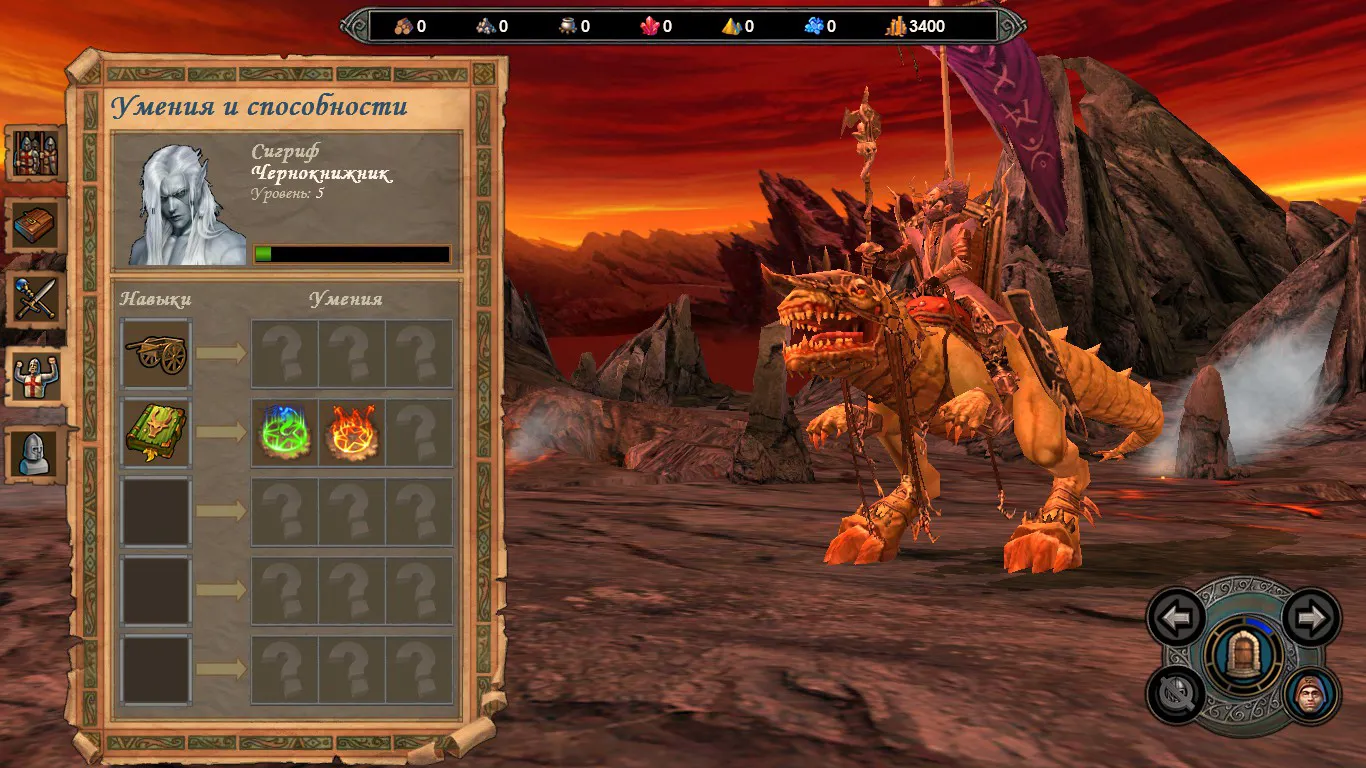
I didn't touch the 3 stacks of Archdemons, figured I'd go to the hut, and what a surprise that someone's alive here) he'll briefly tell us about the local area and ask us to bring an item guarded by Phoenixes. I thought, well okay, I'll try, why not. We go and take out the 3 stacks of demons, I upgraded the Hunters to Sins just in case, and the losses turned out smaller
Also along the way there were a couple of battles with Fire Elementals, but I couldn't break through the Phoenixes themselves, since I think there are 20-30 of them, and I have no idea how to take them out, so I gave up on that quest and moved on (I only returned to it when I'd already reached that location)
And we go to the first altar, where a dialogue starts, and we're given our first clear and explicit tasks:
- namely, to free the souls of imprisoned heroes in the altars
- to destroy all Inferno castles
- to find information about an ancient artifact (which is the Ring of Dominion later on)
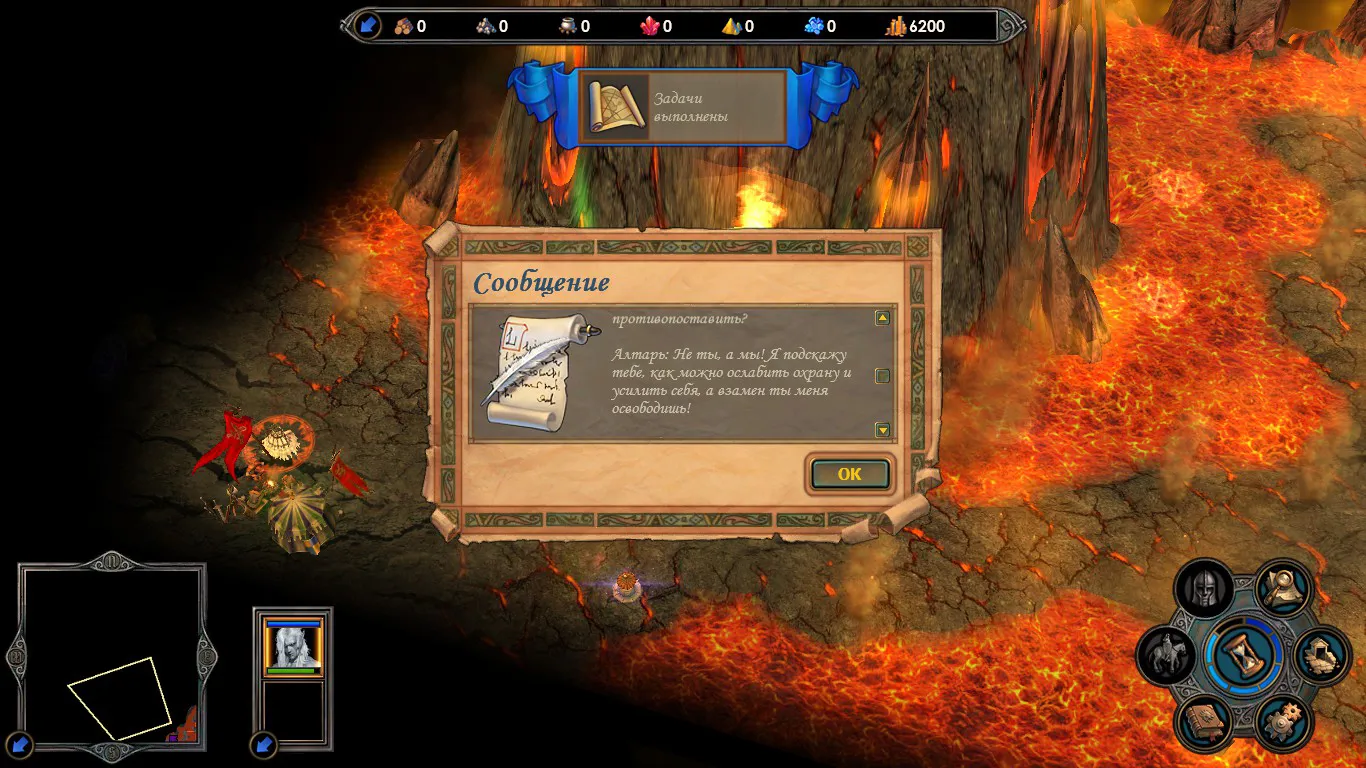
Further along the way, we meet Familiars that can't be killed, but you can interact with them and they give a side quest
- they need 200,000 gold in total, and in return they give us souls of Dark Elves — probably one of the most vile quests — they take gold once a week, and it doesn't matter if you have 20,000 or 500 coins, they'll still deduct it. Though, when 200,000 accumulates, it stops. If you don't have money by the start of the week, they'll raise the threshold to 5,000, and if you don't have 5,000 the next week either, then nothing happens)) (at least nothing happened for me)
Enjoying the scenery
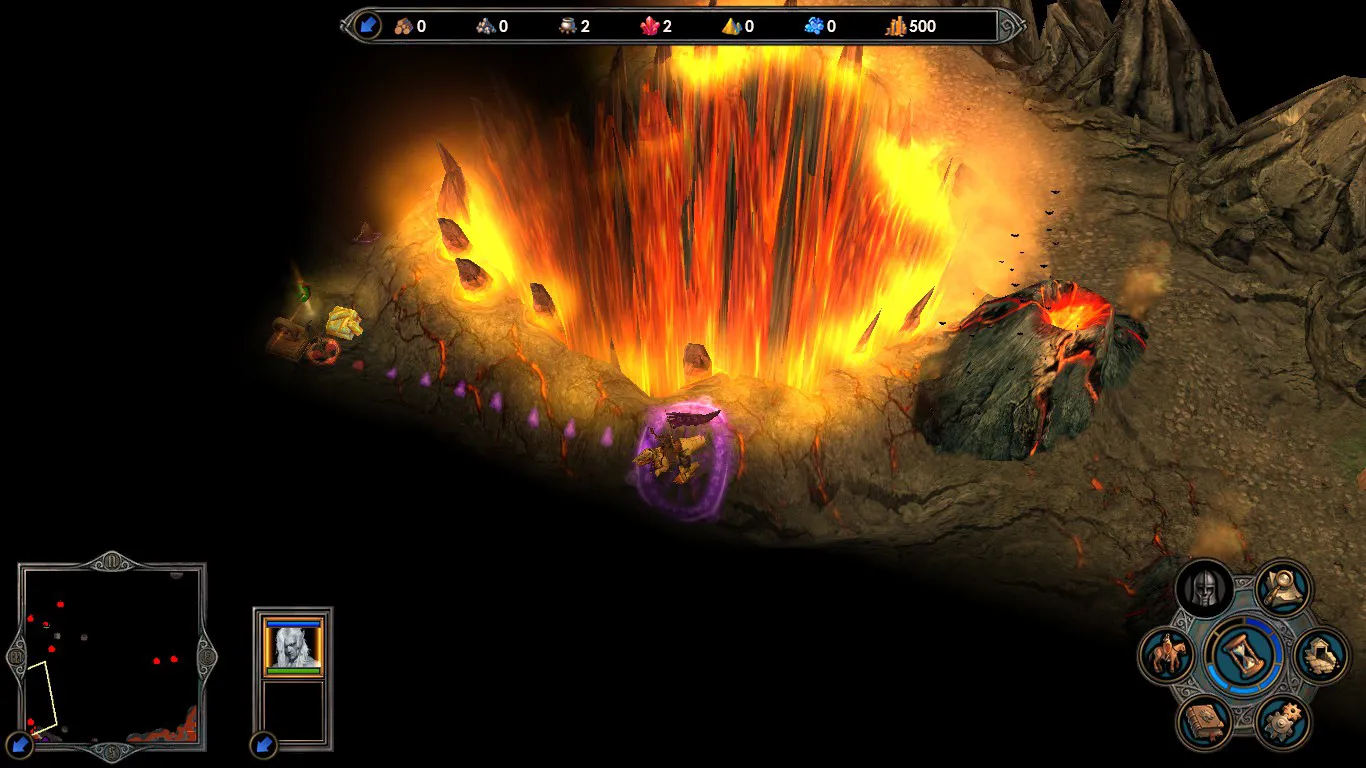
I don't remember why I highlighted this battle, but nevertheless, let it be here
vs Hell Chargers
So, we approach the first castle
Outpost before the 1st castle
And essentially, we move on to the first opponent, Alastor, and the first castle respectively
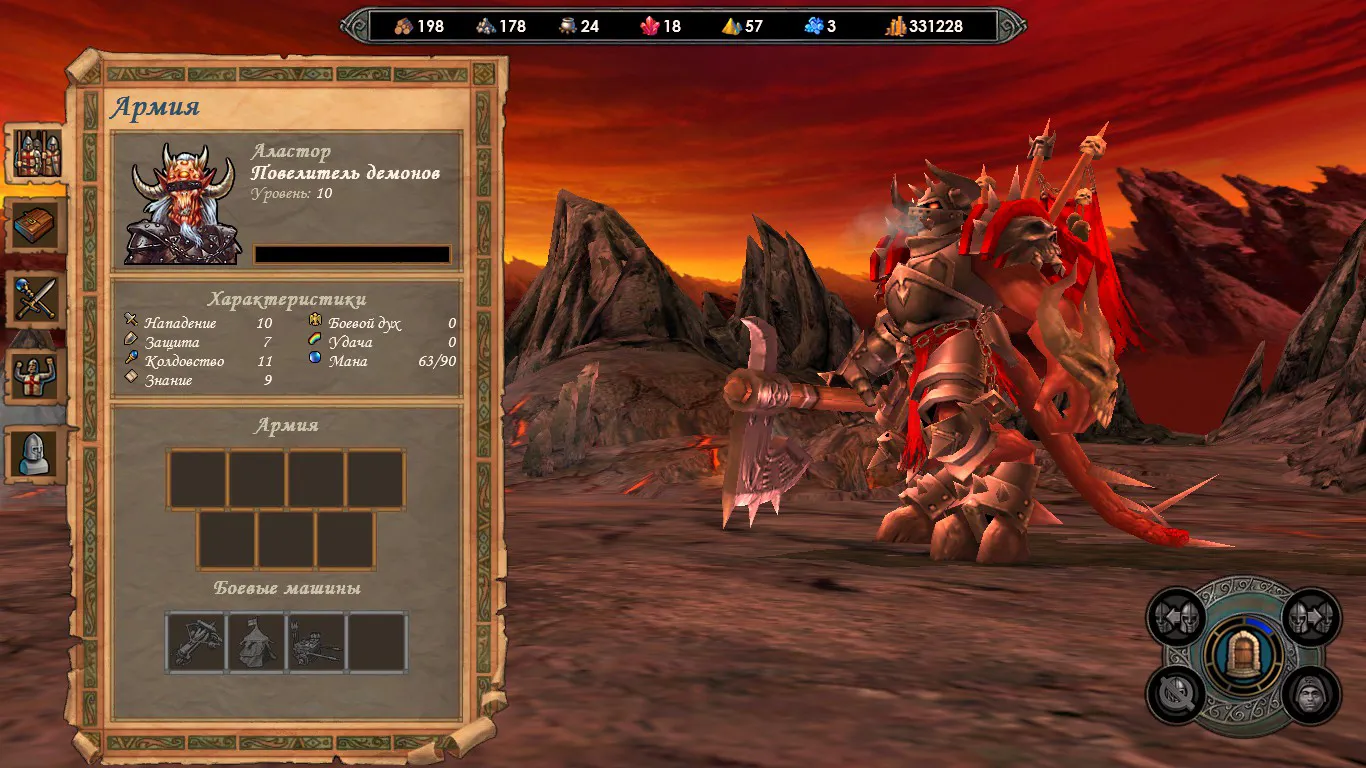
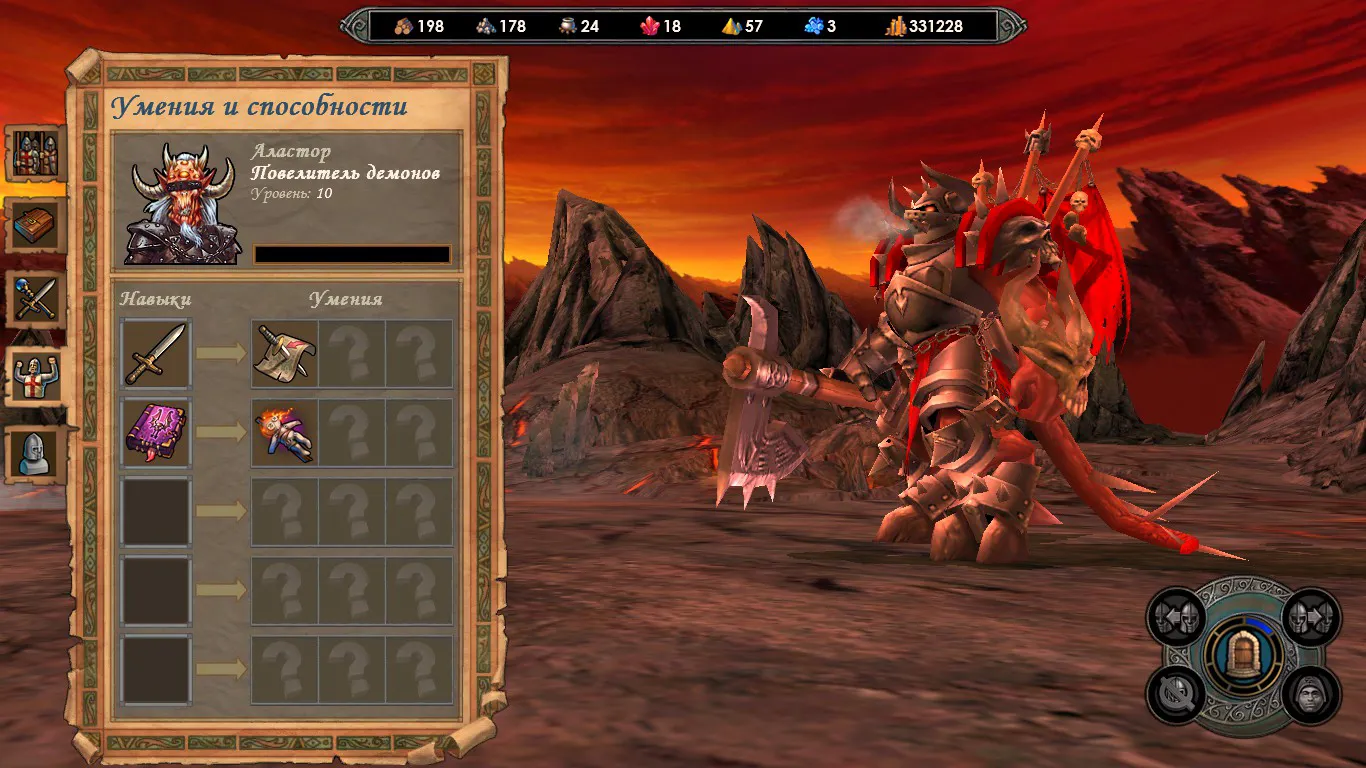
Sigrif vs Alastor
We go for a small trade-off, nothing terrible. Near the castle there are demon dwellings, and we're offered to capture them. I sacrifice the experience, thinking, why would I need them, but probably it'll come in handy later...
A quick remark right away, or maybe if you're going to play through it, do this. Don't approach the Familiars at the start, because right after leaving the portal, there's an artifact merchant, and you might be able to grab something useful (in my case, there was a Ring of Sar-Issa — not sure I'd have had enough, but hypothetically, after a week or so, I'd have come back and bought it, and then taken the quest. But as it stands, you don't have that time, because the Familiars will steadily take your money)
Well, we move on, there's already a shop here — if you have money, you can grab a gold sack, we'll pay off the 200k faster, money will accumulate faster, and you won't end up in a situation where those extortionists raise the threshold to 5,000 a week. Well, anyway...
Along the way, we meet the second tier of creatures — Greater Demons, who you can chat with, and they tell us something — in short, they ask us to bring the Ring of Celerity, which is located in one of the crypts (ironically, the last one). Well, we take the quest and move on...
vs crypt 1
And OH YES, there are reinforcements here worth fighting for. At first it might be a bit uncomfortable, but then no problem
vs 100 Devils
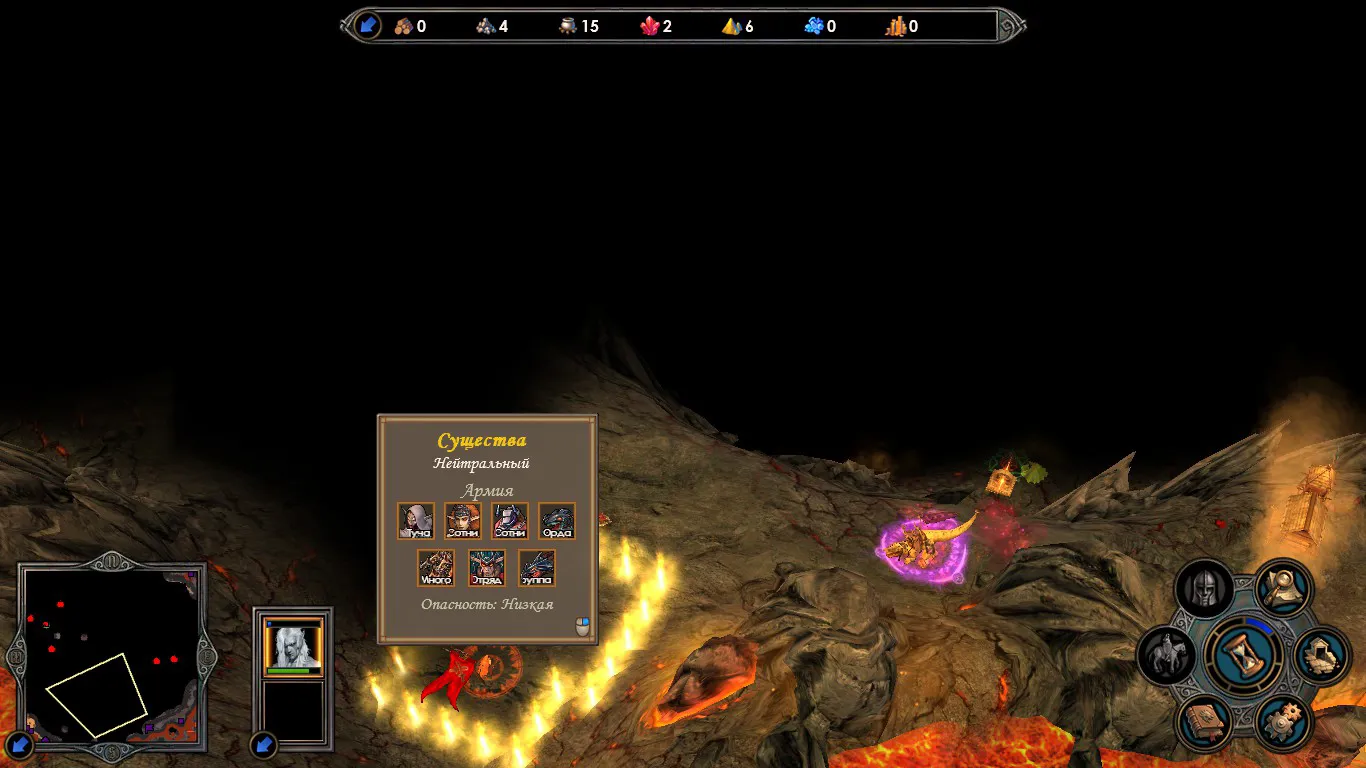
We move on, and along the way we come across a gate, upon approaching which info is shown about what's what. In short, you can fight and get something good, or vice versa (though I never encountered the "vice versa" in the whole game). Naturally, we're all for that kind of action. Also, it's cool how they did it — we see who we're fighting, they're like in a burning cauldron, and after defeating that stack, they fall. Seems like a small detail, but damn, it's so well done
vs portal stack
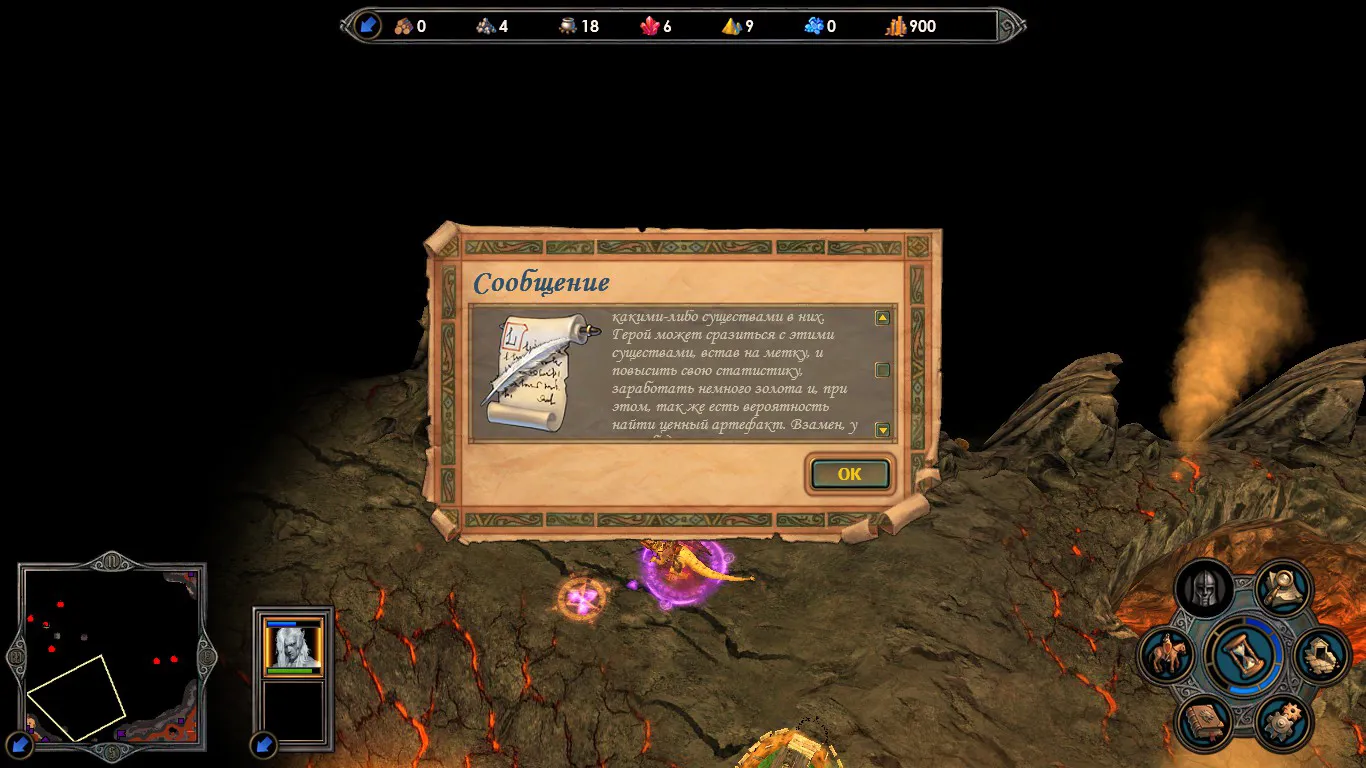
Along the way, we encounter the second altar, which imprisons Thralsai, who in turn says we need to capture all demon structures (oh, so what we repainted earlier came in handy). And in general, all altars are highlighted with the circle of the faction whose hero is imprisoned in them
So, we're slowly approaching castle two. Here, useful for us — since I'm playing summoning, I gladly use the secret puzzle to grab Phantom from him (though how he cast it is another question)
Also, not far from the second castle, there's a library. If you've acquired gems and play through summoning, you can buy a Phoenix there, and there's a market for these matters if you happen to lack resources
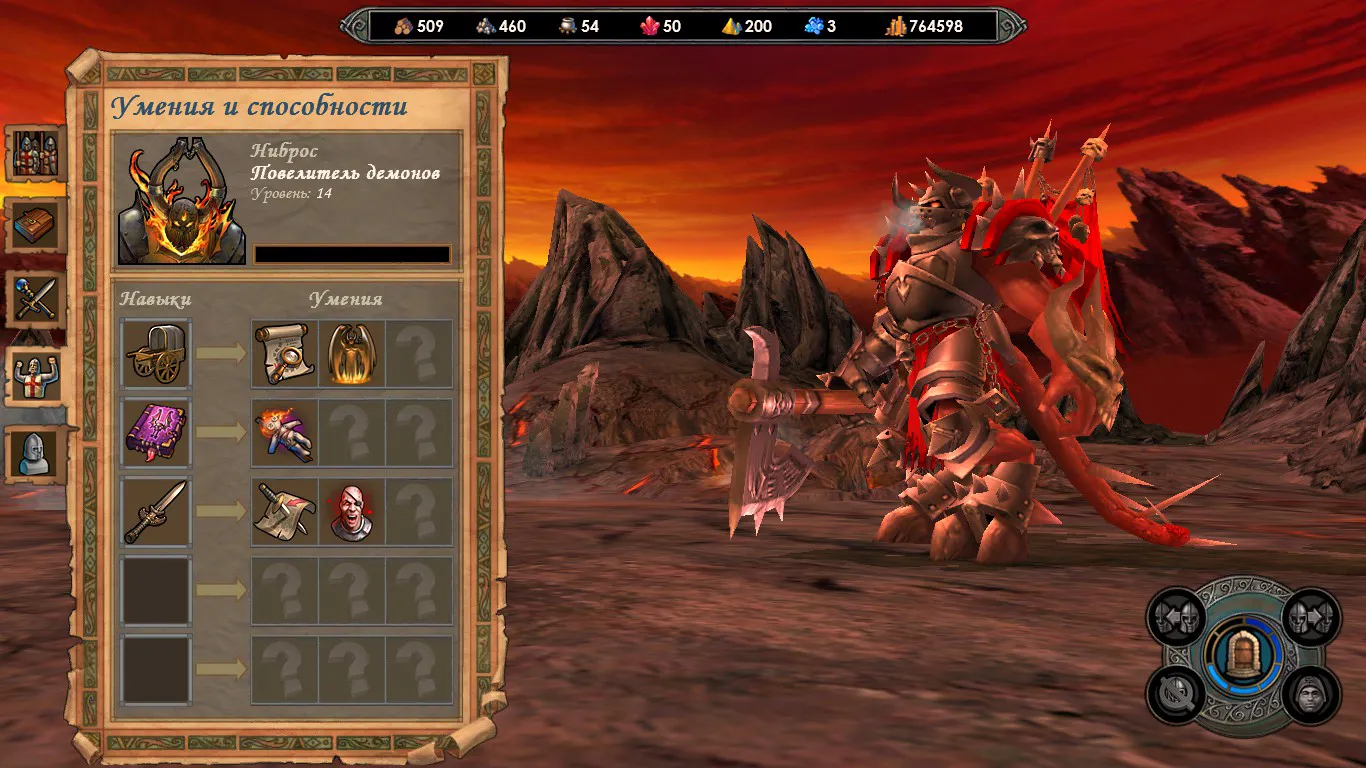
Sigrif vs Nebiros
A few periodic battles, and along the way we'll also meet Succubi and Hell Hounds, who in turn will give quests — one asks for the Unicorn Horn Bow, the other for the Windstrider Boots
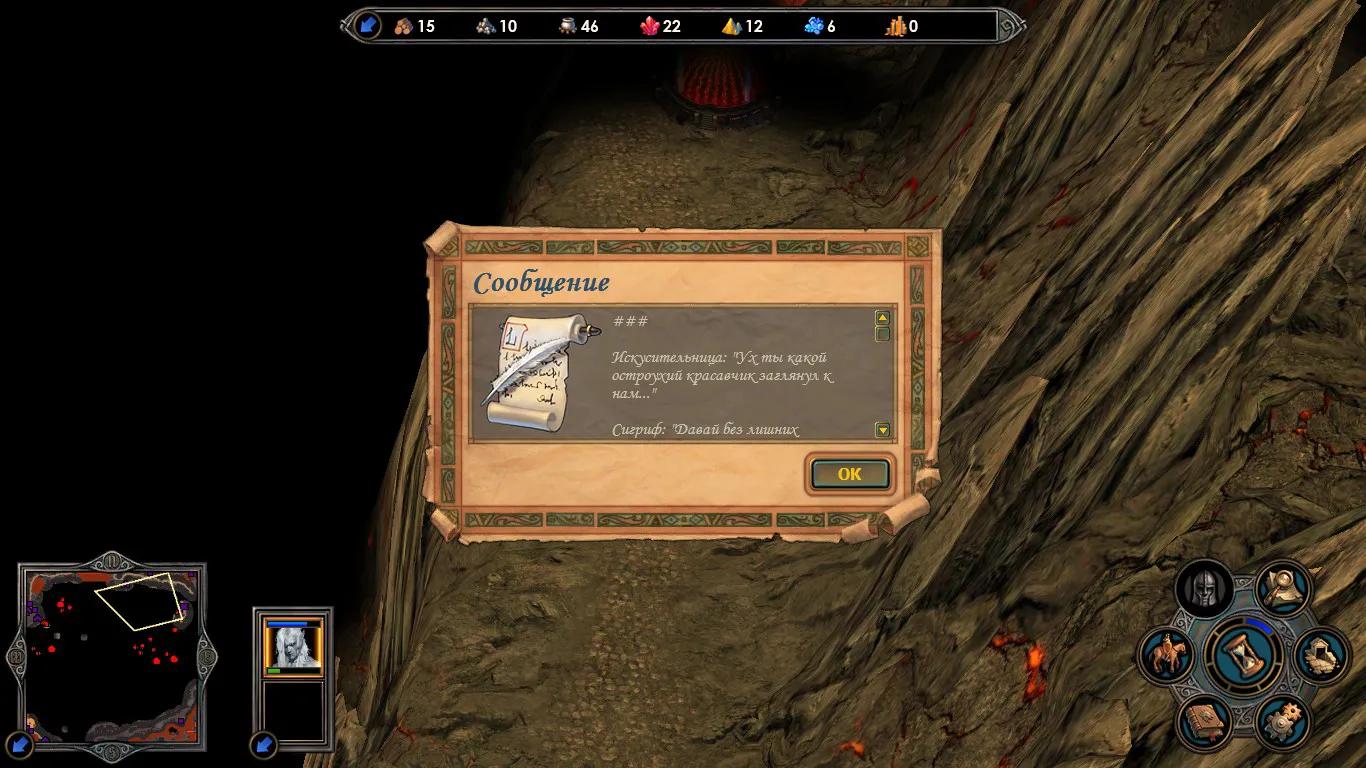
crypt 2
Dragon Utopia
Further along the way, we encounter an obstacle in the form of strong stacks of Archdemons
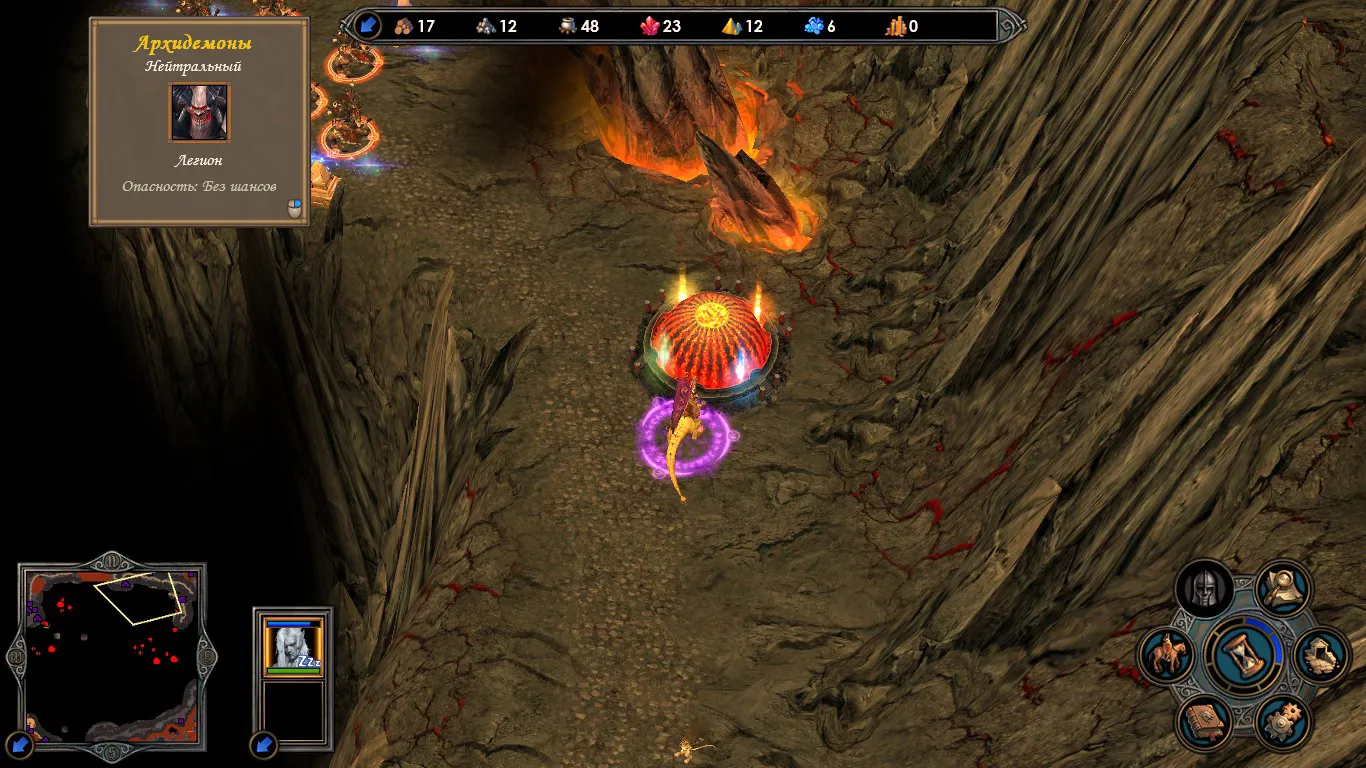
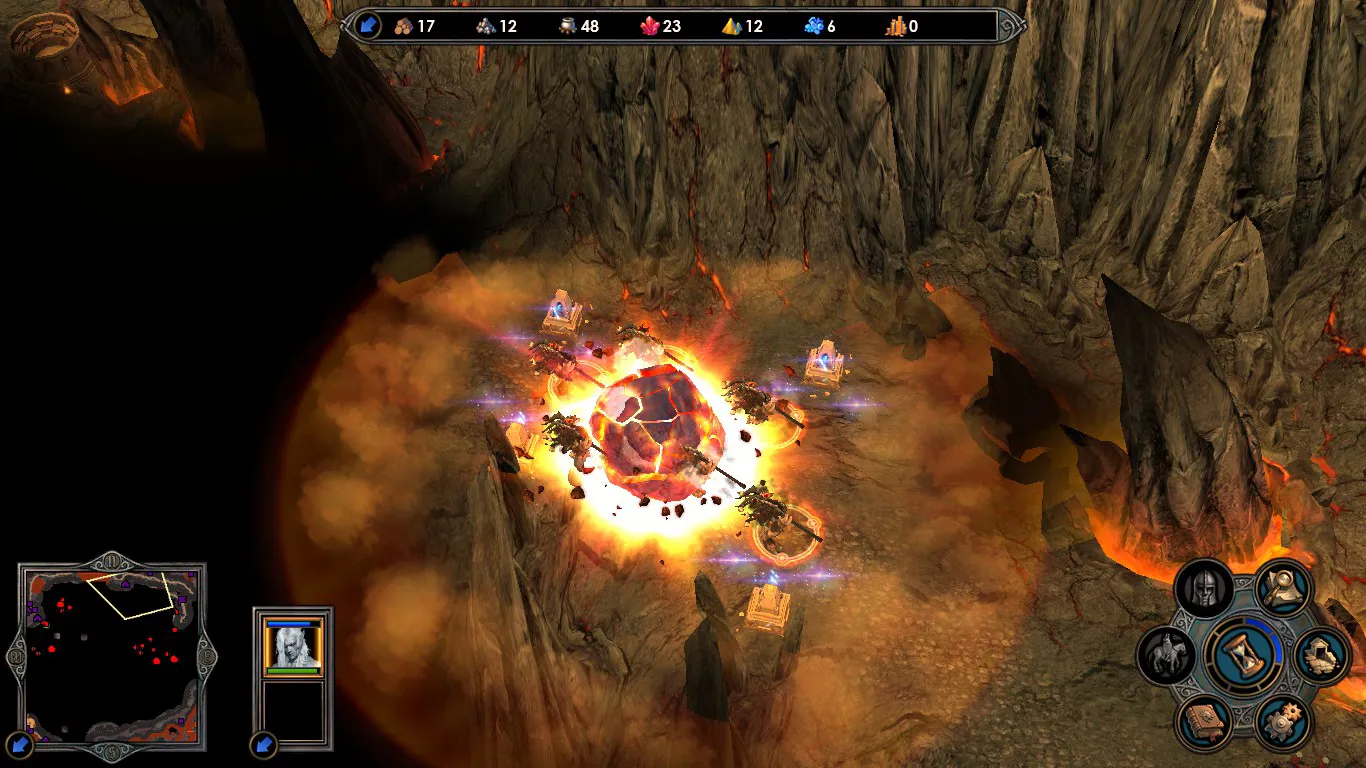
Actually, I had an idea to try and break through them, and I did attempt it, but unfortunately, my mana pool wasn't enough (if I'd had that Ring of Sar-Issa from the start that could've been bought, maybe it would've worked). But obviously, they don't have to be fought — we pay, I think, 100,000 experience, and a boulder falls on them, removing the obstacle from the passage...
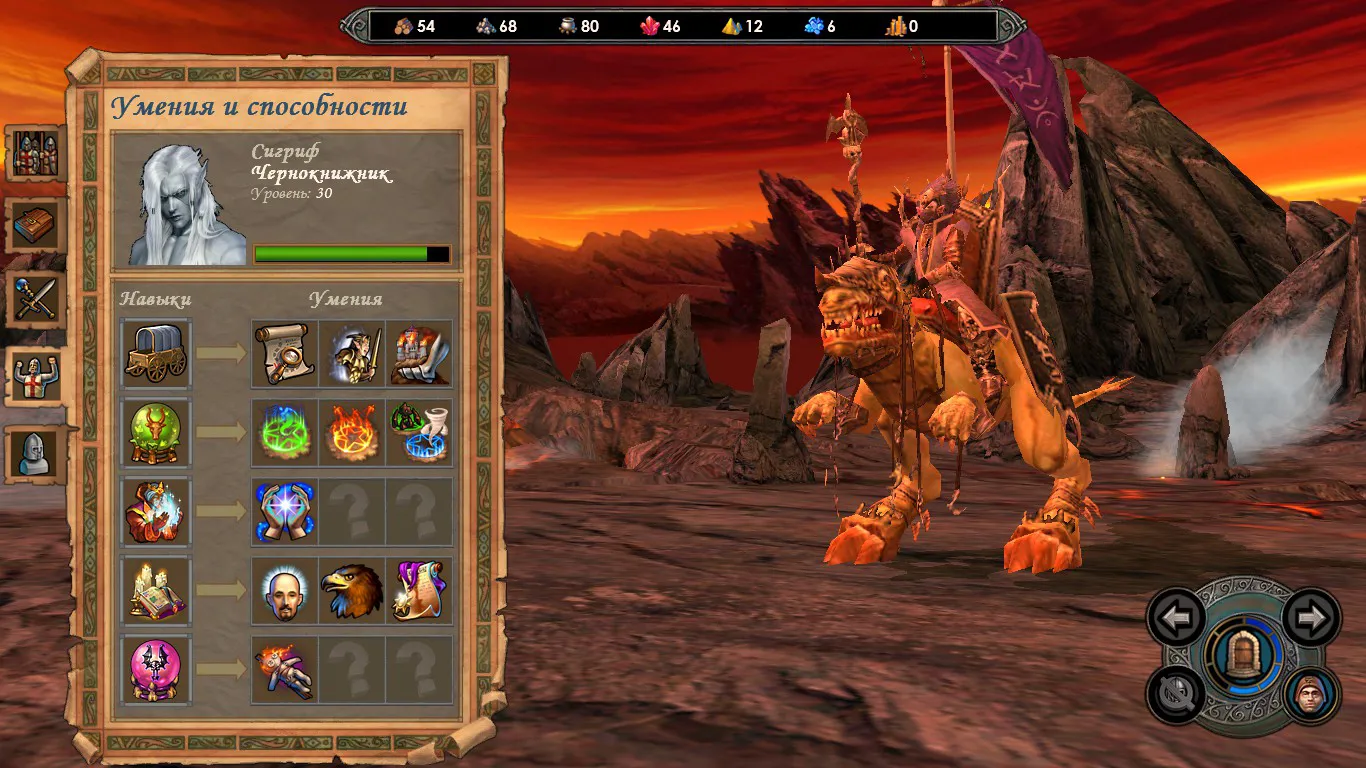
By this point, our MC looks like this
Further along the way, we encounter the third altar, which is on the grass. There's a nice mana fountain plus a couple of trees for +level. Here, we're asked to free the souls of Archangels, and they'll be highlighted on the map accordingly
Traveling between the second and third castles, we'll meet the Horses — whom Sigrif teases a bit, yes yes, you need an artifact, etc., etc... They, in turn, ask us for a golden horseshoe. Well, why not — horses mean horseshoe))
Well, I won't beat around the bush, we approach castle 3 guarded by Deleb, where I probably had to work the hardest to minimize losses
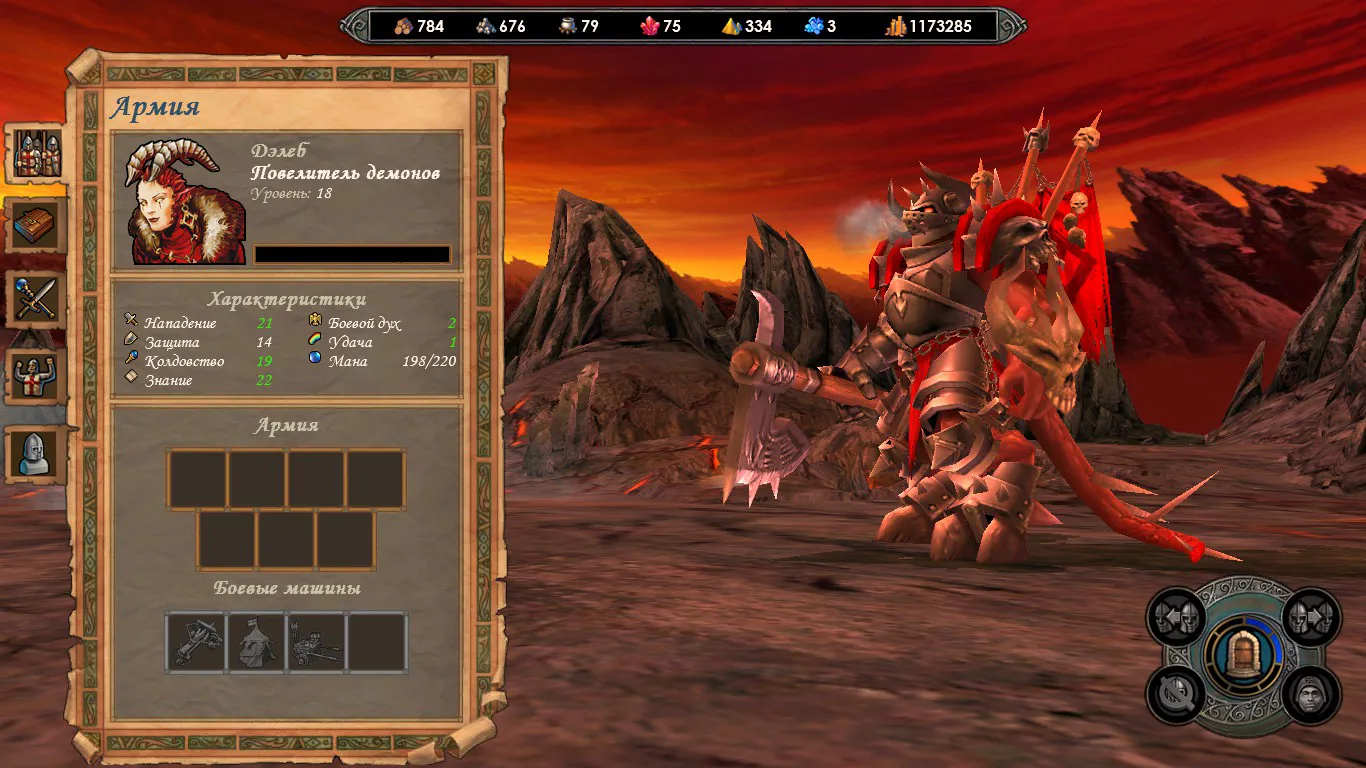
Sigrif vs Deleb
We move on, enjoying the scenery again + reinforcements for us)
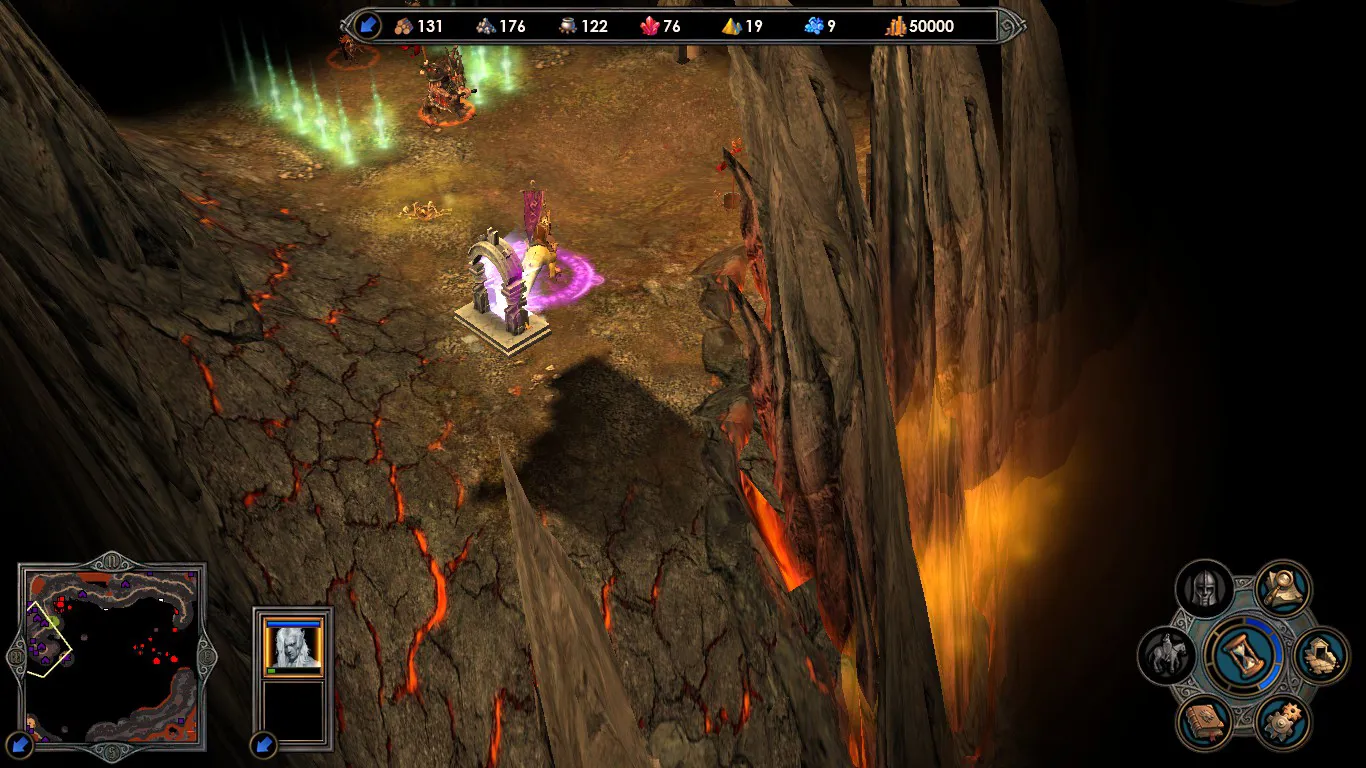
What can I say, on the way to castle 4 we encounter another altar, this time of the Necromancers. Here, we're told we need to bring the Staff of the Netherworld + Cloak of Death's Shadow, so that we slow down enemies, and like, don't worry, we won't take them from you. Well okay, you won't take them, good, and thanks for that. Oh, and between all that, there was this battle
vs 12k horses
Well, first things first, we clear out another castle here, I think we free another stack of Archangels, and only then we go to the meat grinder)) or rather, to the bone processing)
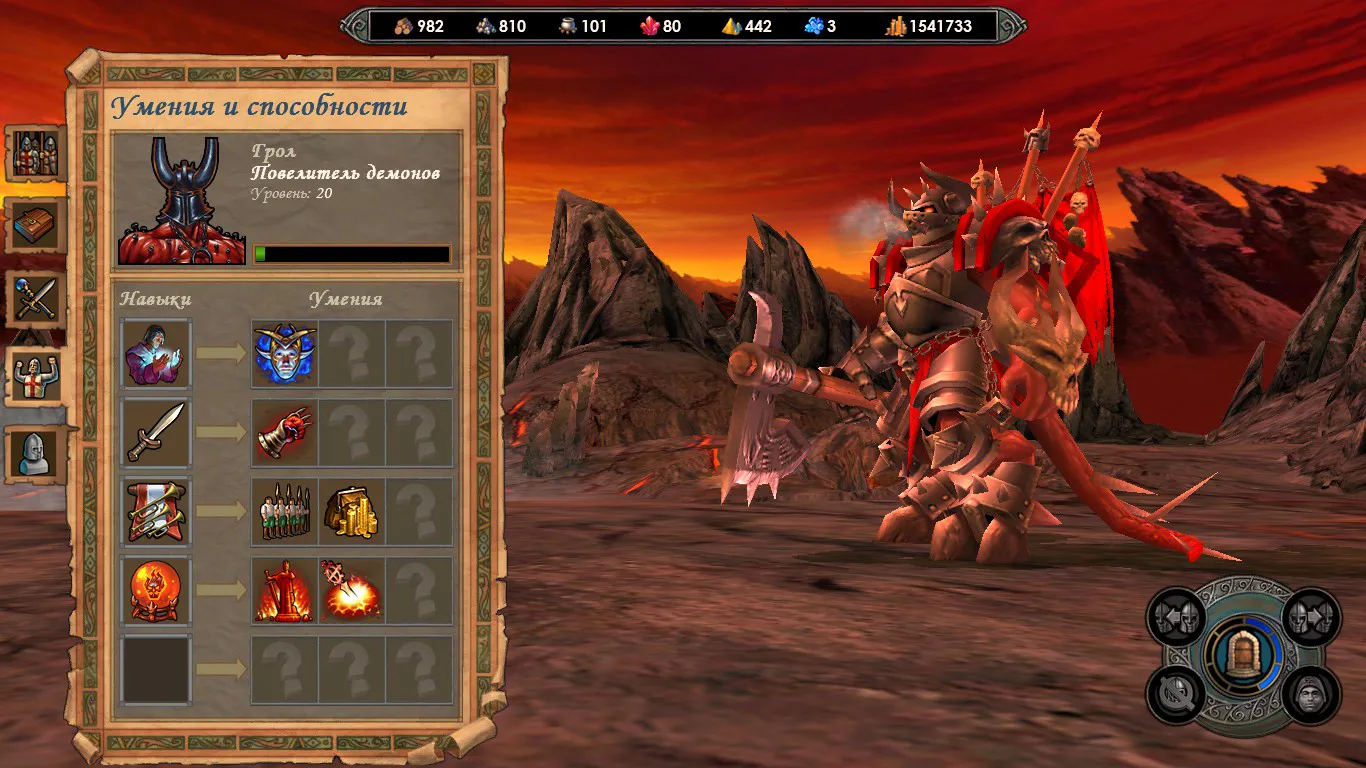
As for castle 4, Grawl will meet us there, but it's simpler here, since we have Berserk, we can eat well))
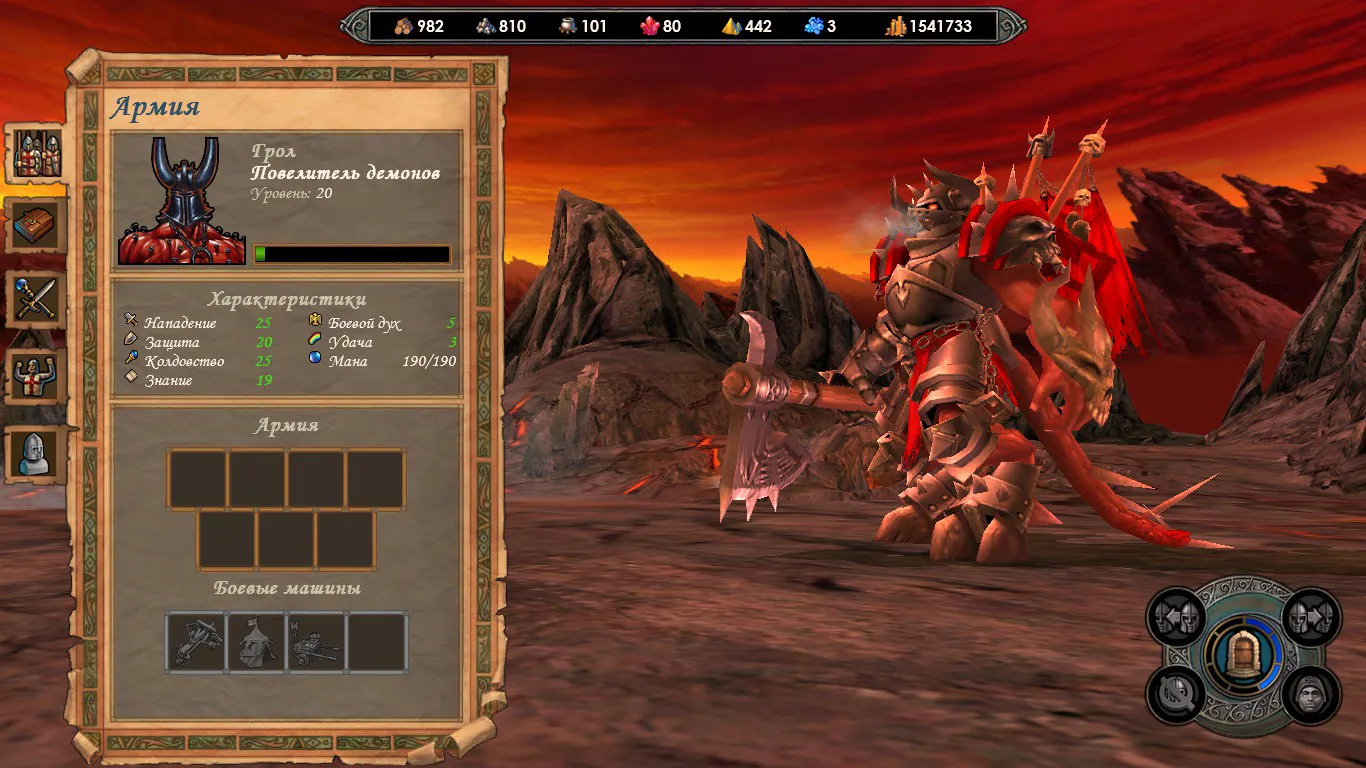
Sigrif vs Grawl
After the castle, we come out into a location like this (somewhere around here, by the way, I'd already paid off the Familiars, and they stopped taking money + on top of that, there's an artifact shop here, which is very tasty)
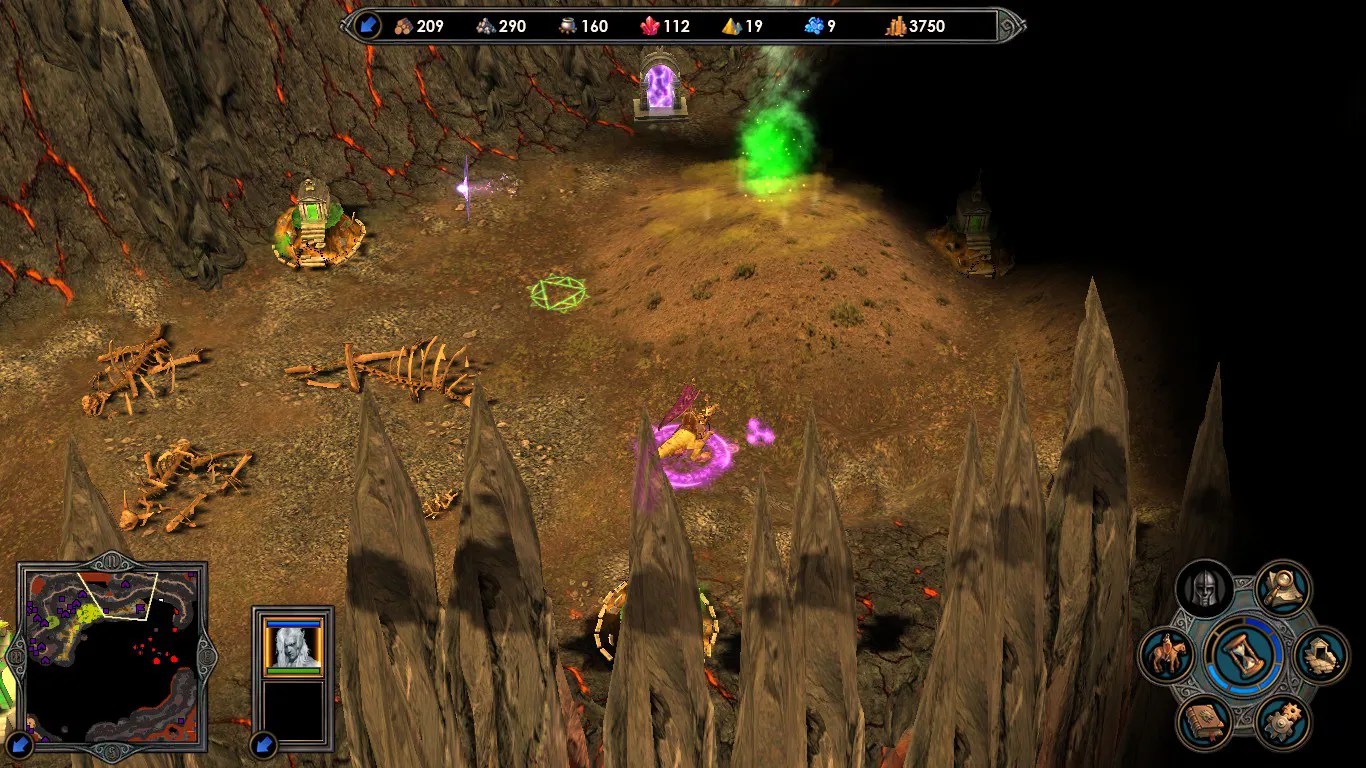
Here, we essentially have 2 options right away: clear the crypts (to find the ring for the Greater Demons) + clear the markers to find the staff and cloak....
As I said above, ironically, the ring turned out to be in the last crypt. Well, fine, we clear all this goodness, approach the altar, get our goodies (army bonus), and move to the next castle. Along the way, we also capture dwellings and rescue Archangels
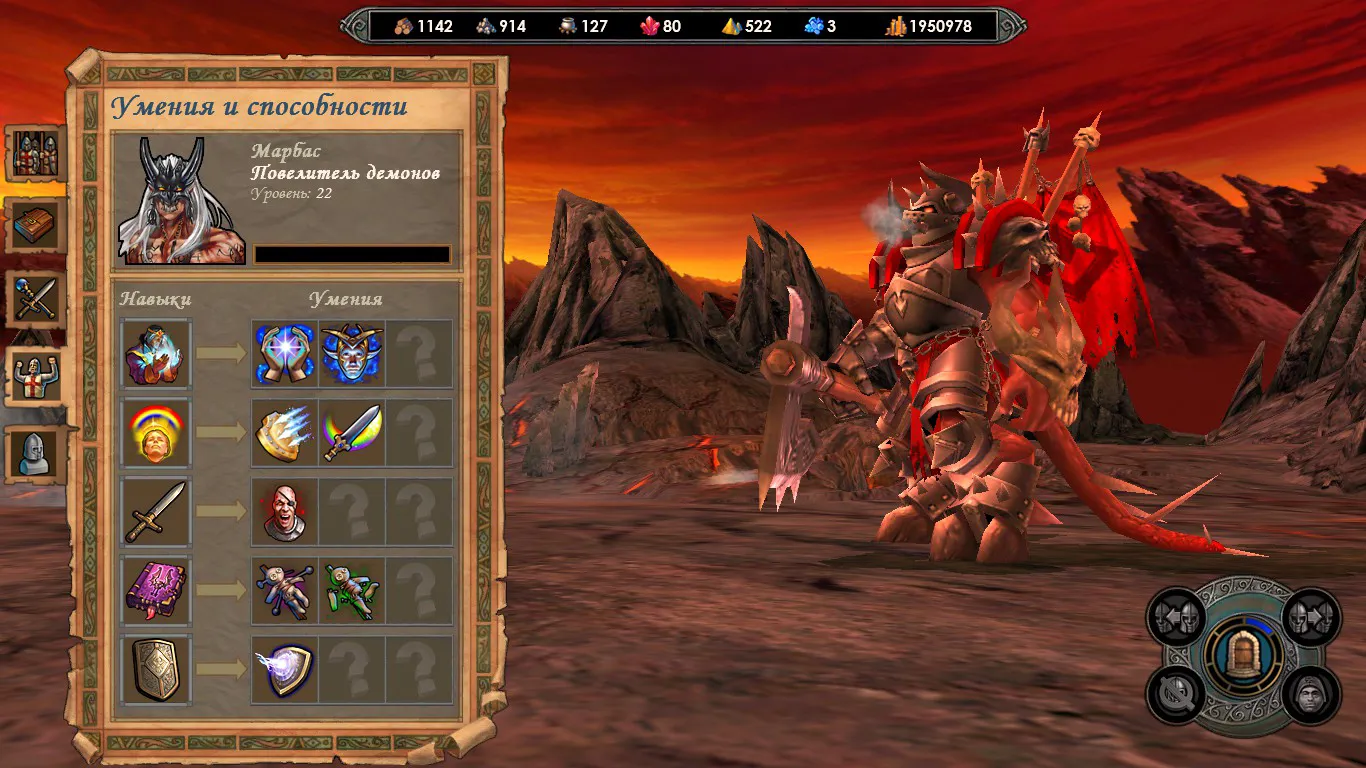
In castle number 5, Marbas meets us
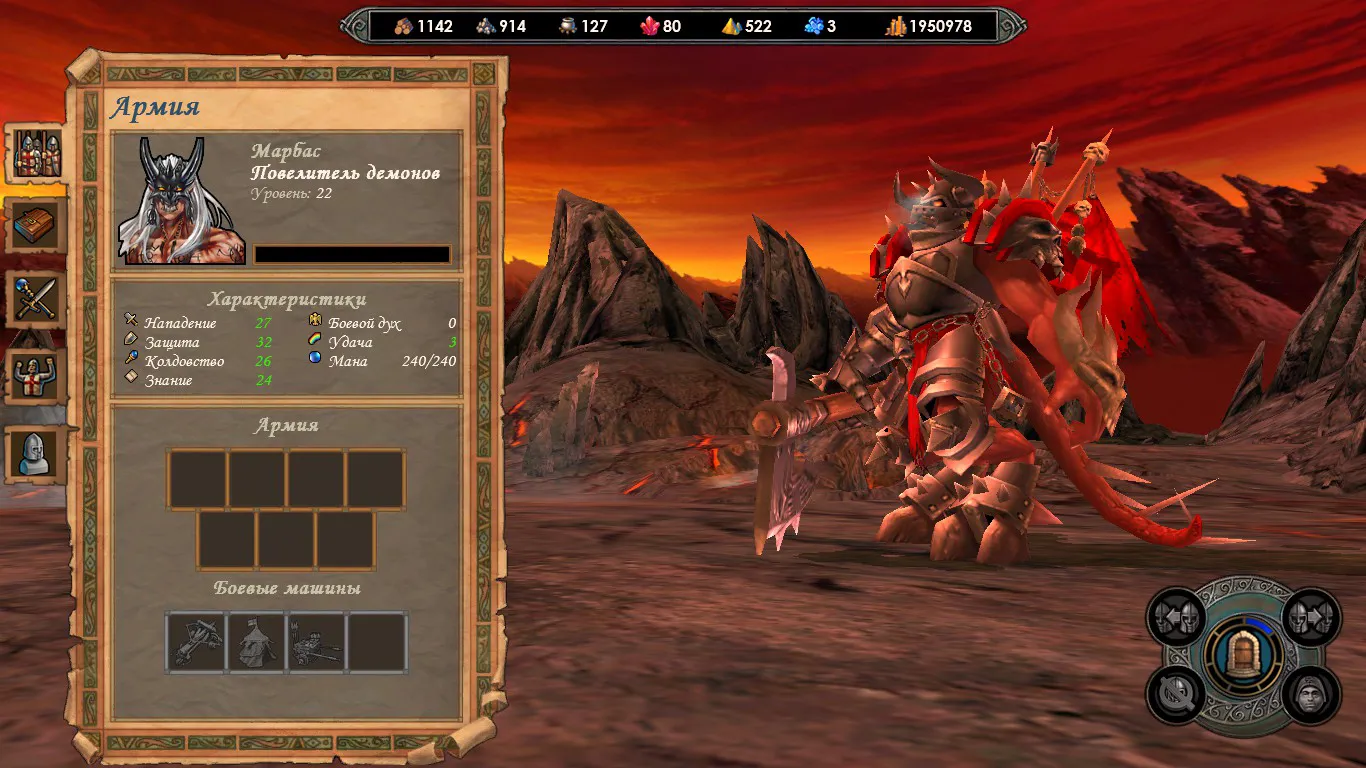
At this stage, there are almost no problems anymore)
Sigrif vs Marbas
We move on, according to the plan we have one castle left, and it seems like it's in the bag, though we don't know anything about the mighty artifact yet. Well, whatever, they'll tell us later....
Next, the path to the next castle. Nothing special here — along the way, we'll meet Pit Lords who'll ask us to take out other Pit Lords, saying they're not taken into the Overlord's army, oh dear))
We'll also meet Archdemons — I kept wondering what they'd want, and they're like, "what makes you think we need anything?" and I'm like, "oh, so there's an option to TAKE THEM OUT?" Perfect, we take them out feet first without any problems))
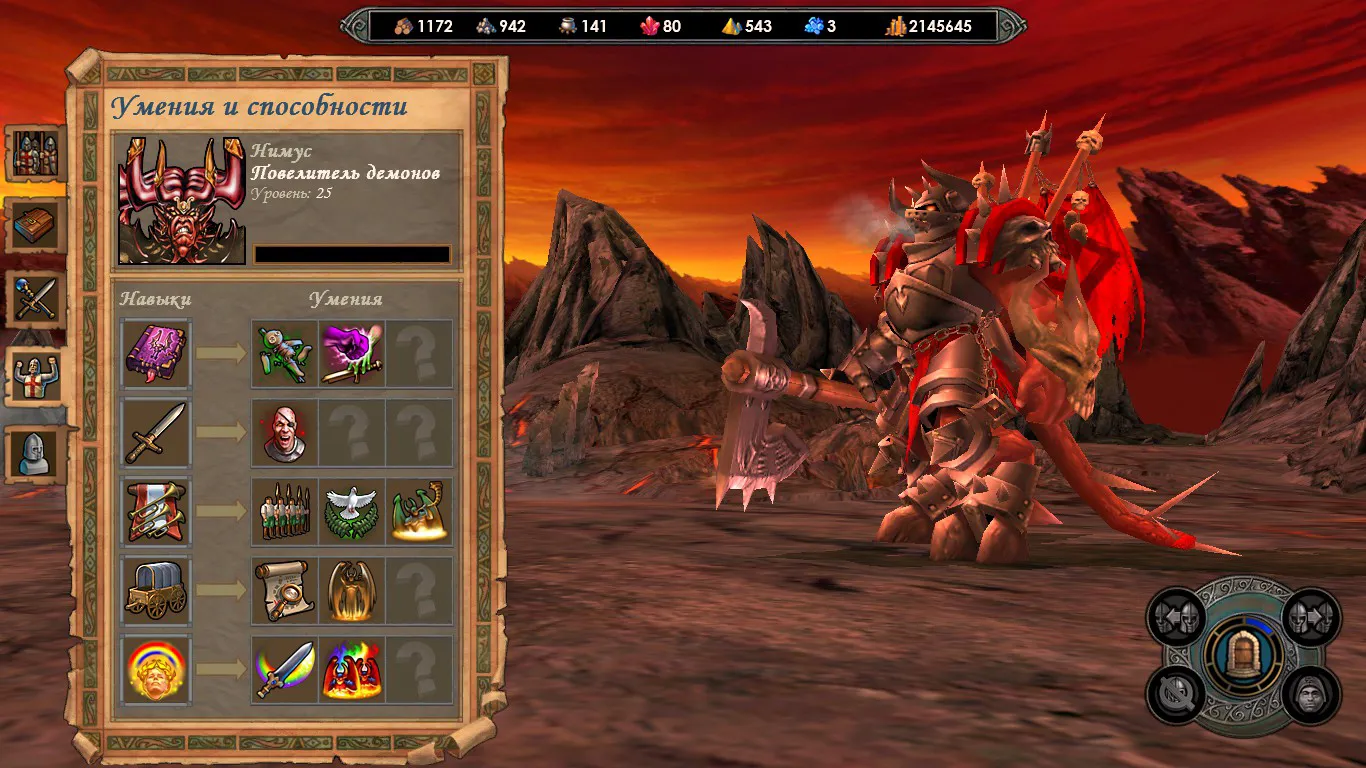
Along the way, we reach the last castle from the starting quest. In castle number 6, Nymus meets us — here there are no problems with him at all, we have the Vampire Lady + Red Dragons, and go go
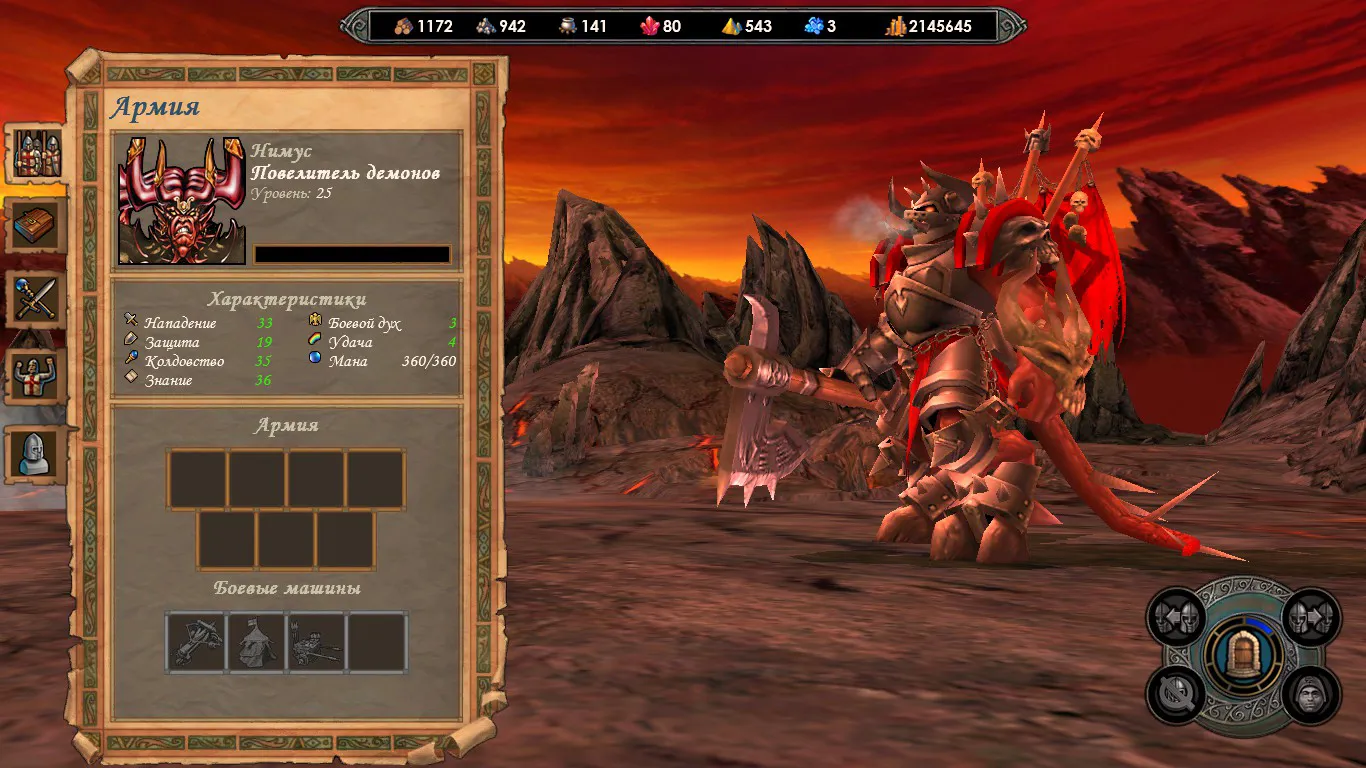
Sigrif vs Nymus
We also rescue the last stack of angels here, get our goodies, and move on)
Well, in the distance, Ilaya is visible. There's one more demon left to kick (not counting the Devil himself, of course) — that's Grawl. I didn't even save the fights with him, it's a beating, nothing to watch)
I thought I'd approach Ilaya and something would happen — no, nothing. When trying to enter the portal, she says you don't have the ring, like, where are you going. There's one more move we make....
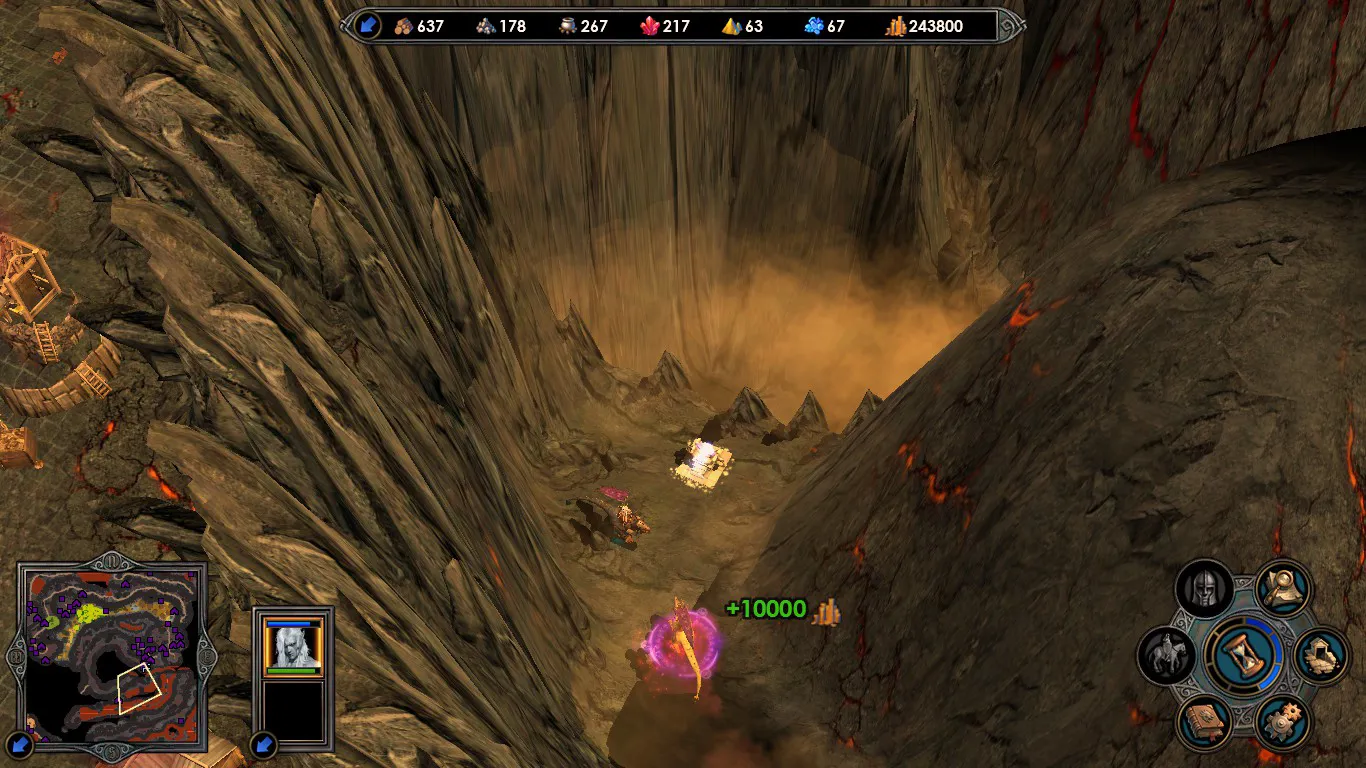
I go back to the one-way portal earlier, run around a bit there, and we learn information about that very great artifact, which we actually heard about earlier, in the second mission, from the side quest about the history of Dominion — the Ring of Dominion itself (I even felt some reference to the ring from Lord of the Rings)
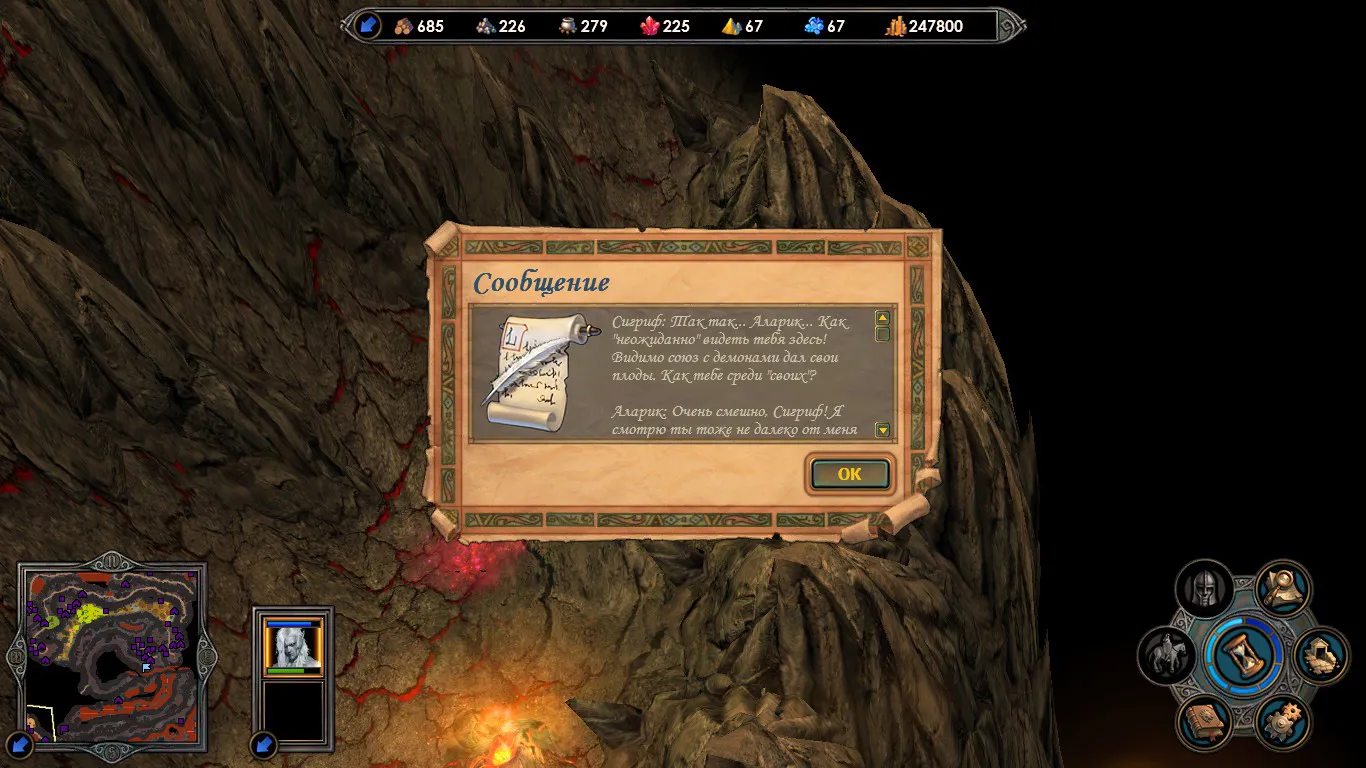
After the dialogue, we're returned to the start, and here it's purely sporting interest to see what that staff was, which could've been obtained at the beginning
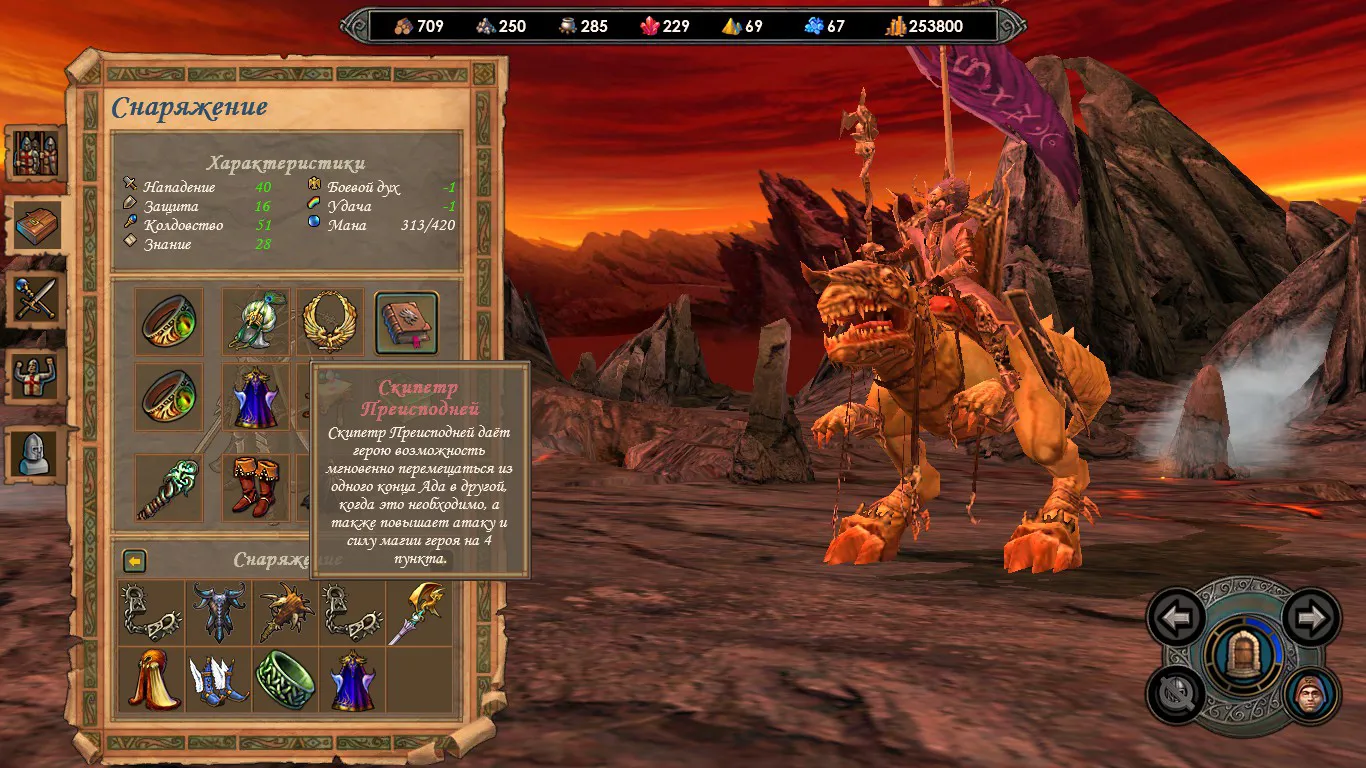
Seems like an interesting stick, but as I understood, its maximum impact would've been if I'd taken it at the start, as the map designer intended. And as I understand, this artifact allows you to Town Portal from the altars back to the start. Well, anyway, let's return to the first altar to find out where the Ring of Dominion is...
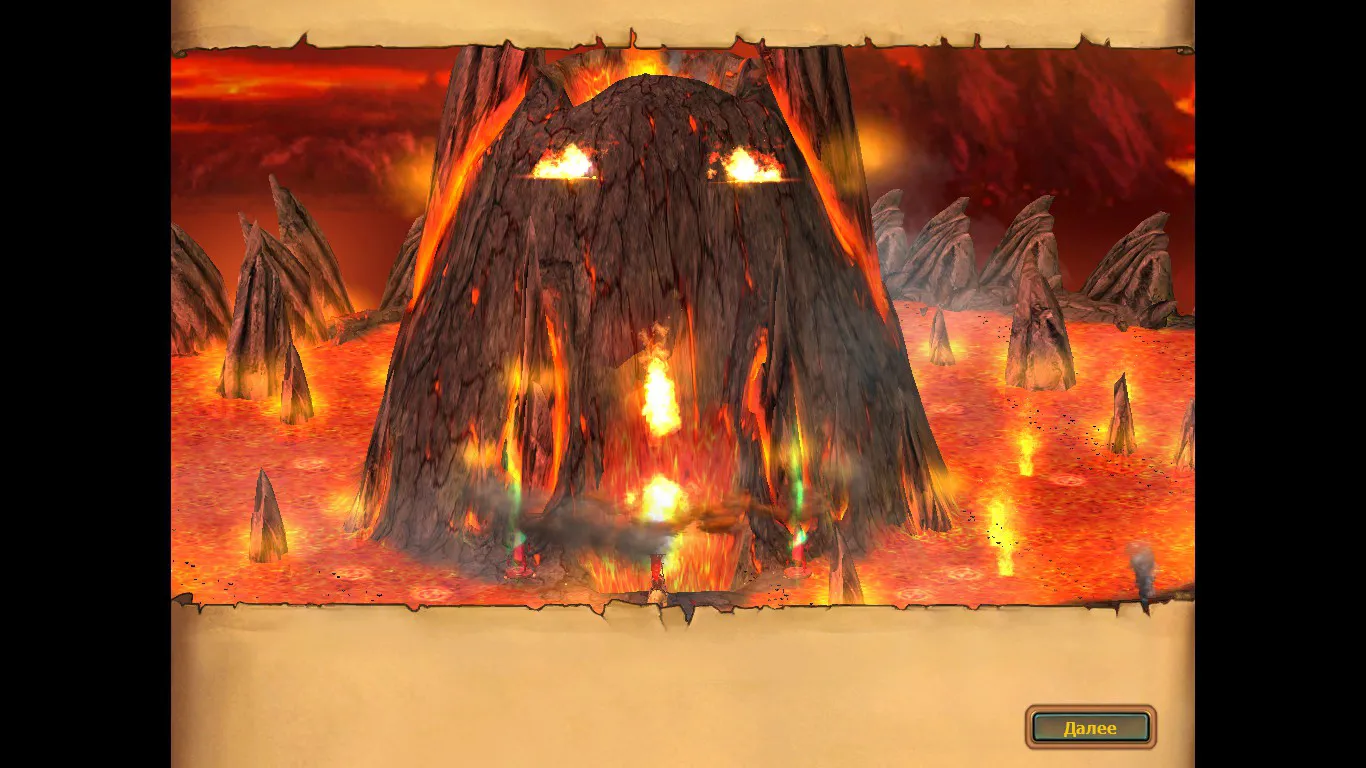
We're told that thanks to our actions, they can unlock the passage to the top of the volcano, where the Soul of Dominion guards the ring (we actually saw that passage, guarded by a stack of undead dragons, but couldn't go there). A beautiful mountain, we ascend in a spiral and meet the one we were told about earlier...
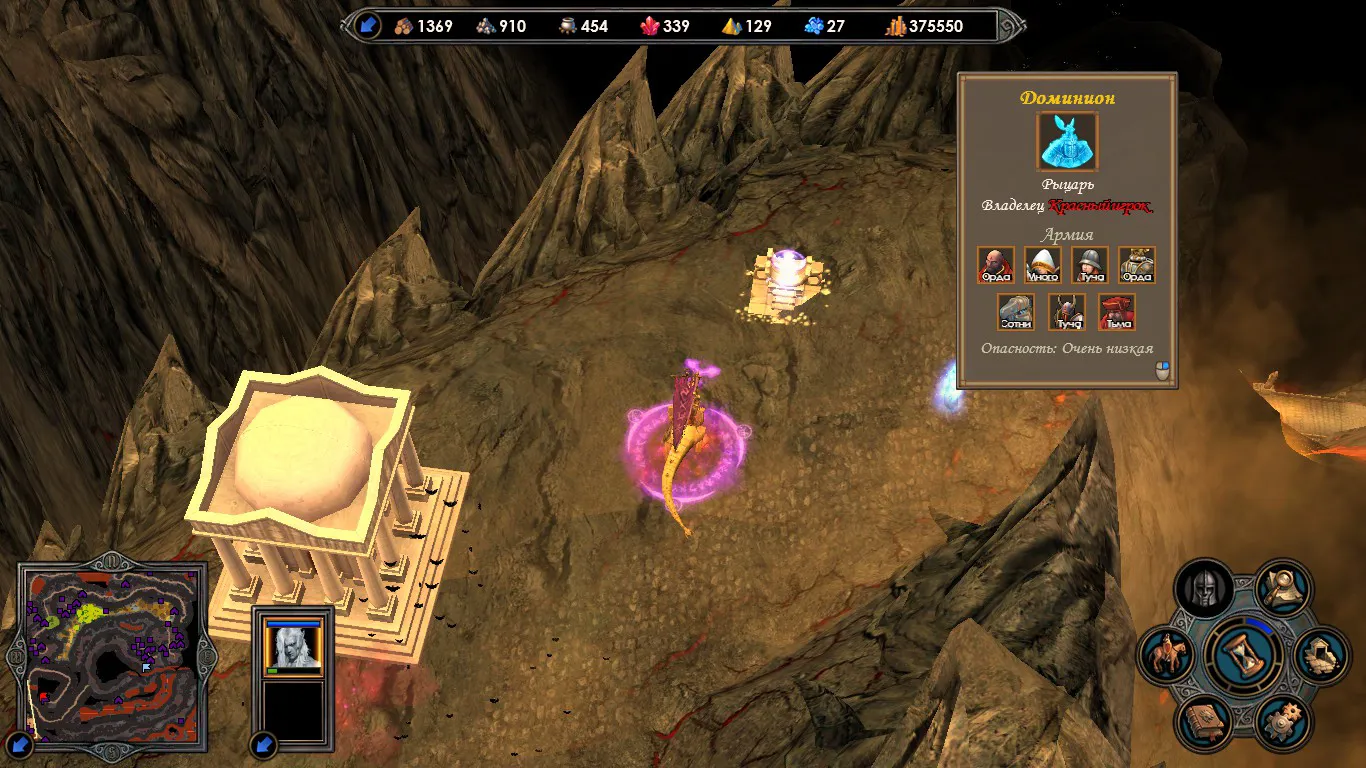
Obviously, at this stage, it's just another punching bag)
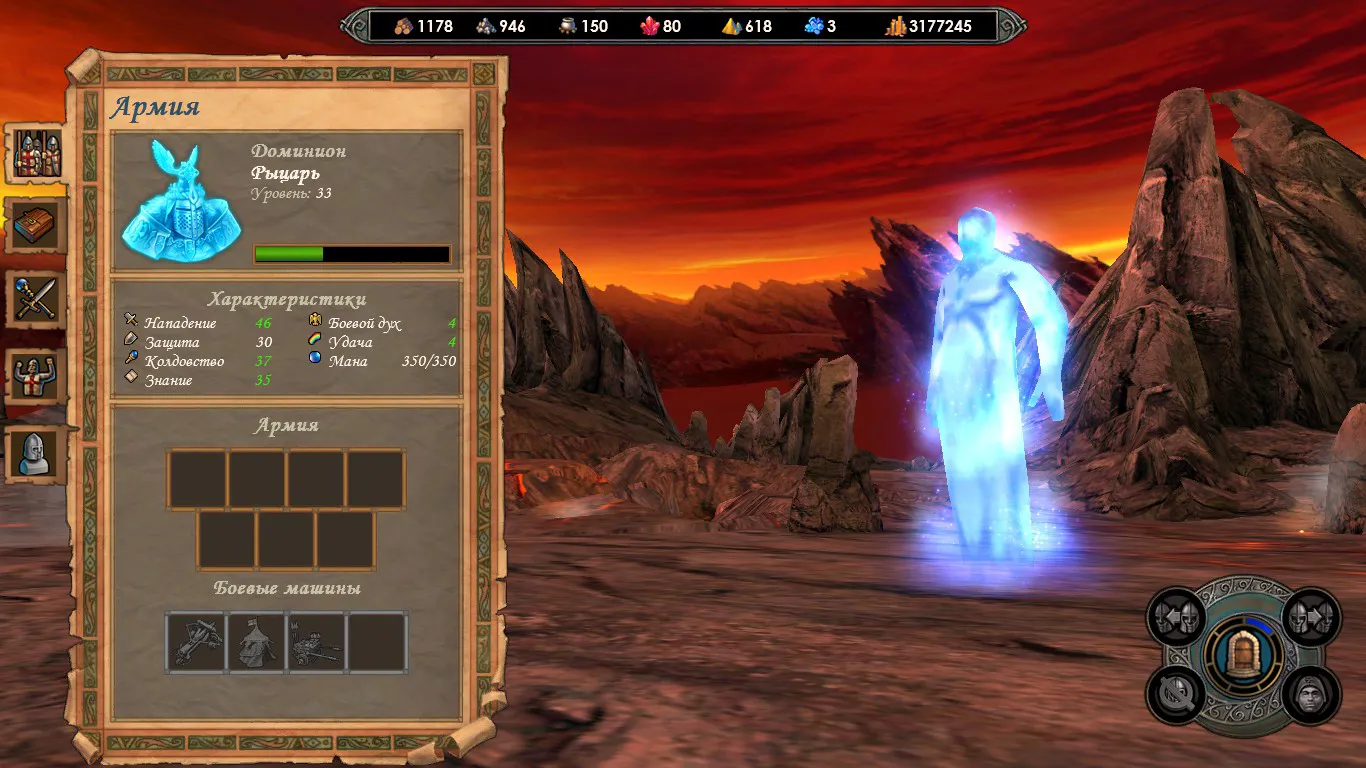
After defeating the Soul of Dominion, we get that ring, and all that's left is the final boss
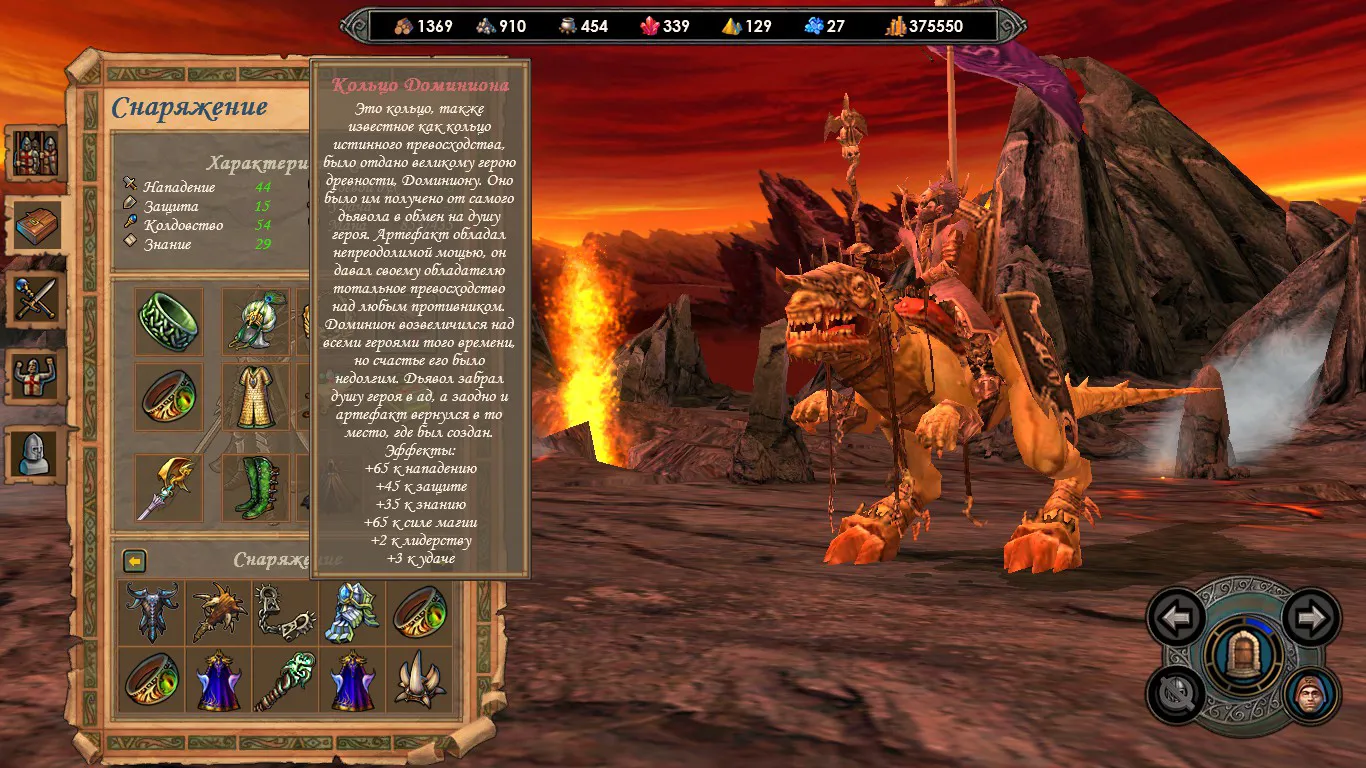
But before moving to the finale, let me briefly dwell on what the MC turned out like in the end, before the mentor, because although I didn't want to use the mentor, I realized that with this kind of leveling, it's not great.. But nevertheless, before the battle with the Devil
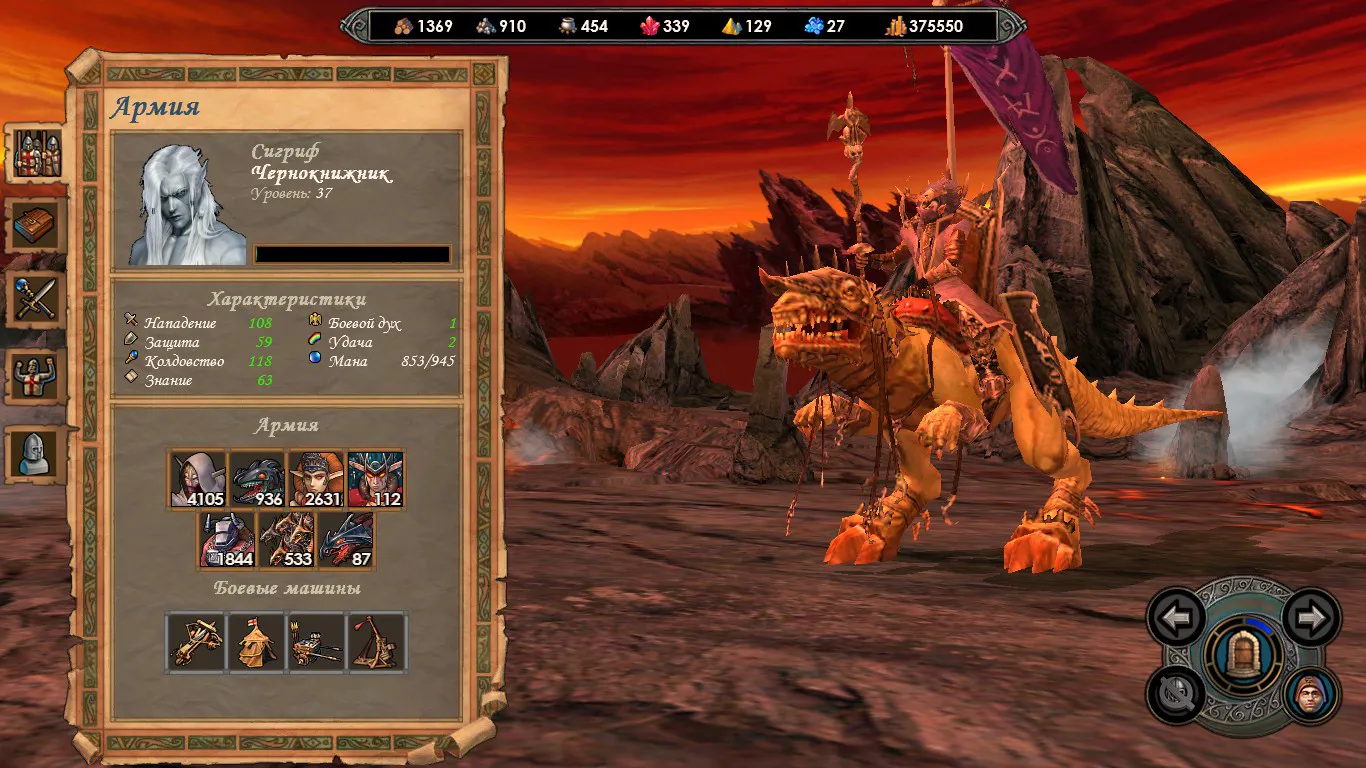
And just out of the corner of your eye, you can see what beauty it is))
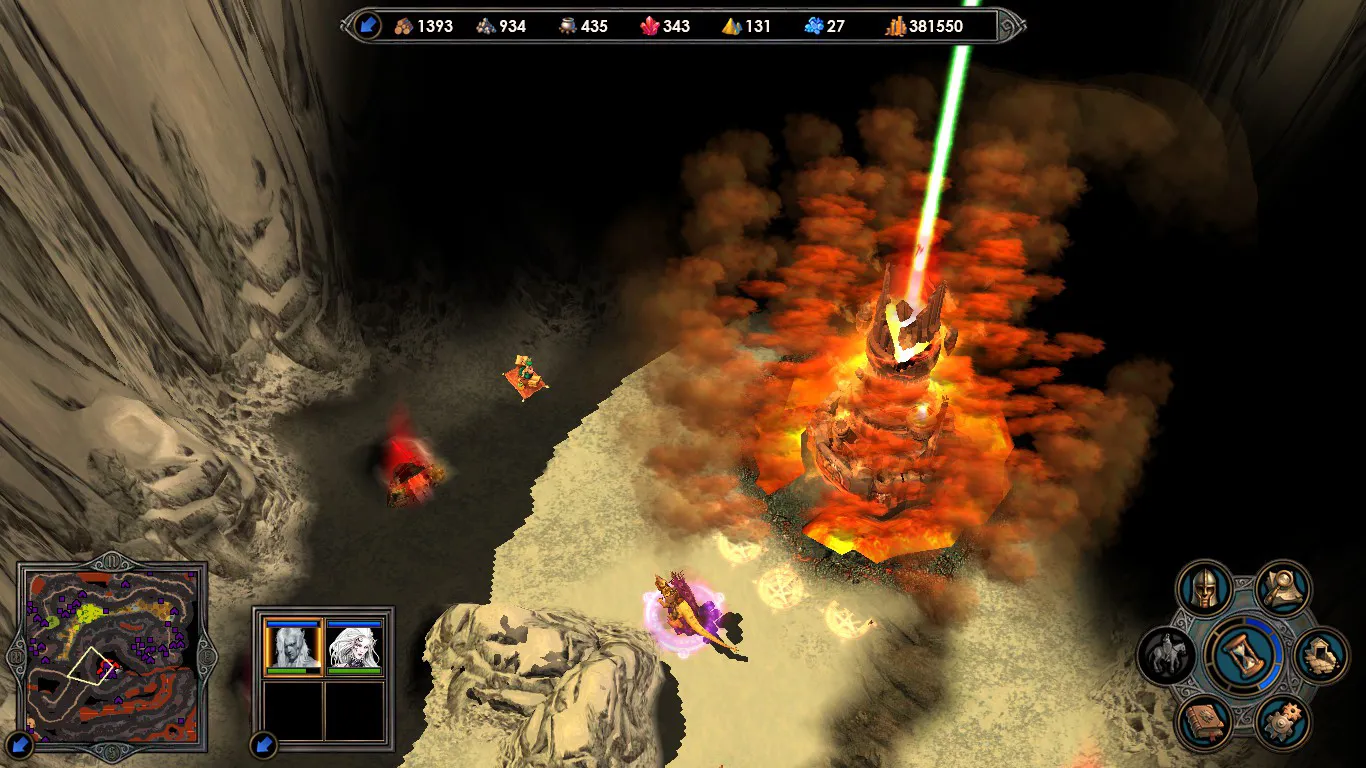
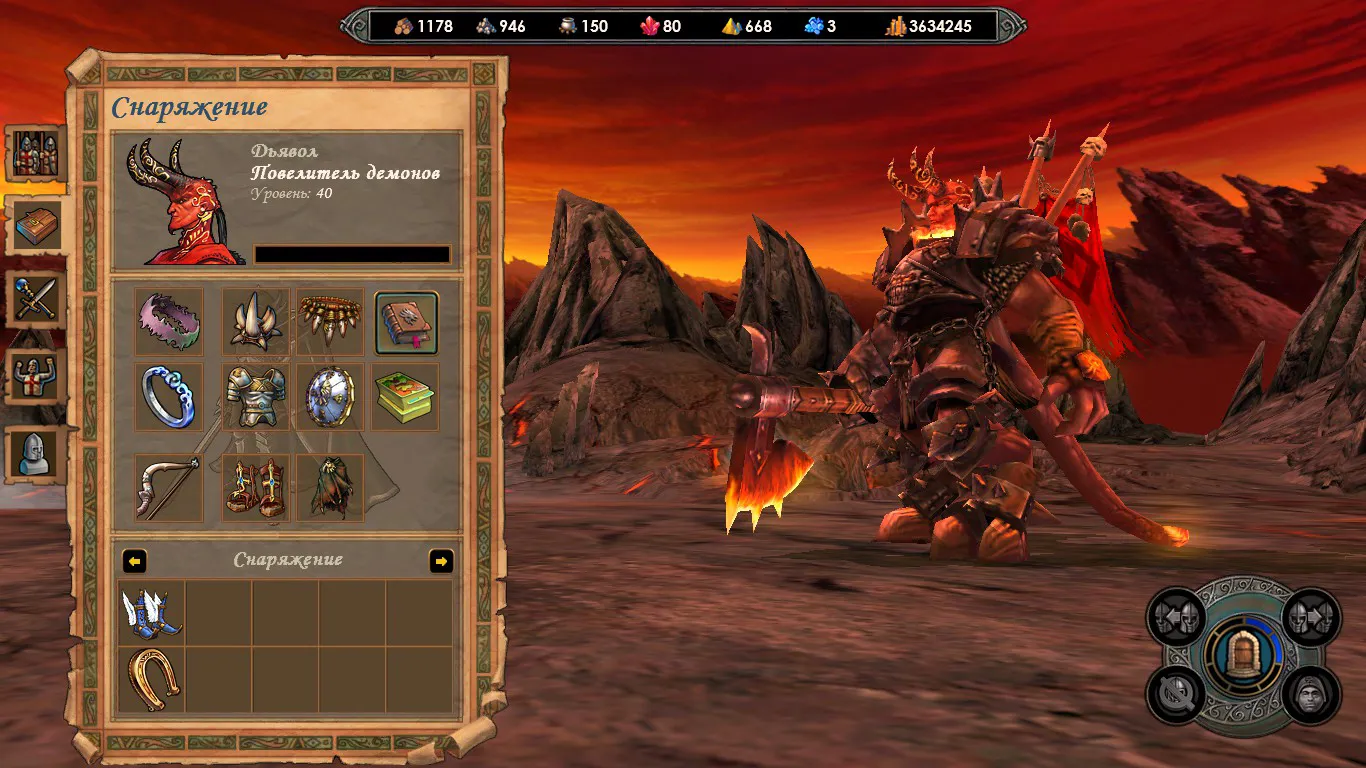
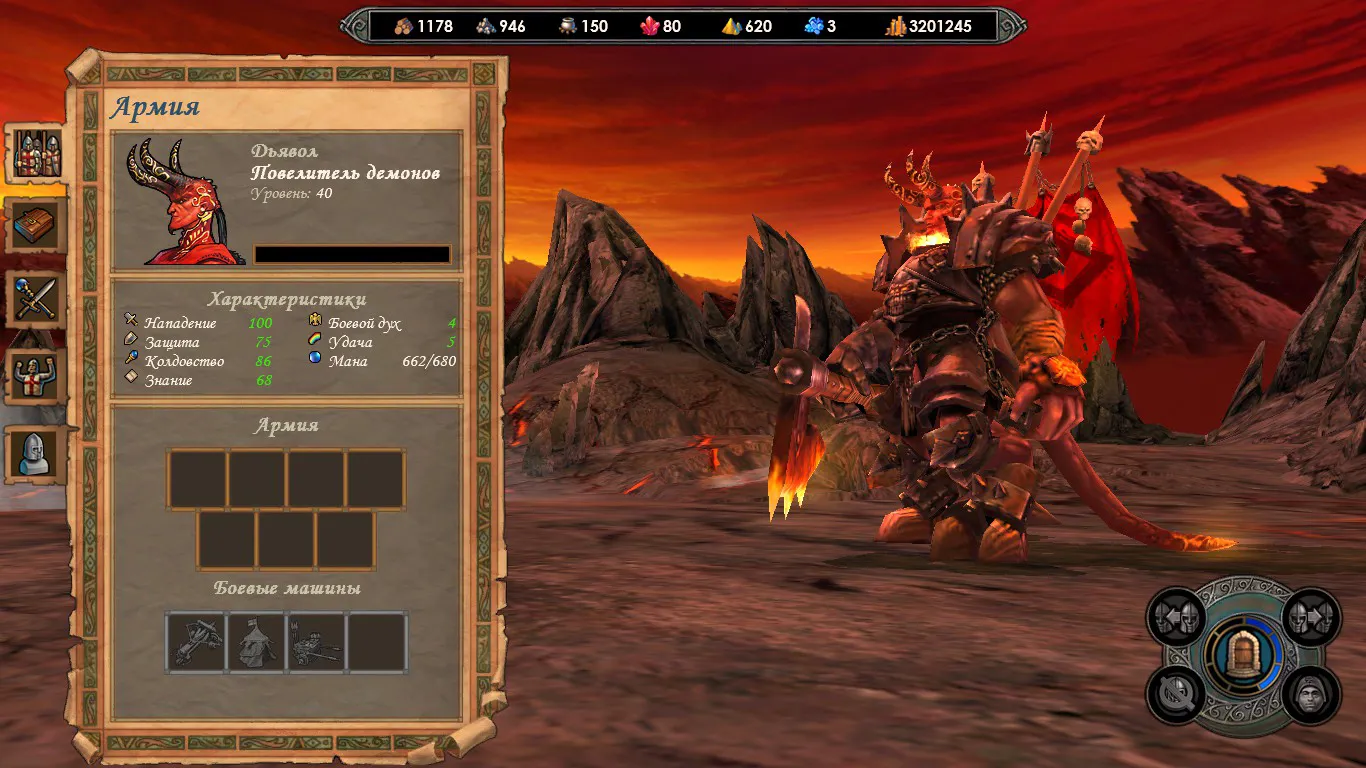
And a bit of a spoiler ahead — I thought, "I'll beat him anyway, what's he to us boars," but I realized that my 1000-something mana wasn't enough, because the Familiars eat almost all the mana. And also, I decided to reload earlier and do one more run from the start to visit the fountain so that mana would definitely be enough. Also, Hunters aren't needed here, Sins are more of a priority. Well, anyway, let's skip this moment and let me show you the Devil
Actually, I wanted to get the Light spell, but after using the mentor, it just wouldn't come (under the Dwarf set, it'd be perfect). Well, whatever, we put on the set, without Light, on Attack + Defense, and in the end, the MC turned out like this
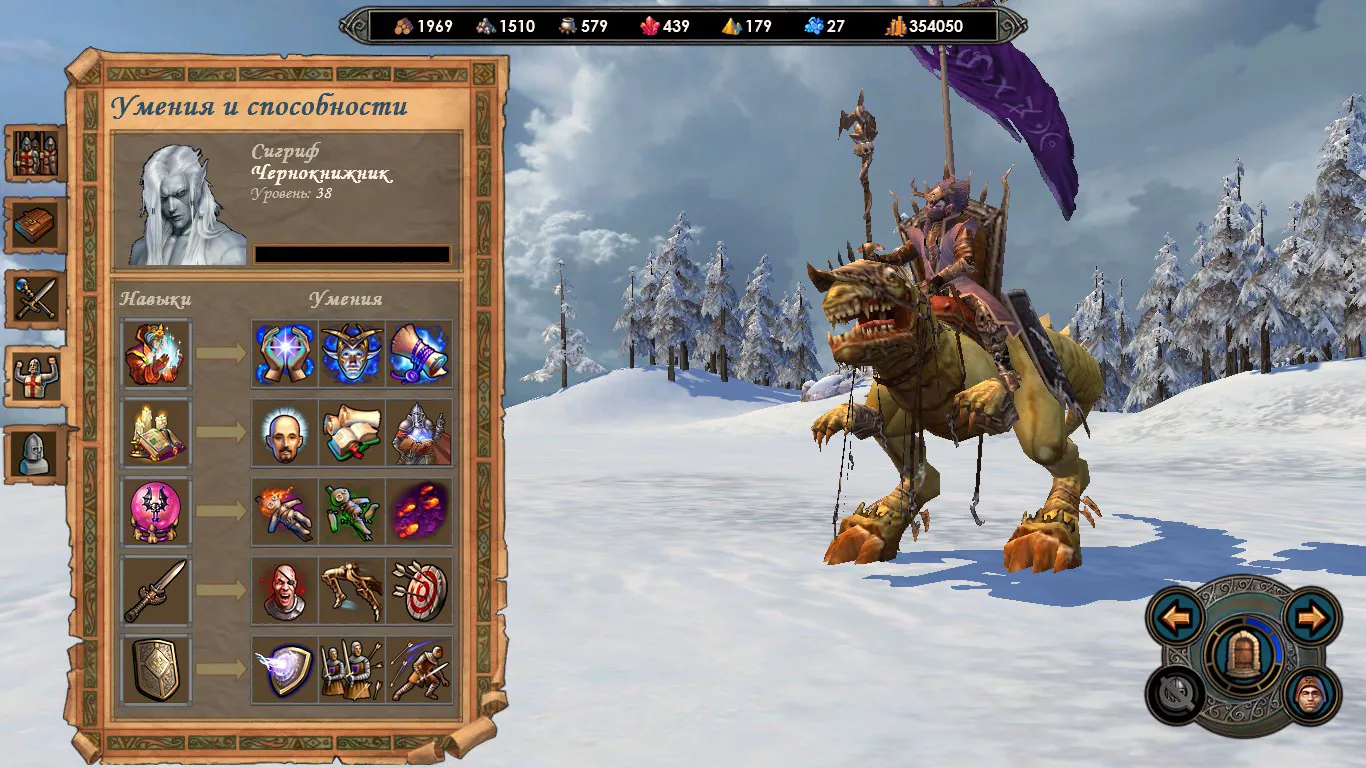
With this setup, I honestly barely felt this guy, so for those interested, the battle is below
Sigrif vs Devil
After the victory, we're shown beautiful cutscenes with the one we freed, and how we beat the Devil with a crowd))
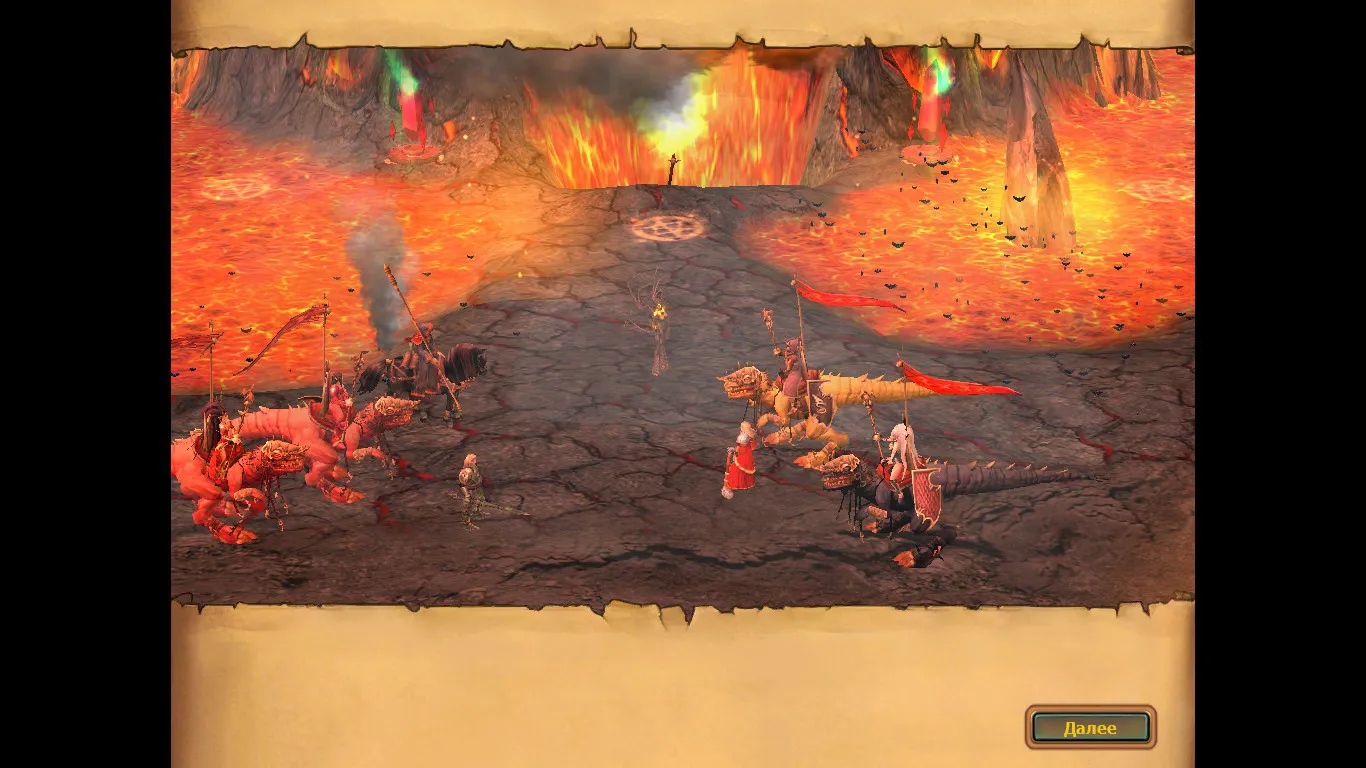
Something like that) Let me sum it up...
Visuals — very cool. Damn, despite playing on a weak machine, and there are places where it lags so much it's unplayable, but if you turn the camera where there are fewer objects, everything becomes quite fine...
Start — that's what burned me the most, but once we endure it and level up, everything goes smoothly
Concept — very cool. The souls of heroes spiraling down, as if toward the center of all this action... damn, awesome. Though, it's a bit of a shock that all the scum we killed, etc., etc., returned in the original. Of course, that's quite a shock, but I think it'll be addressed somehow. Or they'll just live their own lives there
In general, despite everything, this is still my favorite map by feel, even though it burned me, I kept putting it off for a long time, and overall it seemed unreal...
Well, and looking ahead, of course, it burns that our MC is again a level 1 scrub in the fourth mission. Probably he's destined to start from 0 in all missions, and who knows, we'll see. As they say, on that note, a big half of the campaign is behind us, let's see what plot twists come next, and how this story ends. Despite being difficult, I like it) moving on...)
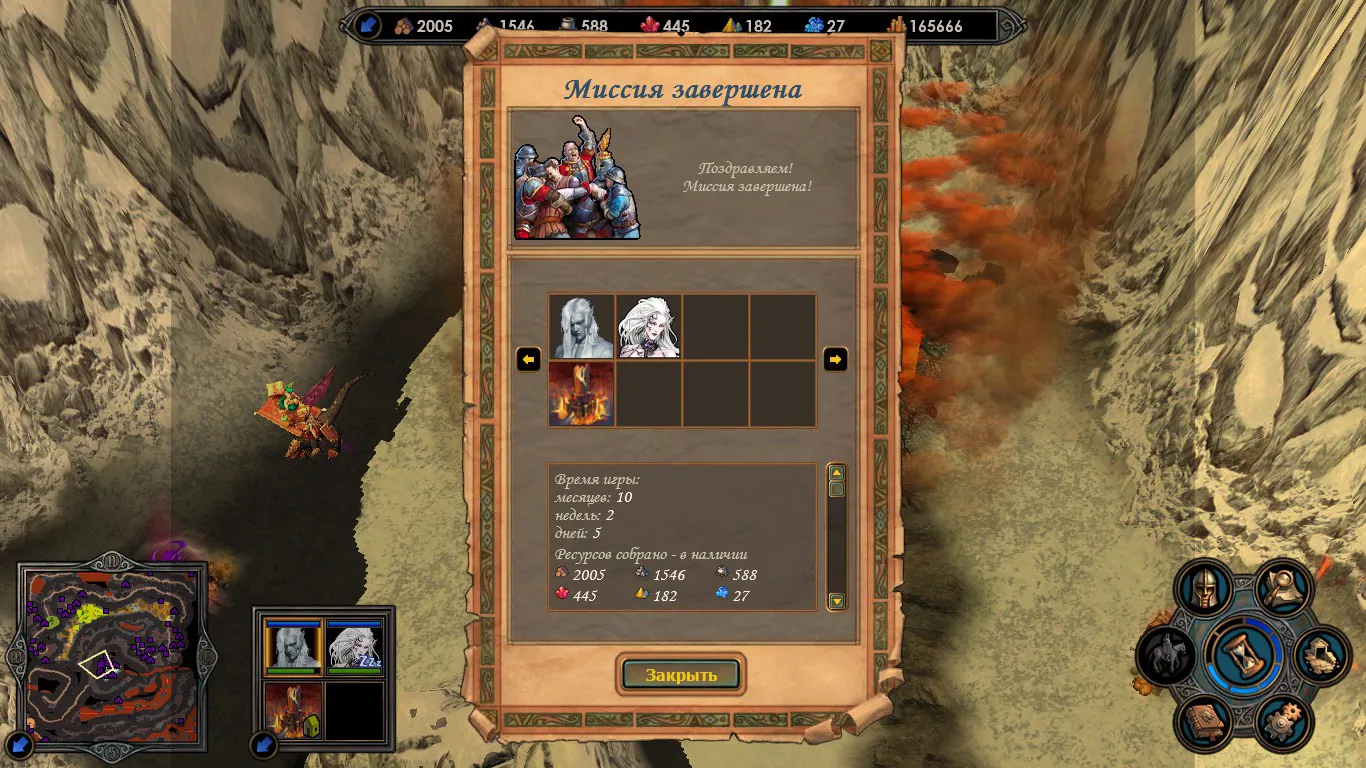
p.s. The result of this mission (yeah, it took long, but that's how it is — without an extra lap around hell to visit the fountain, I think it would've been faster))
Greetings, so the milestone of mission number 4 has been passed, and by tradition I'll share my opinion; in short, it didn't click with me... No, that doesn't mean it's bad, it just looks a bit weaker against the backdrop of the previous ones, and I'll try to explain my position on this matter...
Mission 4 - The Hero's Return
- lore-wise: Sigrif and the other guys got out of Hell (including various Biara Markels and others whom you'd rather not see, and it's a pity Nicholas remained a vampire, but oh well). We know Igg Shail has fallen, but instead of saving our lands, we decided to strike at the very heart of the elven capital to get them to capitulate, so the Alliance would fall apart blah blah, save Igg Shail etc. etc., you get the idea...
A lot of quite beautiful and generally logical cutscenes in my opinion — there's the scene where we attack the border, and discussions of the plan of action among our heroes Traalsai, Sigrif, Shadya, and Ylaya. I especially liked the logic that we can't put on the imba ring because we have some kind of connection with the light elves and Findan will sense something wrong... It sounds like utter nonsense, for crying out loud, we crawled out of Hell to chill and enjoy ourselves; obviously these are all emotions, and there's no other way to balance it so that every mission is hard and interesting to play.... And the escaped elf who will later report about us to Findan, etc. etc. And naturally, the fact that our Sigrif forgot everything after passing through Hell — whether to burn over it or not, seems I need to accept that all missions will be like this (and that's probably almost exactly how it is). But on top of that, they add that we've forgotten all our spells)) Well, naturally, it was funny to watch Sigrif trying to cast while nothing happened, and in the end he barely managed to beat down a druid with two "bare-handed" hits))
Our witch tells us this is a fairly strong curse and she can't remove it, but who always knows everything? Right, the local prophet))
After dealing with the fairies with what I consider small losses, next fight is against the boars at the free guild, and then little by little, I learn there's a town underground and without much fighting I head there. Well, let me tell you everything in order
They tell Findan that supposedly the Dark Elves are attacking and Sigrif is leading them, and Findan asks Sinitar (our brother) how that could be, to which Sinitar says he personally escorted him to the Outcast lands... I don't remember which scene it was, but I liked Findan's jab "I told you not to eat those mushrooms")) Oh well, moving on)
I didn't keep the starting battle replay, but so there's at least some replay at this stage, let it be this one)
Kite Gidor
So what do we have with the prophet, who will we meet here in the Hut? Dossan, and here I don't understand the lore logic — Dossan isn't a monk, but one of the Sixth Dragon's [followers], whom we most likely killed in mission 3, or how should I interpret this? Anyway, he was a cool guy in all missions except 3, although in the third he was probably in the starting hut for sure.
In short, getting magic back traditionally won't work (well, almost), since knowing of our arrival, allegedly all mage guilds in all towns were demolished (okay, understood, but why is there no Mage Guild in the League and Necropolis towns, or did the light elves help there too?)
-But magic can be learned for runes scattered across the map + we can buy them (jumping ahead, I managed to fully learn 2 schools if abusing the rune for 200000 gold; if you think about it, you could probably learn the whole spellbook, but it would take too long)
Well, that looks good, and indeed there's not a single mage guild in any of the castles...
Overall a cool mechanic, nicely done, and actually I really enjoyed it, though I didn't know that "Phantom Forces" from the summoning branch is at Level 4, and also that if you already have a spell, it would logically make sense not to learn it again when you pull it via the scholar and/or solving the riddle...
A small abuse that helped me catch up to a hero I didn't really feel like chasing... You can enter the library only if you took a rune (bought or received from the mage tower). For example, a situation where Sigrif has no movement points left, but you'd like to move him... We need a button that any hero can stand on (more precisely, the runes we collect). Sigrif will teleport to the library; if we simply enter one of the branches, pick a spell, and say return back, the movement points will remain as they were. But if we go into the portal of a school, then don't choose a spell, exit to the main hall (via the league marker), then choose the desired school and spell and agree to leave, voila — full movement without skipping a day)
Traalsai basically wasn't used as a hero, only for scouting; overall my logic was that I understand we're weak, the town is a must-have, and the sooner the better)
After a while they show us another cinematic where the elves capture Nicholas, and he says Sigrif is stronger than you))
And we're warned that human troops will arrive in a couple of months... Okay then)
Saw the entrance to the underground and rushed there as fast as possible)
Once in the underground, went roughly upward, looking at the garrison that needs to be broken through
Dark Elf Outpost
And then after the outpost, I see a castle that seems to belong to someone but has no army in it, and I don't see a hero nearby either; well, I thought, we don't mind having at least one place without a fight) What's cool is that the other two outposts came under our control, though it's a shame you can't just grab an army from them, but oh well)
Right away, using the good old method, we check Findan's info to understand what awaits us)
Looks like a decent fellow, but I figured it'll be easy, especially with my playstyle)
Let me jump straight to the first and main stumbling block that I had to struggle with for quite a while, and I didn't want to replay the map, although ideally maybe I should have, but I still managed to pull through...
I'm talking about the encounter with Vinrael — yeah, honestly, he was the one mostly annoying me)
Our MC looks like this
And this creature came at us))
Just so you understand, Sigrif has 4 or 5 knowledge, and even though I had Decay pulled out by Traalsai from Lethos, and then transferred via Traalsai to Sigrif, I didn't have its mass version, so I had to sweat a lot, especially since my build ultimately sacrificed the charisma stat, which is needed but didn't fit here...
Here's Sigrif vs Vinrael 1st encounter) — the fight of my dreams)
Barely, scraping my teeth, we finally got this guy, and afterwards we continue leveling and exploring the map)
Then we stumble upon the spell library, and the first thing I want to figure out is whether it's freebies or not — well, of course not (there are none anywhere), and a funny dialogue ensues, but essentially all you need to know is that he sells runes, the ones that give us access to the library, and the only thing worth knowing is that when the rune price reaches 200000, even if you buy the rune, you won't be teleported to the library, but if there's a rune on the ground and you buy before picking it up, you'll have 2 runes; overall you can abuse all spells, but the key is to have a rune on the ground)
And we keep running around chilling, and here they give us more intel...
The joy when you get "Quick" education...
Somewhere in between I met this guy once more
Moving on; in my opinion, one of the turning points comes when we break through here (lots of tasty stuff + Tome of Darkness, which feels somewhat underwhelming in my view, but whatever):
There are essentially two battles here:
1) That's 8k death knights
2) This one is against 12k liches
And a funny picture, especially when fewer lich stacks remain and dragons blast them from all sides — yes, they're not the main damage dealers, but still))
In my opinion, after these fights our MC is maximally fed up and feeling great....
A small digression regarding the library: as much as you might want to quickly learn high-level spells of one school while ignoring everything else, we won't manage that, because the author took care of that too; as unpleasant as it is, it's actually quite logical and balanced
And as you understand, my main biter of everyone was Lethos; I gave him boots for Decay, and at first he just bit, and later blocked the exit and simply kept hitting Vinrael on cooldown, but we'll come back to that...
A small breakthrough, plus just a screenshot of the amount of armies Lethos bit)
Next, we meet one of the humans, namely Gabriel, and our MC deals with her (having weakened her beforehand, though that wasn't strictly necessary, just the opportunity existed)
As for my further gameplay, it was collecting everything and leveling the mains (I even thought they'd carry over in the last mission — yeah, right)
And now Lethos is ready to bite various enemies)
Also, while exploring the surface, our Sigrif catches a "vision" and sees what others don't, though it's strange that the devil is alive; oh well, I guess we'll find out in mission 5 what we're seeing and what it leads to...
I also noticed a pretty interesting location on the map that we know from the original campaign, but its purpose isn't clear to me yet; nevertheless, we'll find out later
Overall, we've established ourselves quite firmly on the surface; the only problem was Dirael — not that she was hard to defeat, but due to Shackles of Inevitability she couldn't really be bitten, and losing Lethos wasn't appealing) But no worries, we come for her with Sigrif and take her out without much trouble)
So, I thought maybe it's time to visit the undead and see what they're doing there, and why they're even on this map; we approach them and they give us a side quest along the lines of: if you want our trust and help, it's simple — buy it))
I think okay, let's do it, and immediately, without missing a beat, step forward step back, complete the quest, then go to the city, and they tell us there's a project for a super catapult, but it needs resources — wood and ore. All of it is easily found even if those mines are already captured. The ore near the ore mine is highlighted, but the wood isn't; however, to gather them, all we need is to approach the mine again after receiving this quest. The mines are in the north below...
Nothing complicated here — take it, do it, and when we collect the resources from the mines, approach the castle with any hero and they'll tell us our uber catapult is ready)
We smoothly transition to meeting the humans' main character, namely Valeria; I'll say this — I didn't fight her with Sigrif; Lethos handled her fine, albeit in 3 attempts, but oh well, as they say, no big deal)
One of the bites
Finishing off Valeria
Oh right, almost forgot that one of our main objectives was: Free Railag; nothing special to dwell on here, since the prison is located in the northwest; we break through the death knights and simply free him — no cutscene or dialogue, just freeing some nobody)
And afterwards, I just fooled around leveling the mains (thinking they wouldn't take away everything I worked for by mission 5). And I placed Lethos at the portal exit, where he clapped almost everyone except the dwarf...)
Meanwhile, Traalsai settled in the necropolis castle and slowly cleared that entire area with vampire spawns)
And after some time, the Dwarf exits the portal; Lethos meets him but doesn't kill him in one go. To eliminate him, I had to chase him with Sigrif, and I was one day behind.
But that's exactly when the library turn abuse came in handy, as mentioned above, and Sigrif catches up to him
Now nothing prevents us from heading to the finale, but again, I decided to clear everything and everyone.
Having gathered enough vampire spawns, Traalsai took out the last key keeper and grabbed the key
And to finish, we need to assemble the key; for that, we take a quest from the hut above the key keeper in the northwest; he'll tell us he needs the Dragon Flame Tongue, which is located in the dragon utopia. But to get there, you need to collect the key right where we saw earlier but couldn't interact until we took this quest.
After the key was restored, we head to the utopia, clear it, obtain the Dragon Flame Tongue, and go to the prophet; he gives us the Ring of Teleportation, with which we can pass through the gates, and subsequently fight Findan.
Another side quest is the Sphinx; there we're asked to hold all gold mines for (I think) a month and a half, and the reward for completion is this) As they say, the main boost here is +25% army, which ain't shabby, especially since my army was mixed)
Let's approach the finale; after obtaining the ring, we approach the gates, and we're offered to teleport, being told there's no going back, etc. (they take some artifacts from us, specifically the Town Portal scroll; I thought about giving it to Ylaya so Findan wouldn't kill her, though he doesn't aggro on her anyway). And the best part is that Ylaya comes to us not empty-handed, but with the Ring of Dominion, and we realize the finale will be a breeze)
Let me mention a few things right away:
-right when we're teleported beyond the gates, Sigrif and Ylaya have zero movement points, meaning we need to skip a day; after we do that, Findan uses Astral Gates to teleport closer to us.
-overall, we can just take the ring, skip another day, and Findan will attack us himself; we don't even need to push toward the capital
-but if we do use our turn and head to the capital, we'll see that thanks to the uber siege weapon against the gates, we're told we destroyed them without losing troops (so without that weapon, we would have lost some army)
-the guards may look strong, but at this stage, especially with the ring, autoresolve takes them out with zero losses
-even if we approach close to the castle, we can't capture it — not because we lack movement points, but because within 4-5 tiles of the castle, our movement bar resets to zero...
-and after skipping, Findan attacks regardless)
Findan posed no real problems, especially with such an army; you just need to know that units you don't need should be placed in the bottom slot, because remember his ability where all shooters attack — for me those were Nymphs...
And a couple of replays of the fight with Findan are attached
First fight
Purely for fun)
And from the category of "I leveled everyone in vain" (yes, in vain), but I'll show all the mains as they were by the end of the mission)
Ah, what awesome heroes they'd have made for starting mission 5)
Let's sum it up: I said at the beginning that the map didn't quite click with me — not because it's bad, it's great, but compared to the previous three it looks a bit duller, in my opinion. A lot of extra actions could easily have been skipped, but I wanted to do them. Going forward, our task is to storm the human city, but that's for the fifth mission. However, from the cutscenes we understand that something is off overall, because we see Biara being killed, and how the Overlord with the devil (whom we killed — why is he alive?) suggests she played her role, as I understand it; this was the Overlord's scheme from the start, including Biara helping us escape Hell, and overall everything isn't going according to our script, as we think. Well, we'll see, we'll see) As for the ending of mission 4, we achieved the initial goals — escalating against the elves so they'd return our lands and help us fight their former allies. Well then, ahead lies the final push and the concluding mission of this great campaign)